

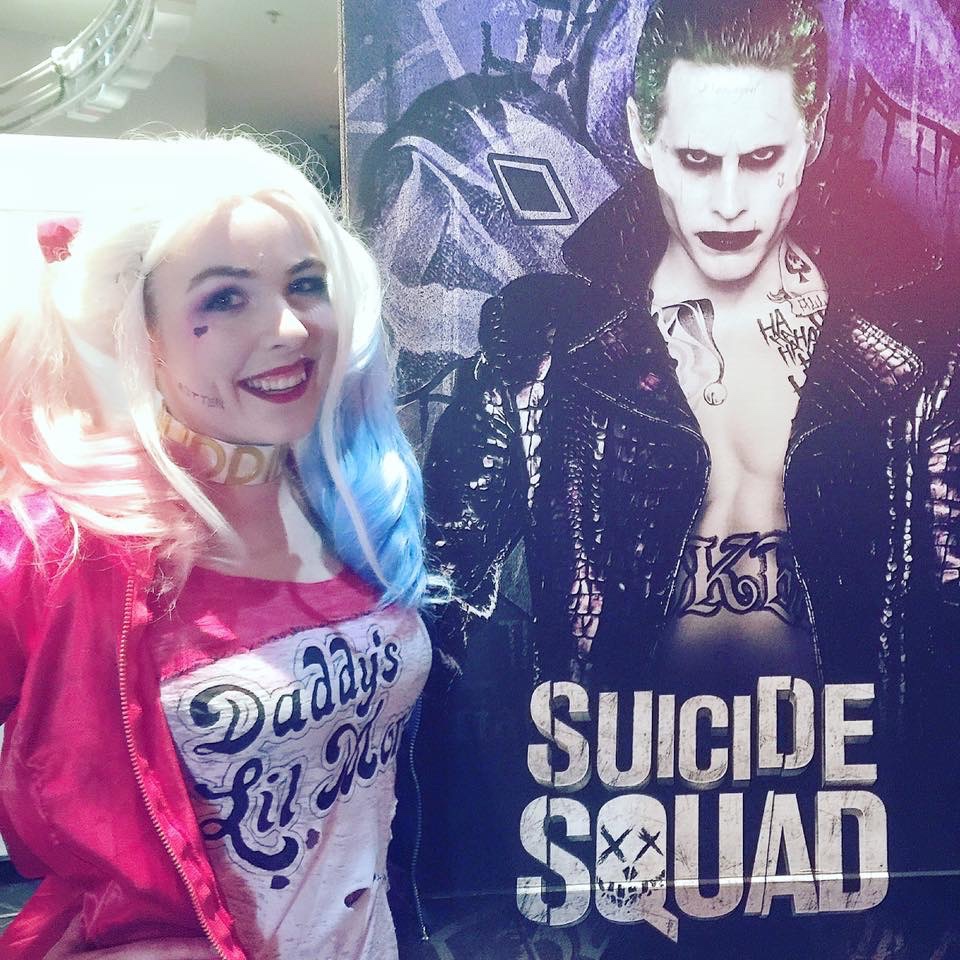
Harley Quinn – Skwad | Suicide Squad
Made for : Media Screening of Suicide Squad 2016
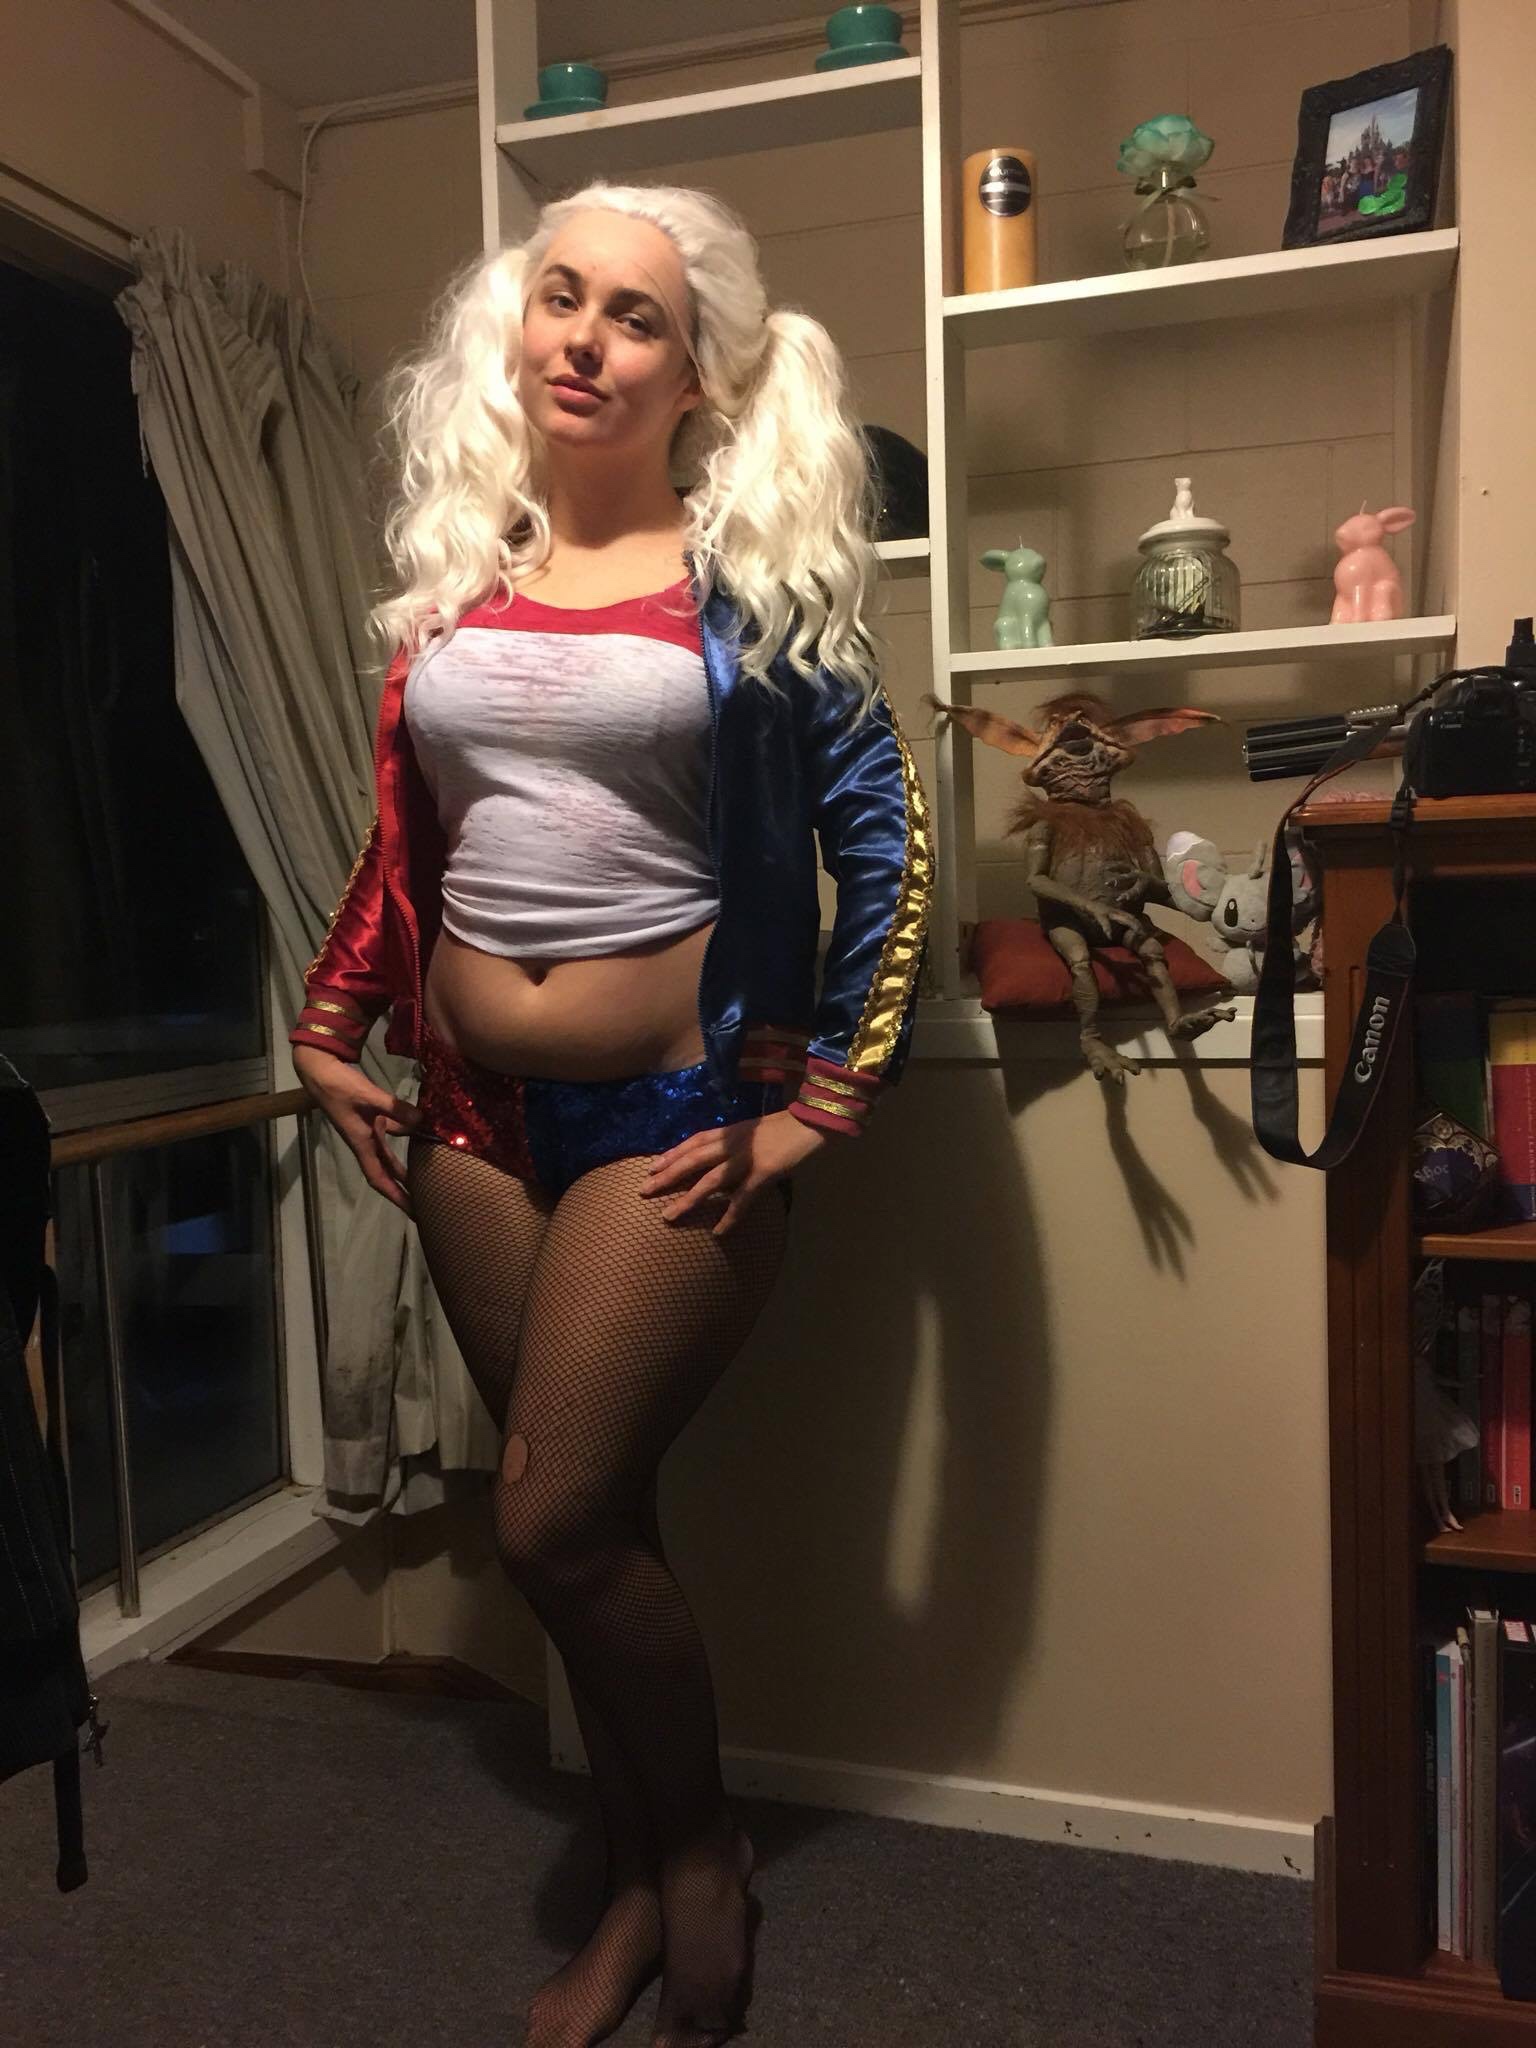
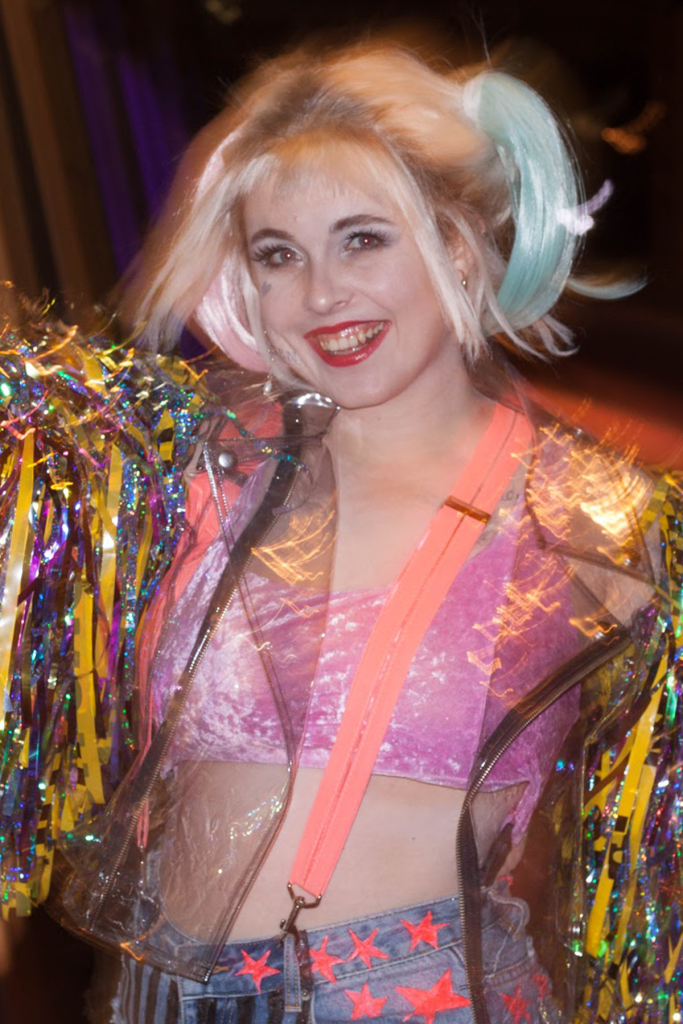
Background : I had a friend tell me all through High School that I should cosplay Harley Quinn because I reminded them of her, but I’d never read the comics nor watched the animated series at the time so I just brushed them off. Then came her live action debut in Suicide Squad in 2016. Some blurry set photos leaked on line and I was obsessed! There was something so fun about her tiny booty shorts and it reminded me a lot of Debbie Harry aka Blondie, that I knew I had to have a go at recreating the now iconic look.
I initially began making it before the film was even released which is always a challenge in itself. Then a local con held a competition where the prize was a ticket to the media screening of the film and I entered and won. So that became the new debut date for getting the costume done.
gallery


Things used :
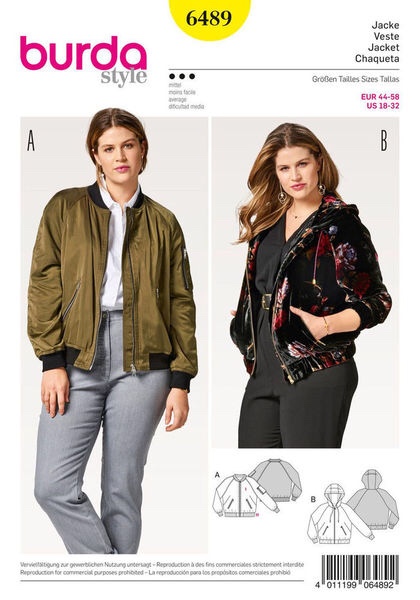
- Burda 6489
- Red satin
- Blue satin
- Gold satin ribbon
- White ribbing
- Gold sequin trim
- Gold metallic ribbon
- Gold embroidery thread
- Red jacket zip
- Blu jacket zip
- White leather
- White burnout jersey
- Red micro sequin fabric
- Blue micro sequin fabric
- Black spandex
- 2x white wigs from Wig is Fashion
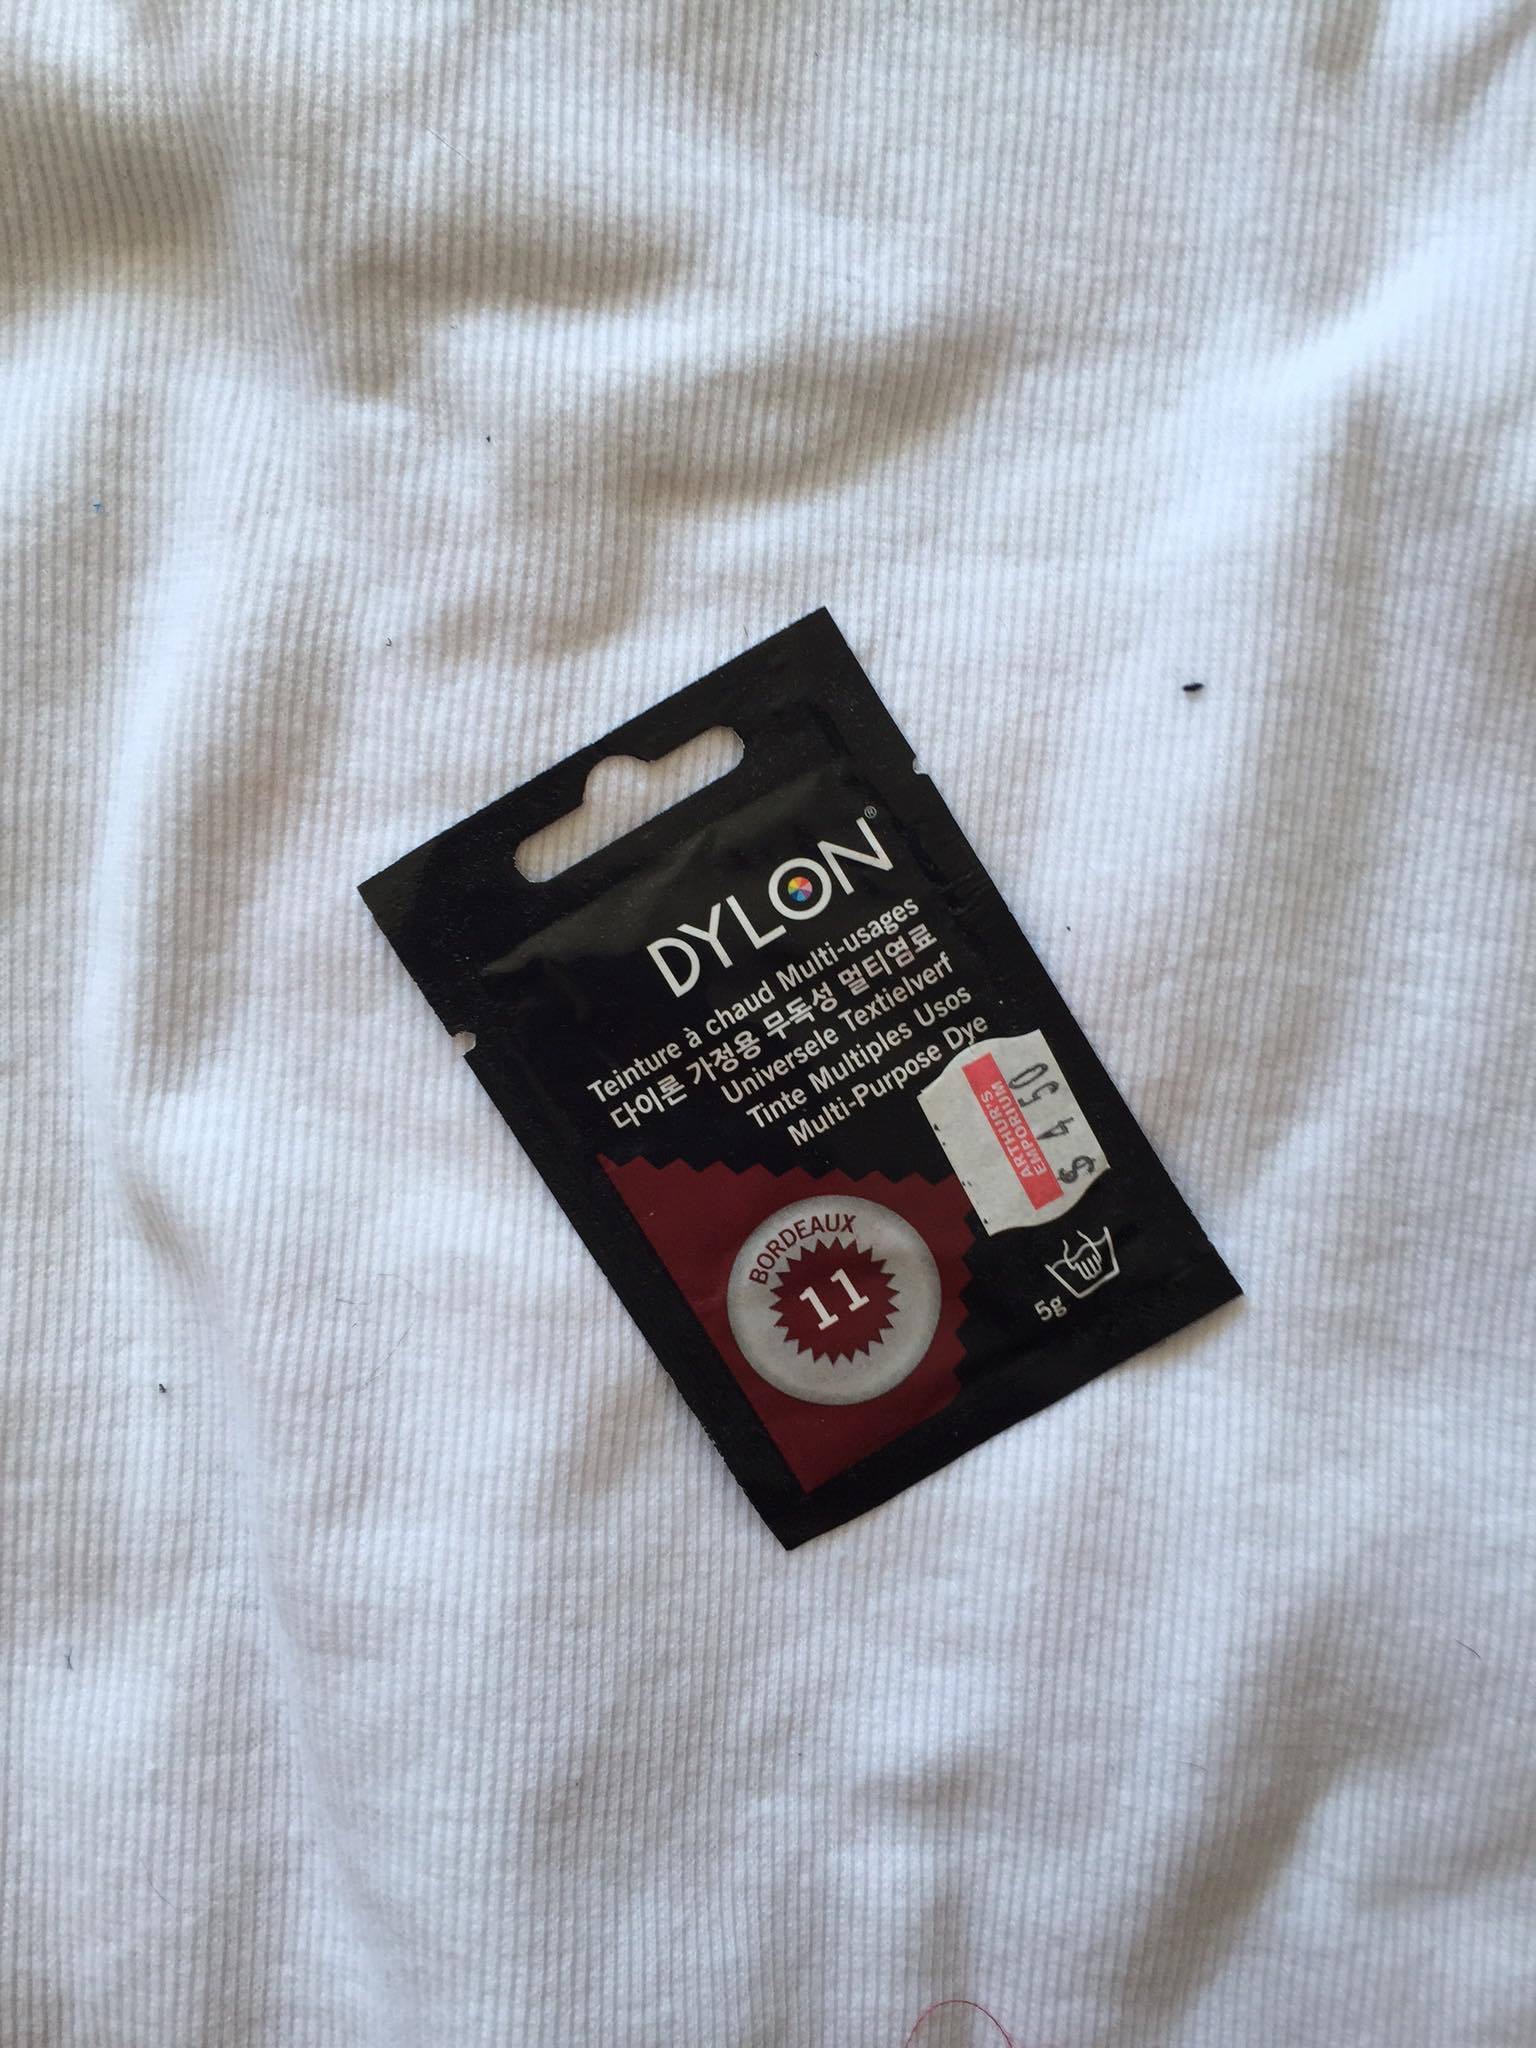
- Burgundy dye
- Blue poly dye
- Pink poly dye
- Red fabric paint
- Black acrylic paint
- Packet of glow in the dark letters
- Studded belt
- Gold nail polish
construction
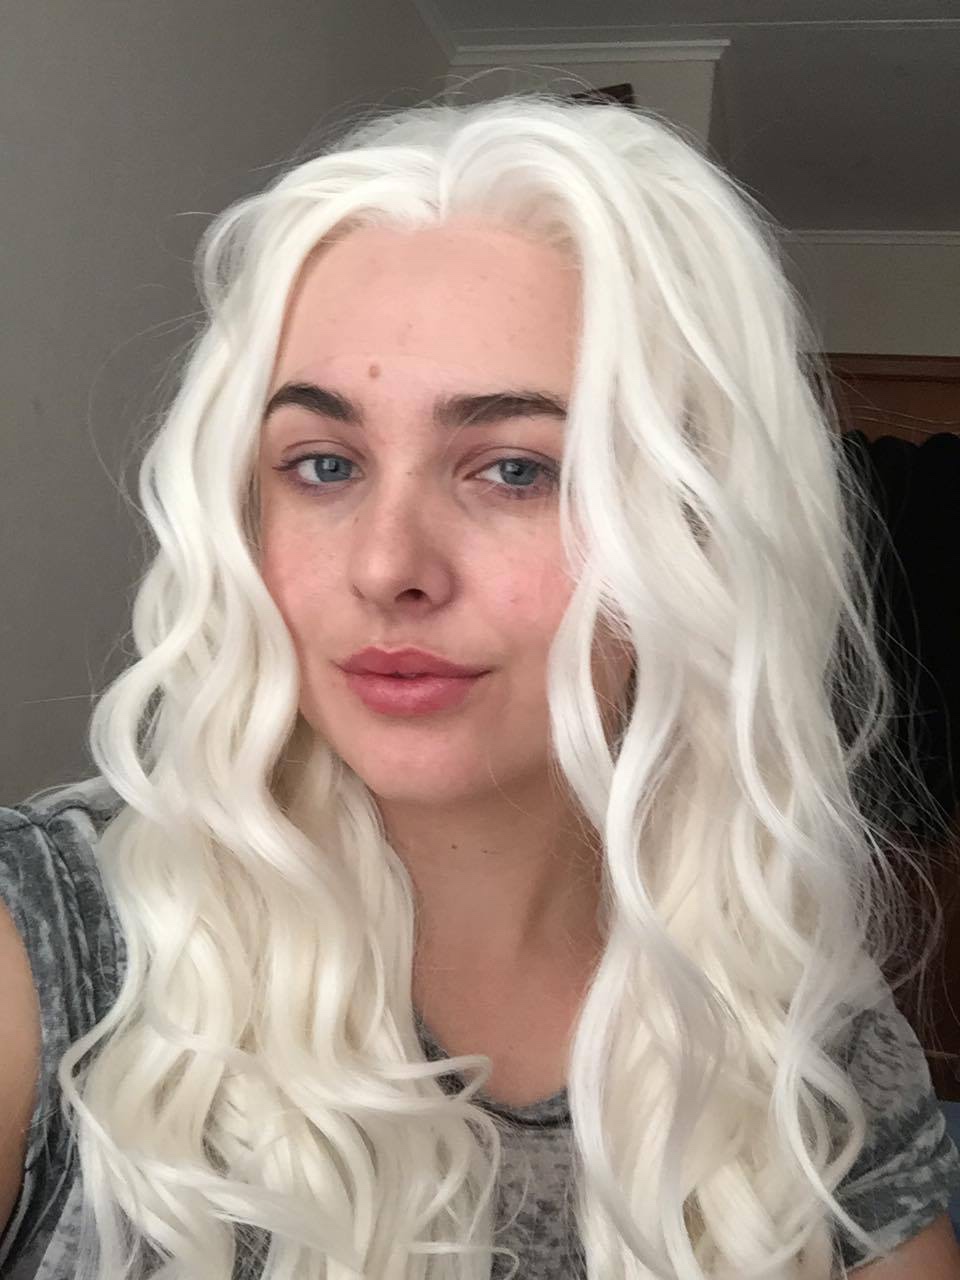
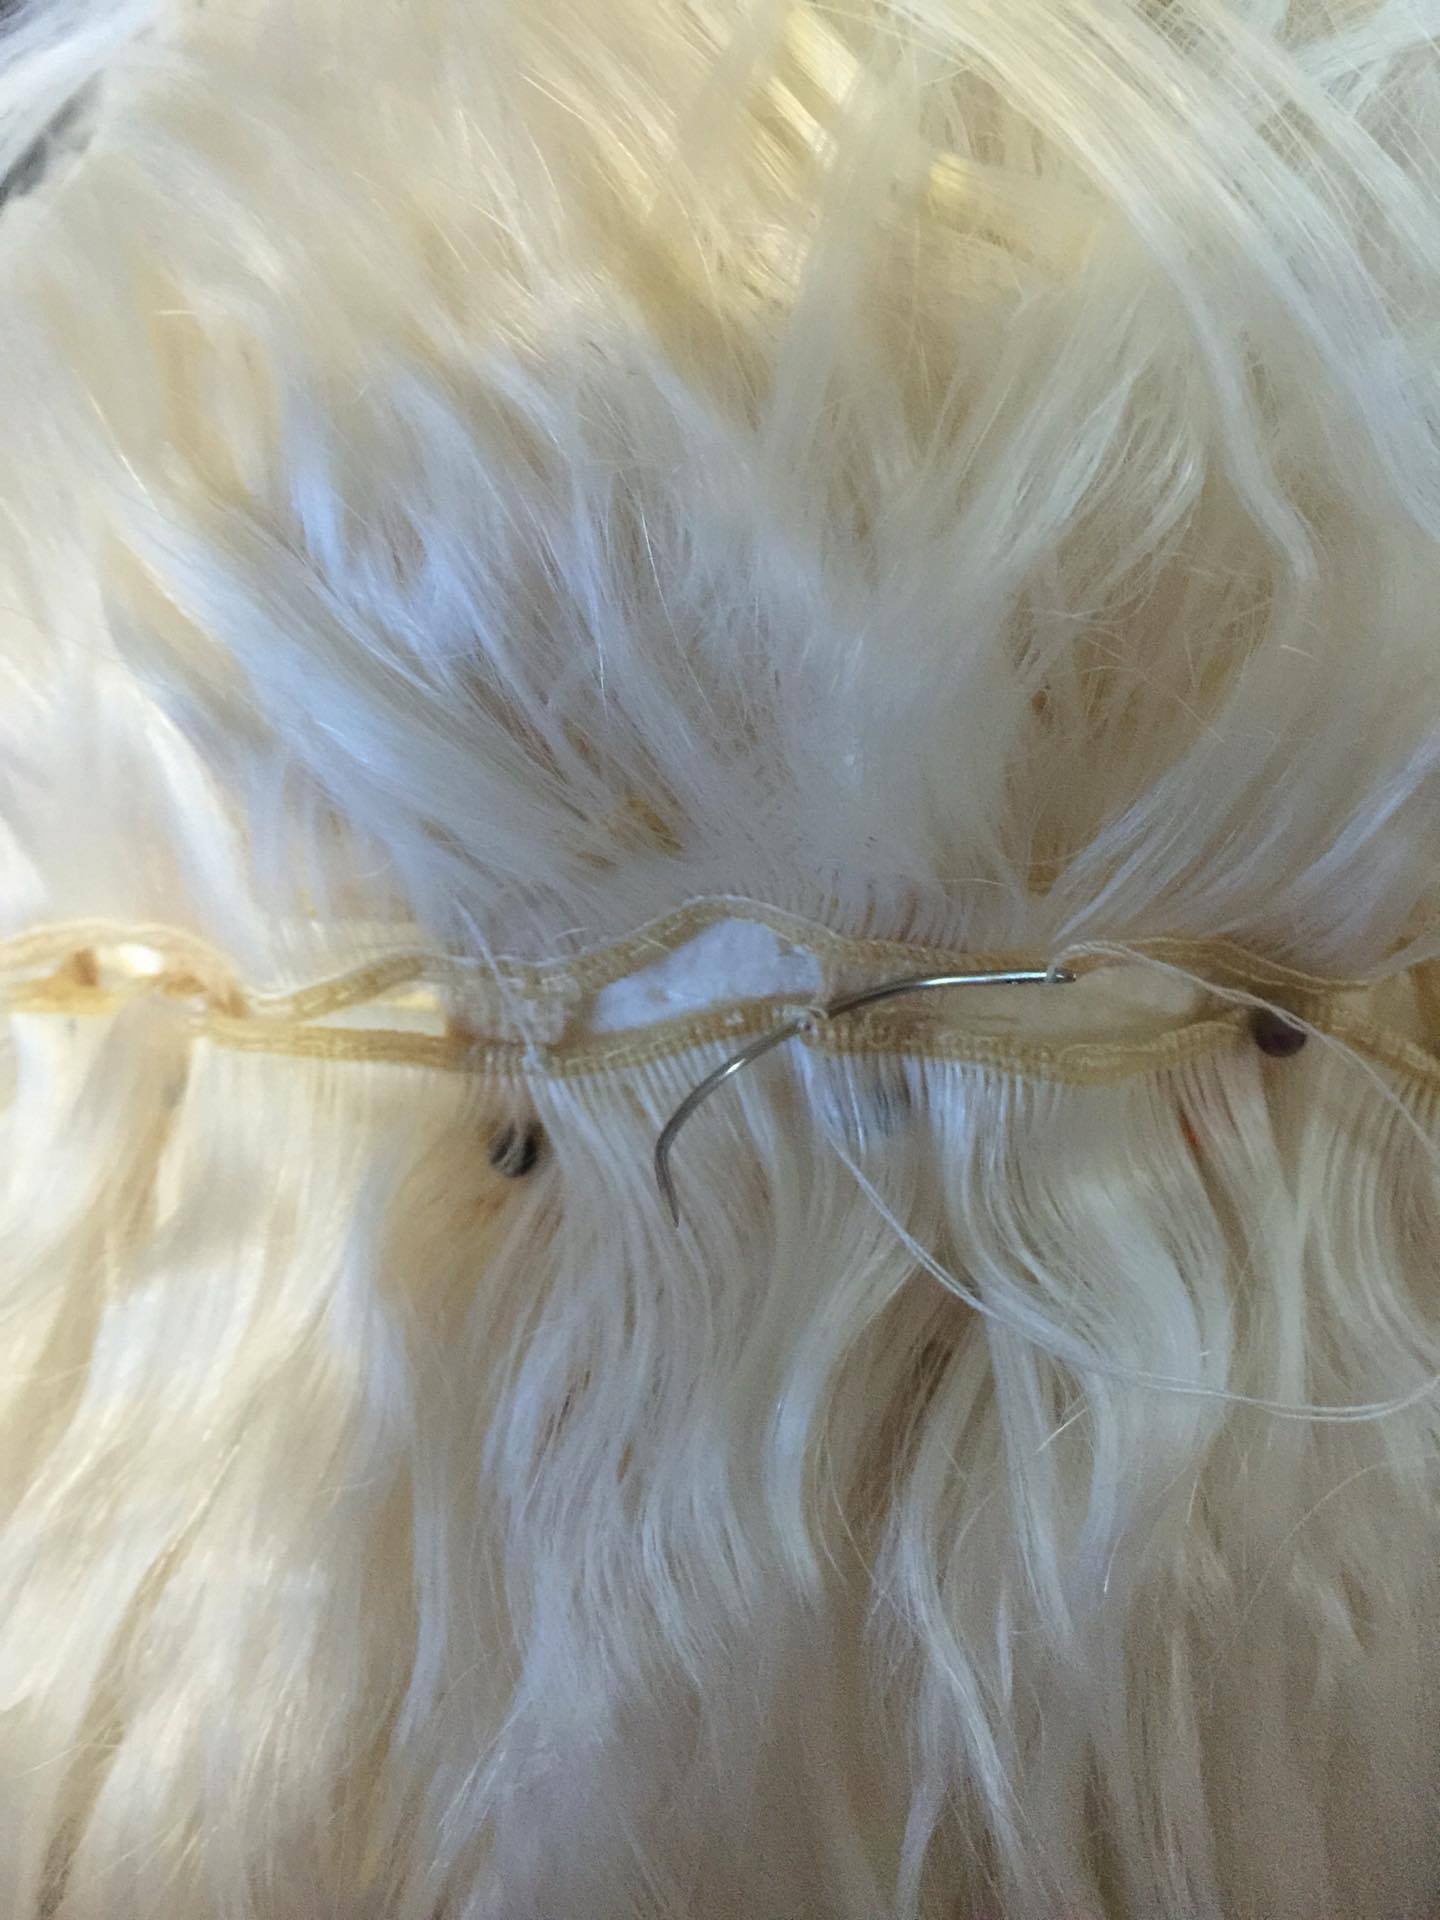
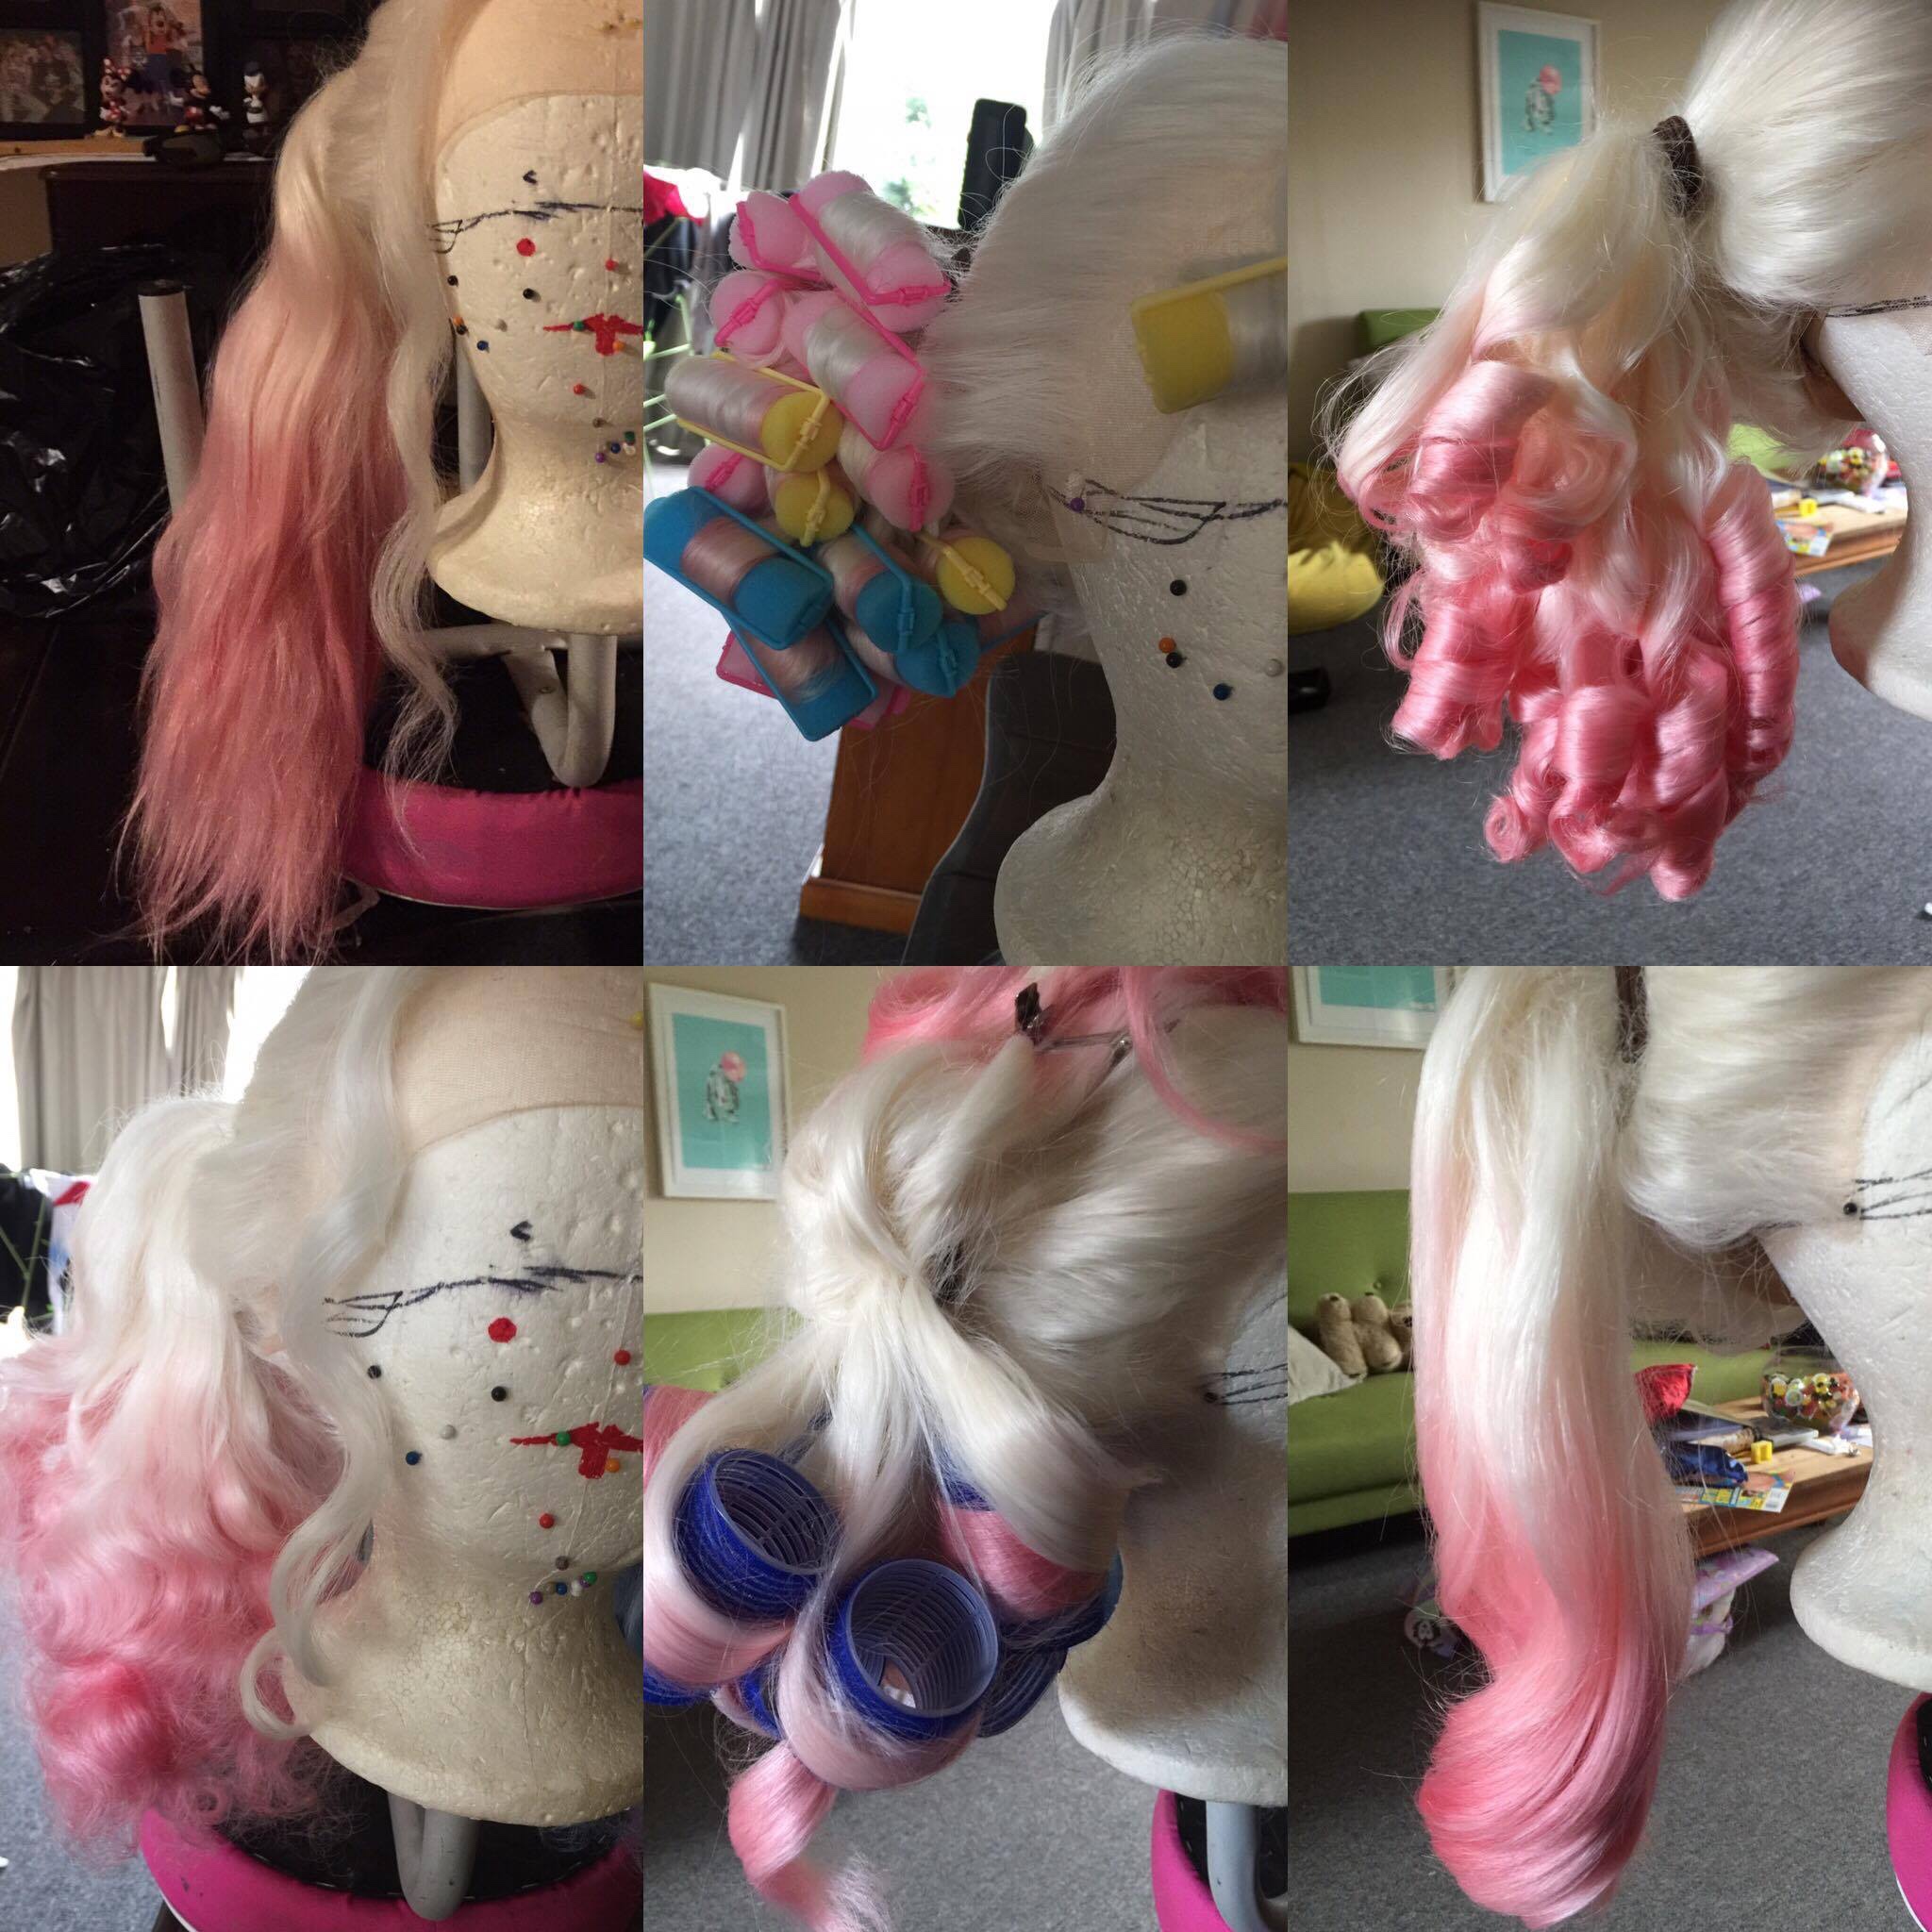
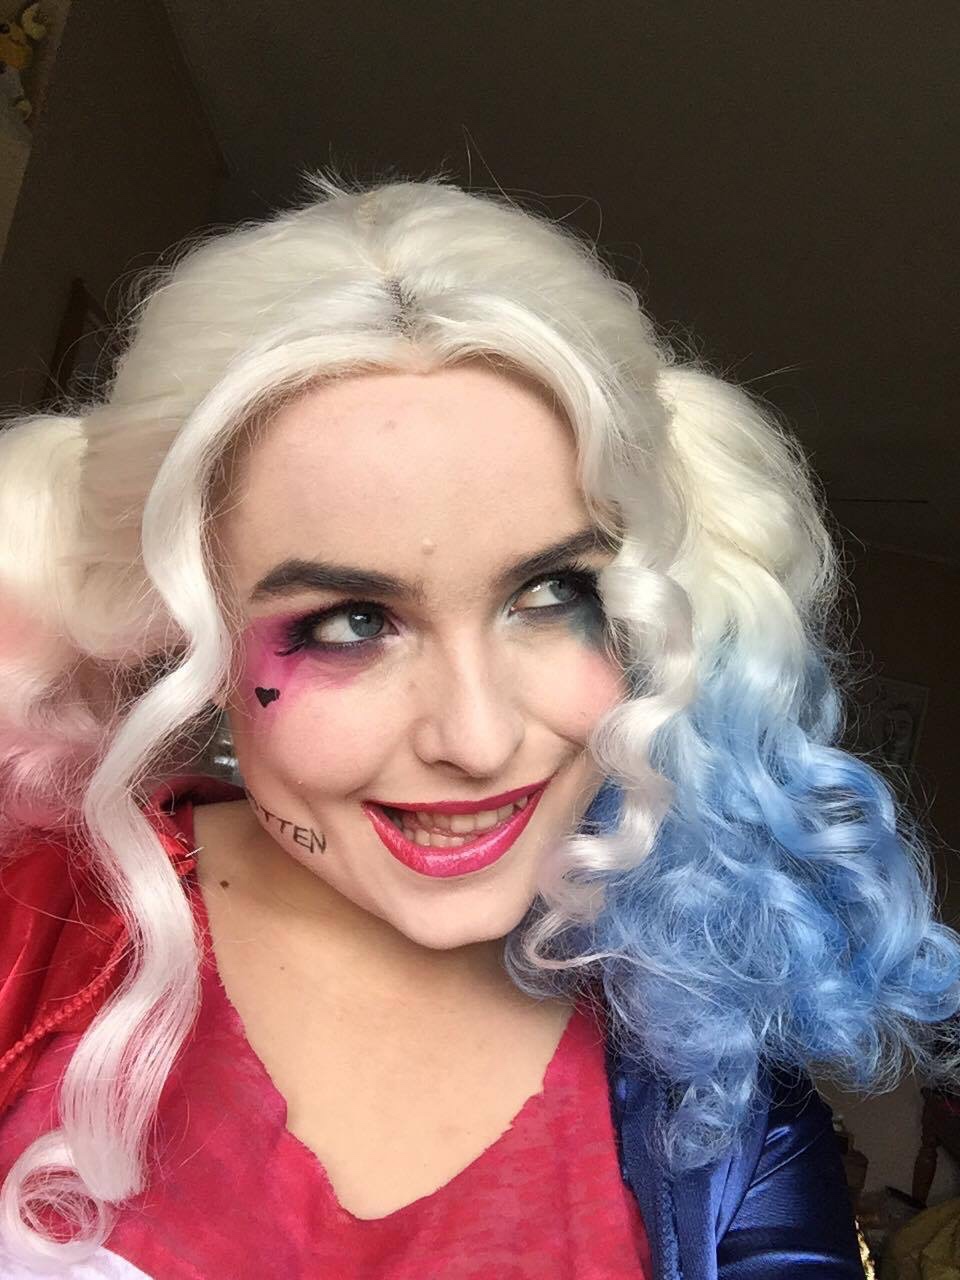
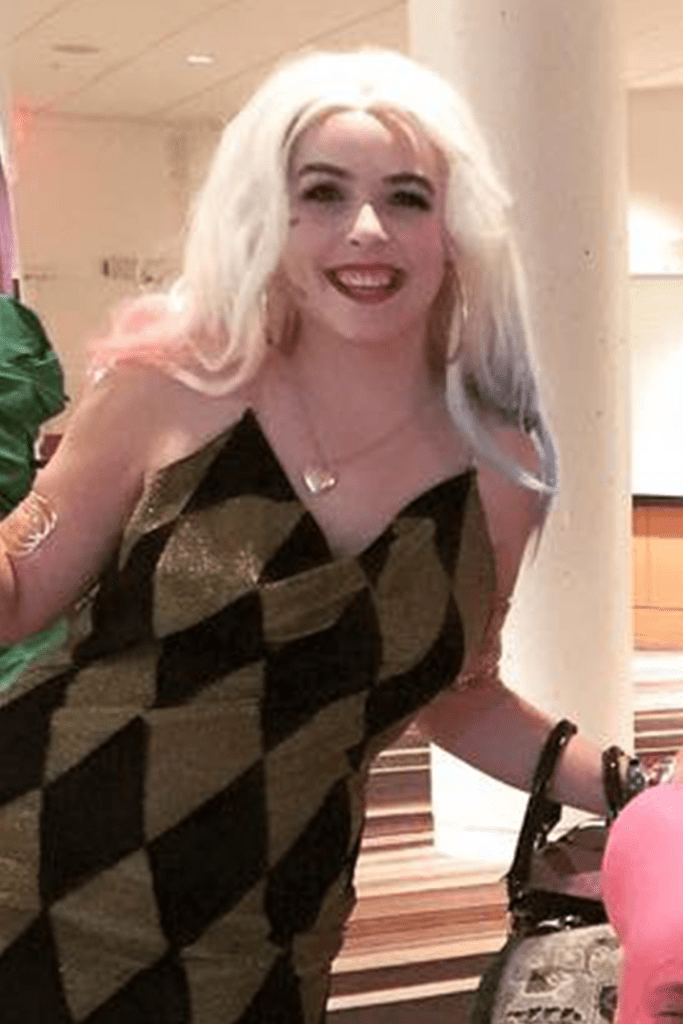
Wig : I brought two long, white curly wigs from Wig is Fashion. I took the back wefts from one and sewed them in upside down in to the other. I did it that way so that the wig could be parted down the center and tied up in to two high pigtails without any of the wefts showing.
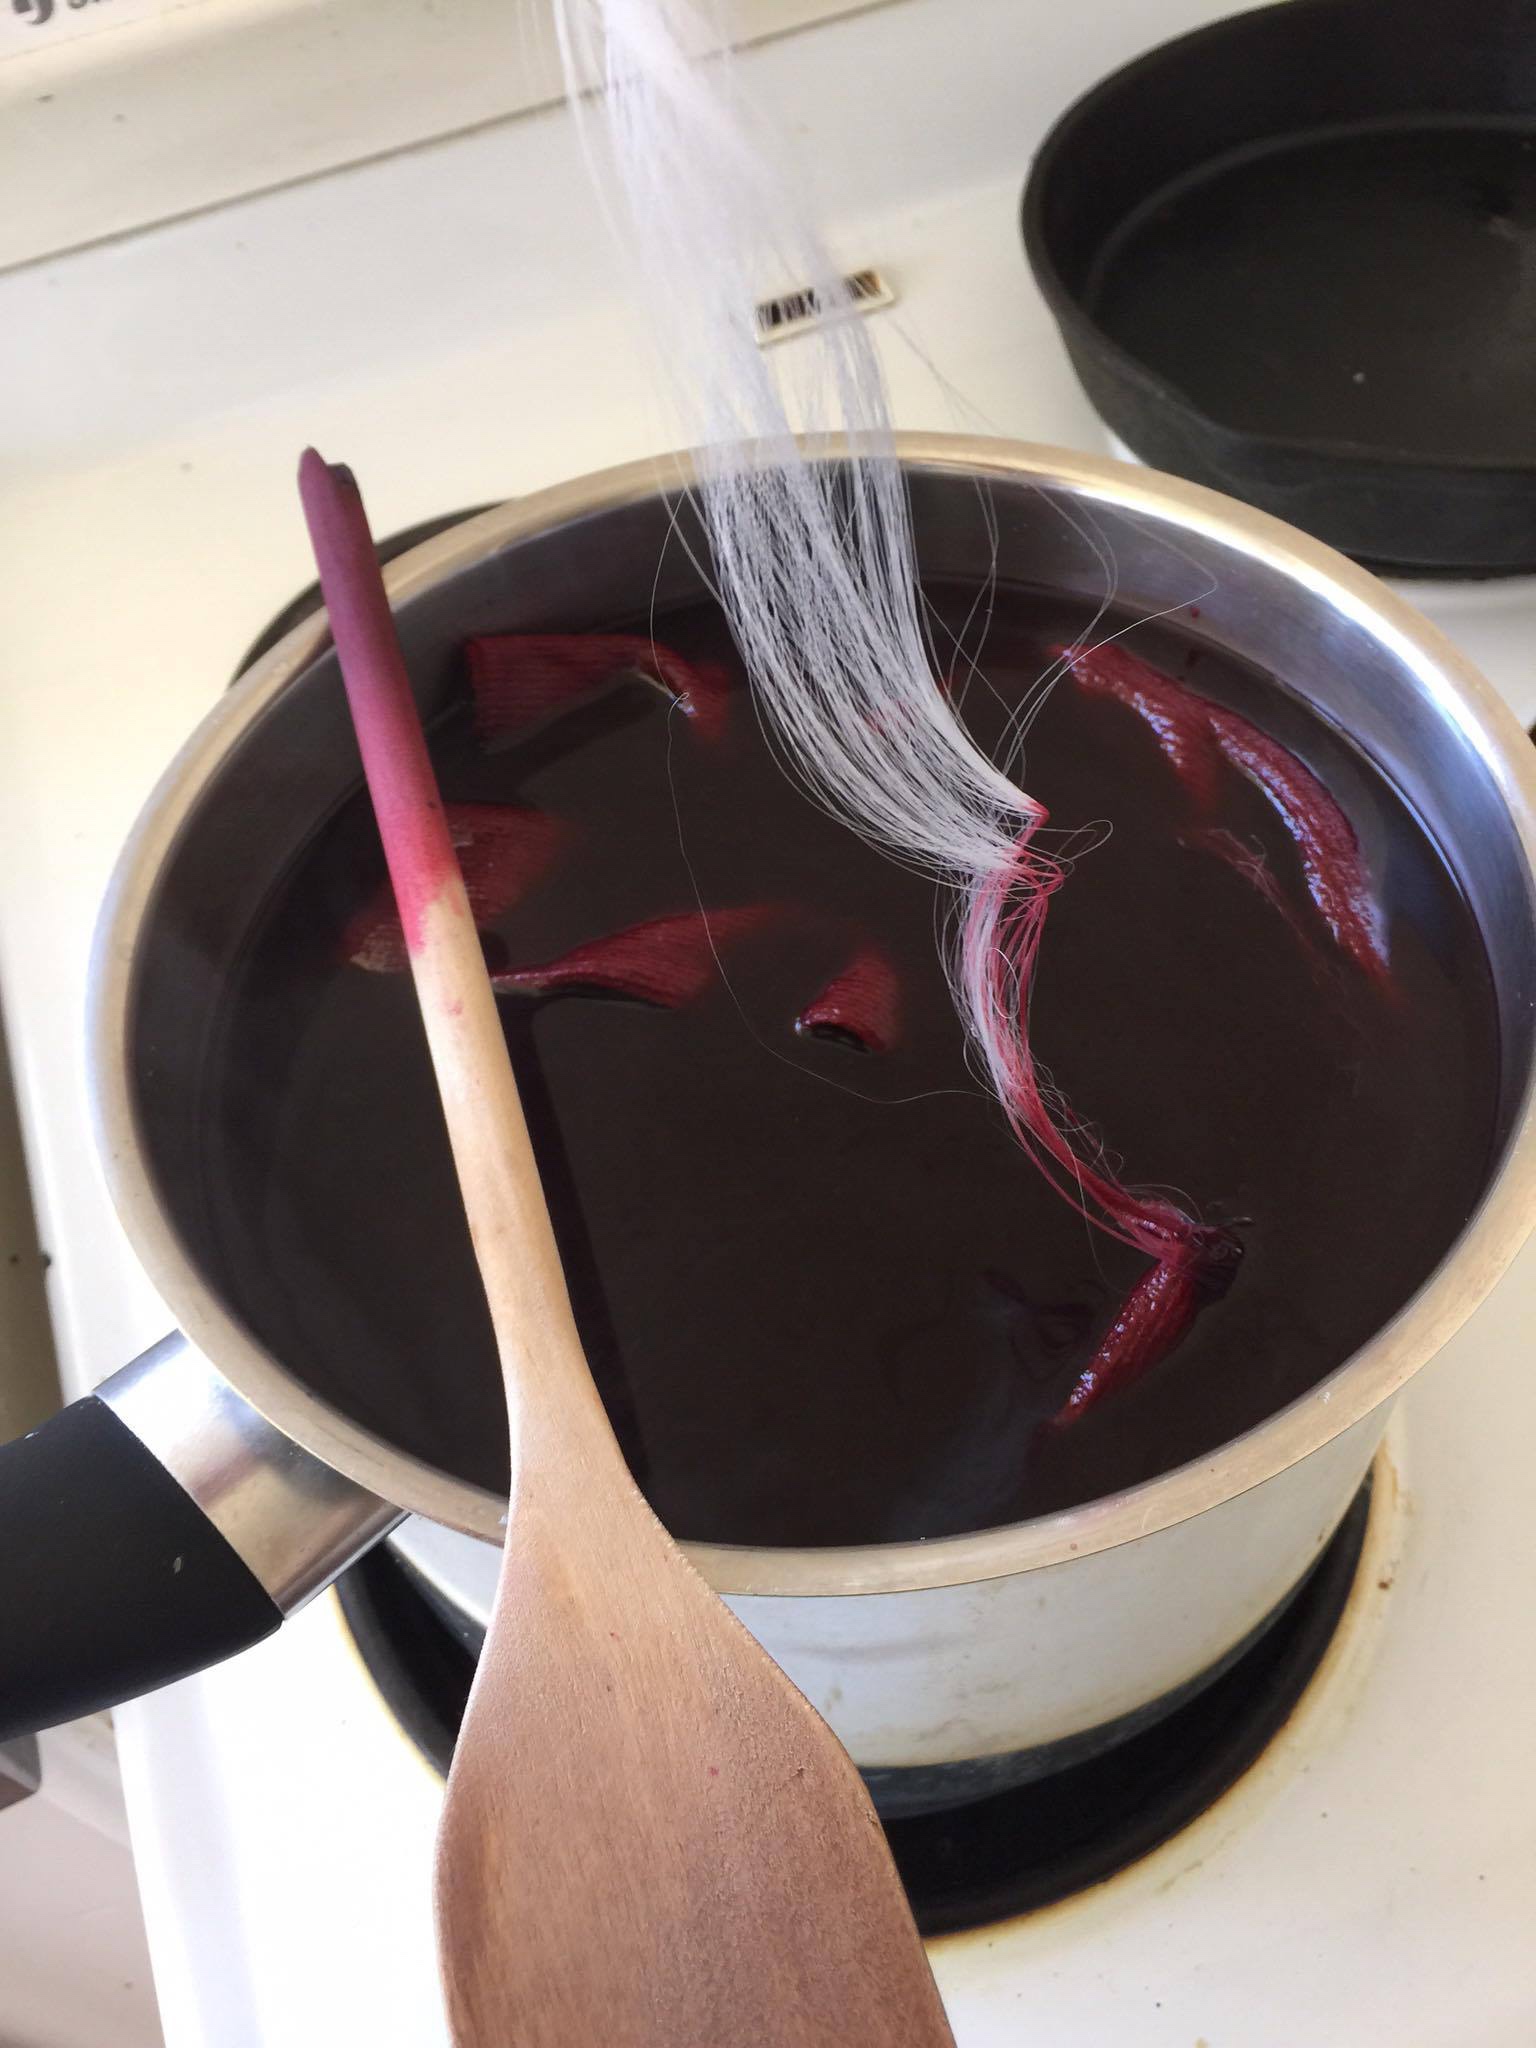
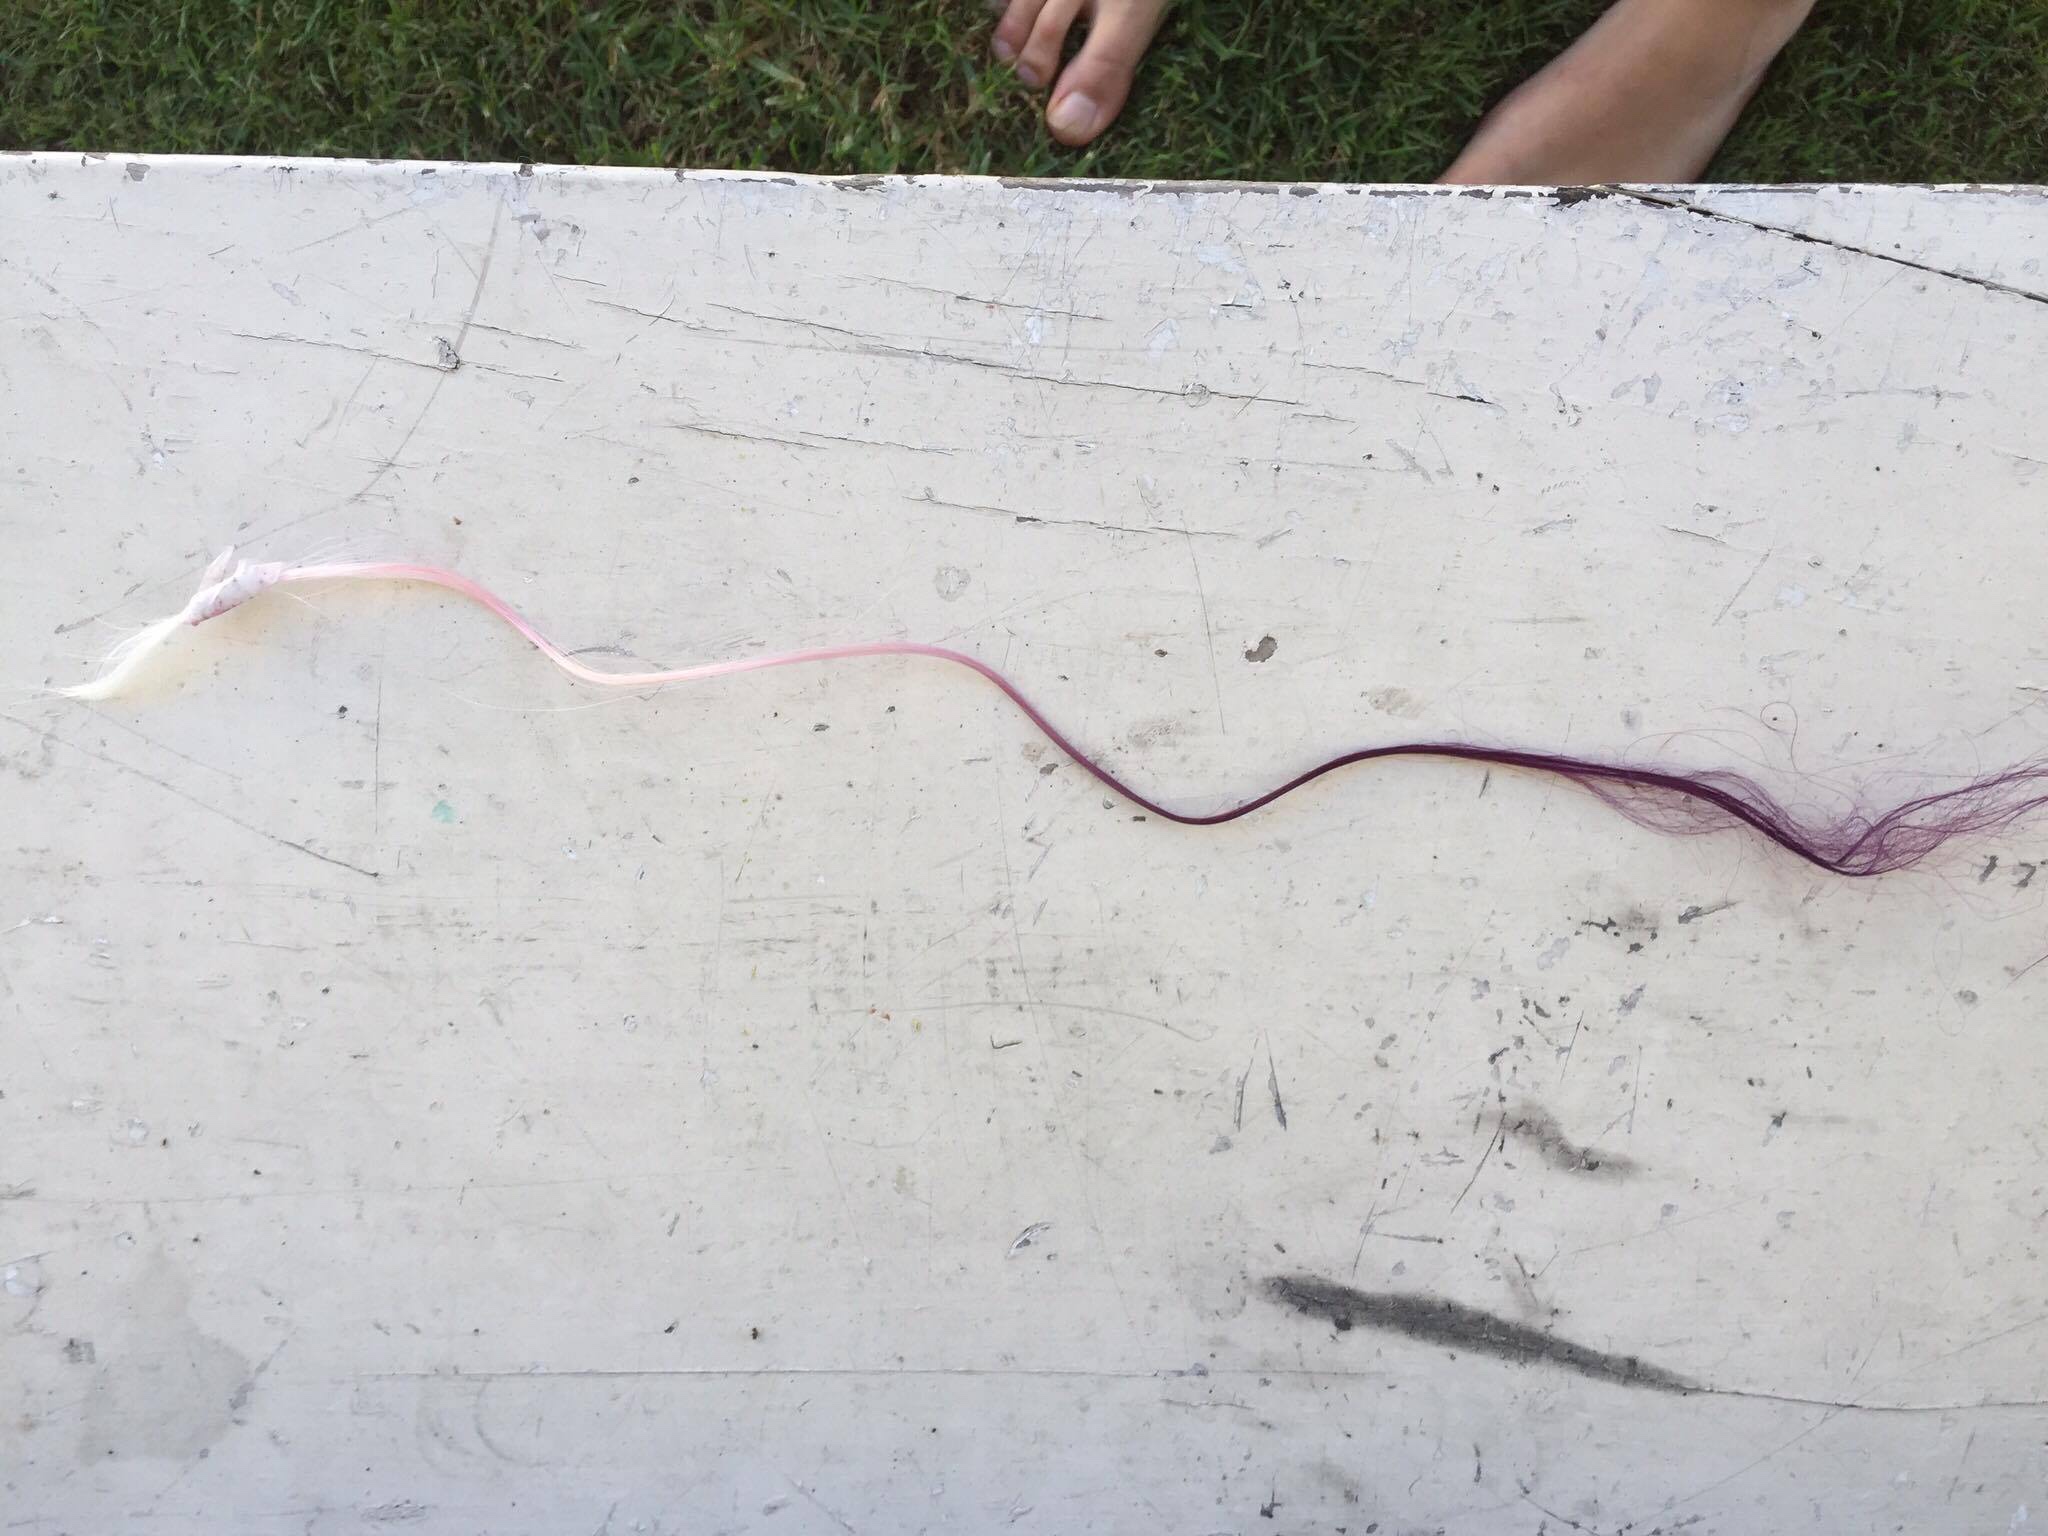
Once I had the wig tied in to two pigtails, I dip dyed the ends by dipping them in to separate pots of boiling dye in pink and blue.
After being dipped in the boiling dye, I had to restyle the curls. The first time I did this, I used much too small rollers and the curls came out too tight. So I redid them with a larger roller and got the shape I wanted.
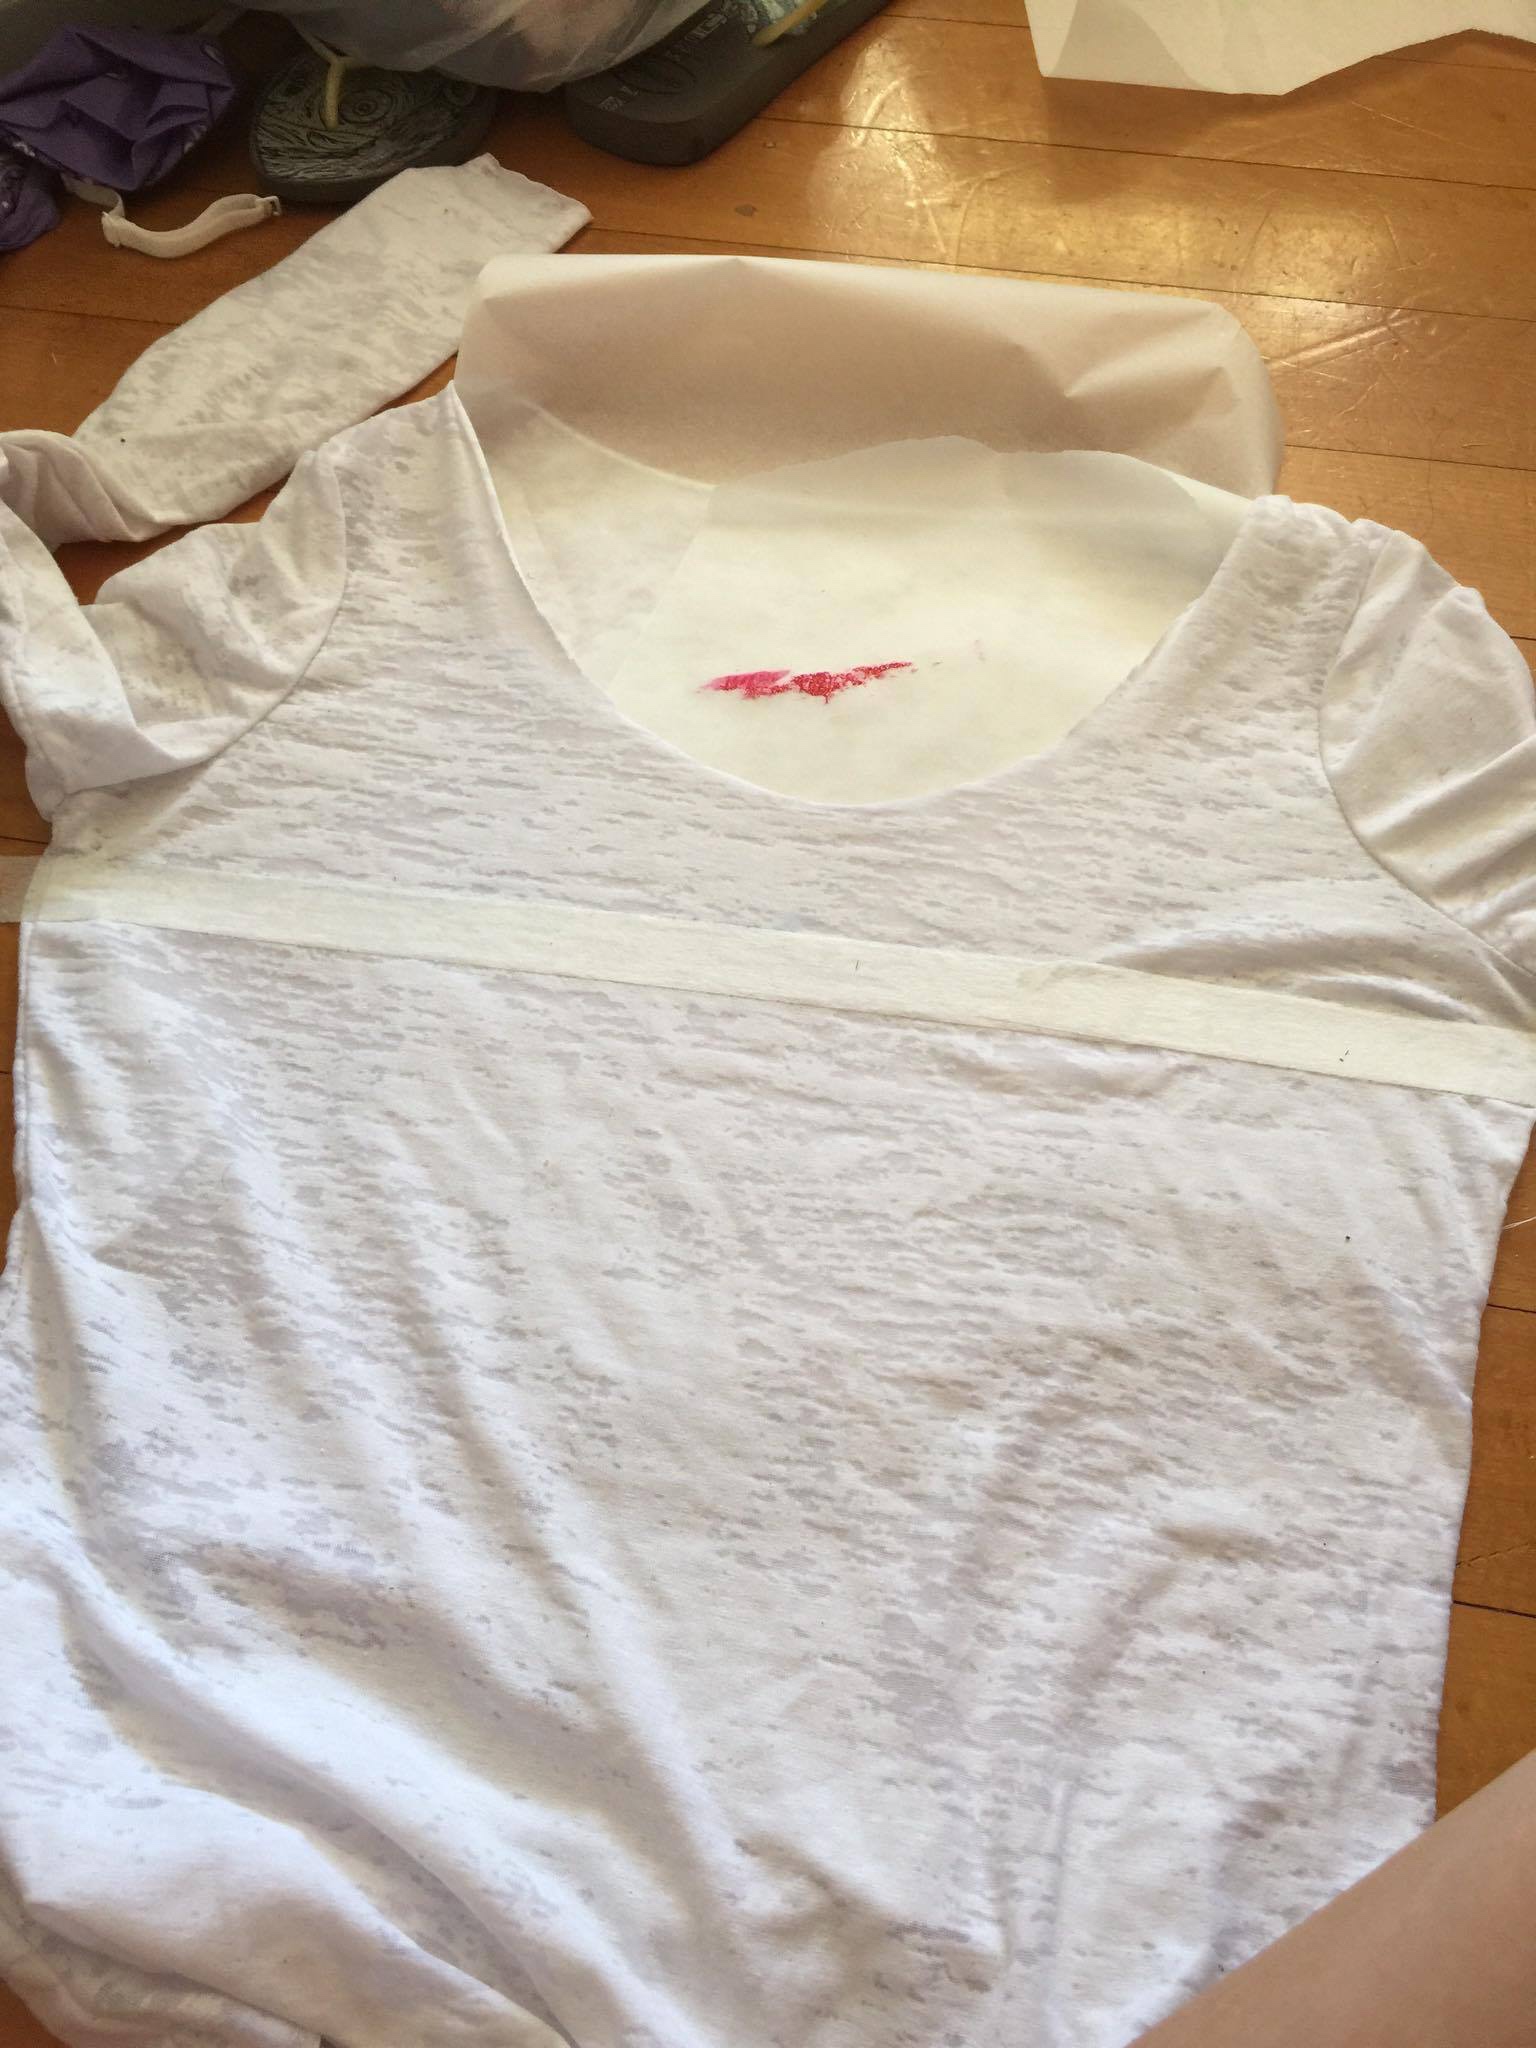
Shirt : I traced a pre-existing shirt that I had and liked the fit of straight on to the fabric. (Not something I’d recommend doing for a first timer, at least trace it to scrap fabric first so you can check that it’s been done right). Then sewed it up using my overlocker.
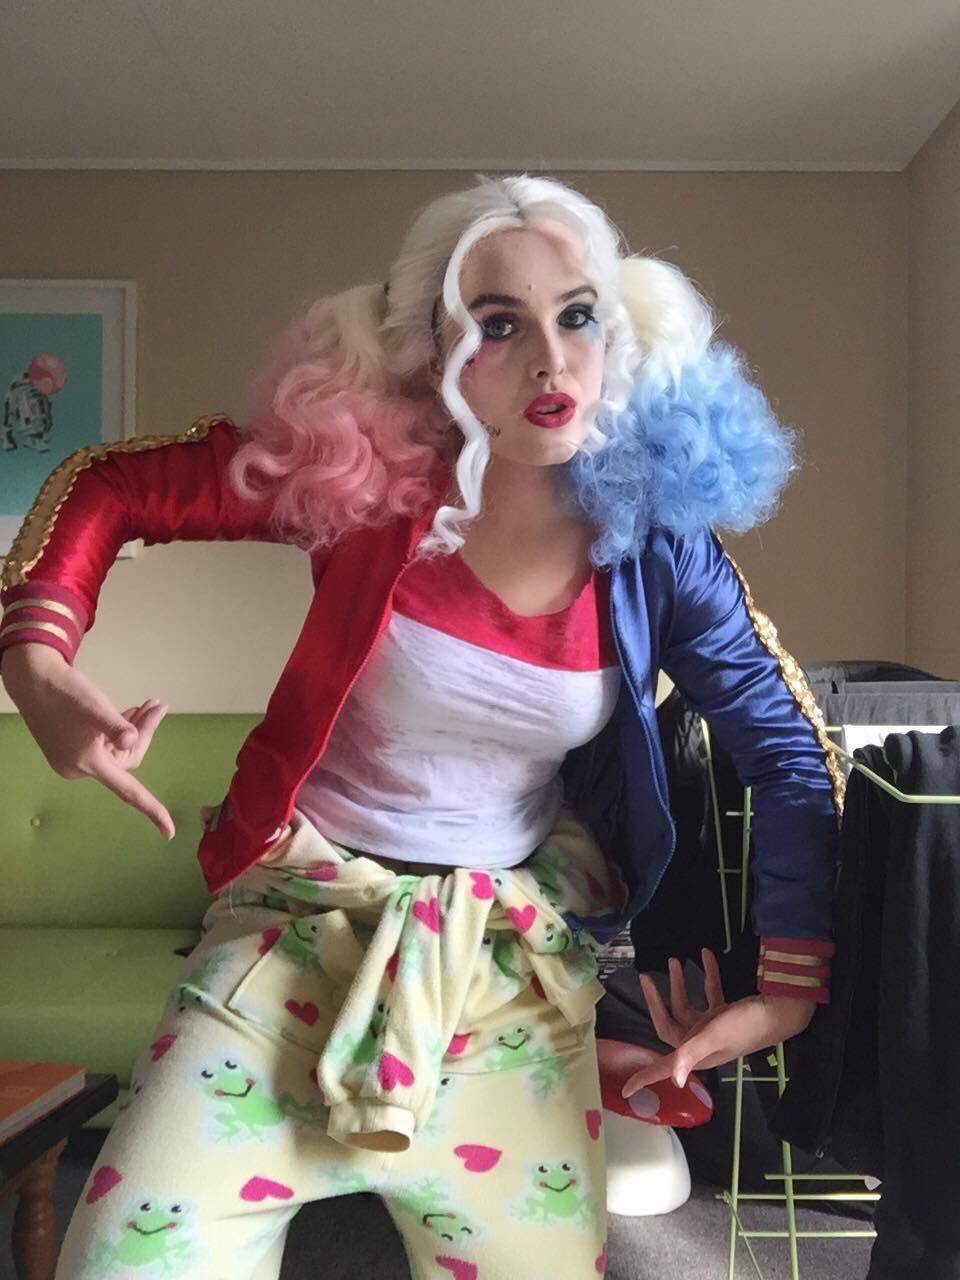
I taped off where I wanted the red to be and painted it using fabric paint. I then set the paint using heat from ironing it. I painted the ‘Daddy’s Lil Monster’ design on the front by hand using black acrylic paint mixed with a fabric paint medium. I set it the same way as the red.
Then came the scary part of strategically cutting holes and tears in the front which I did referencing the images as best as possible.
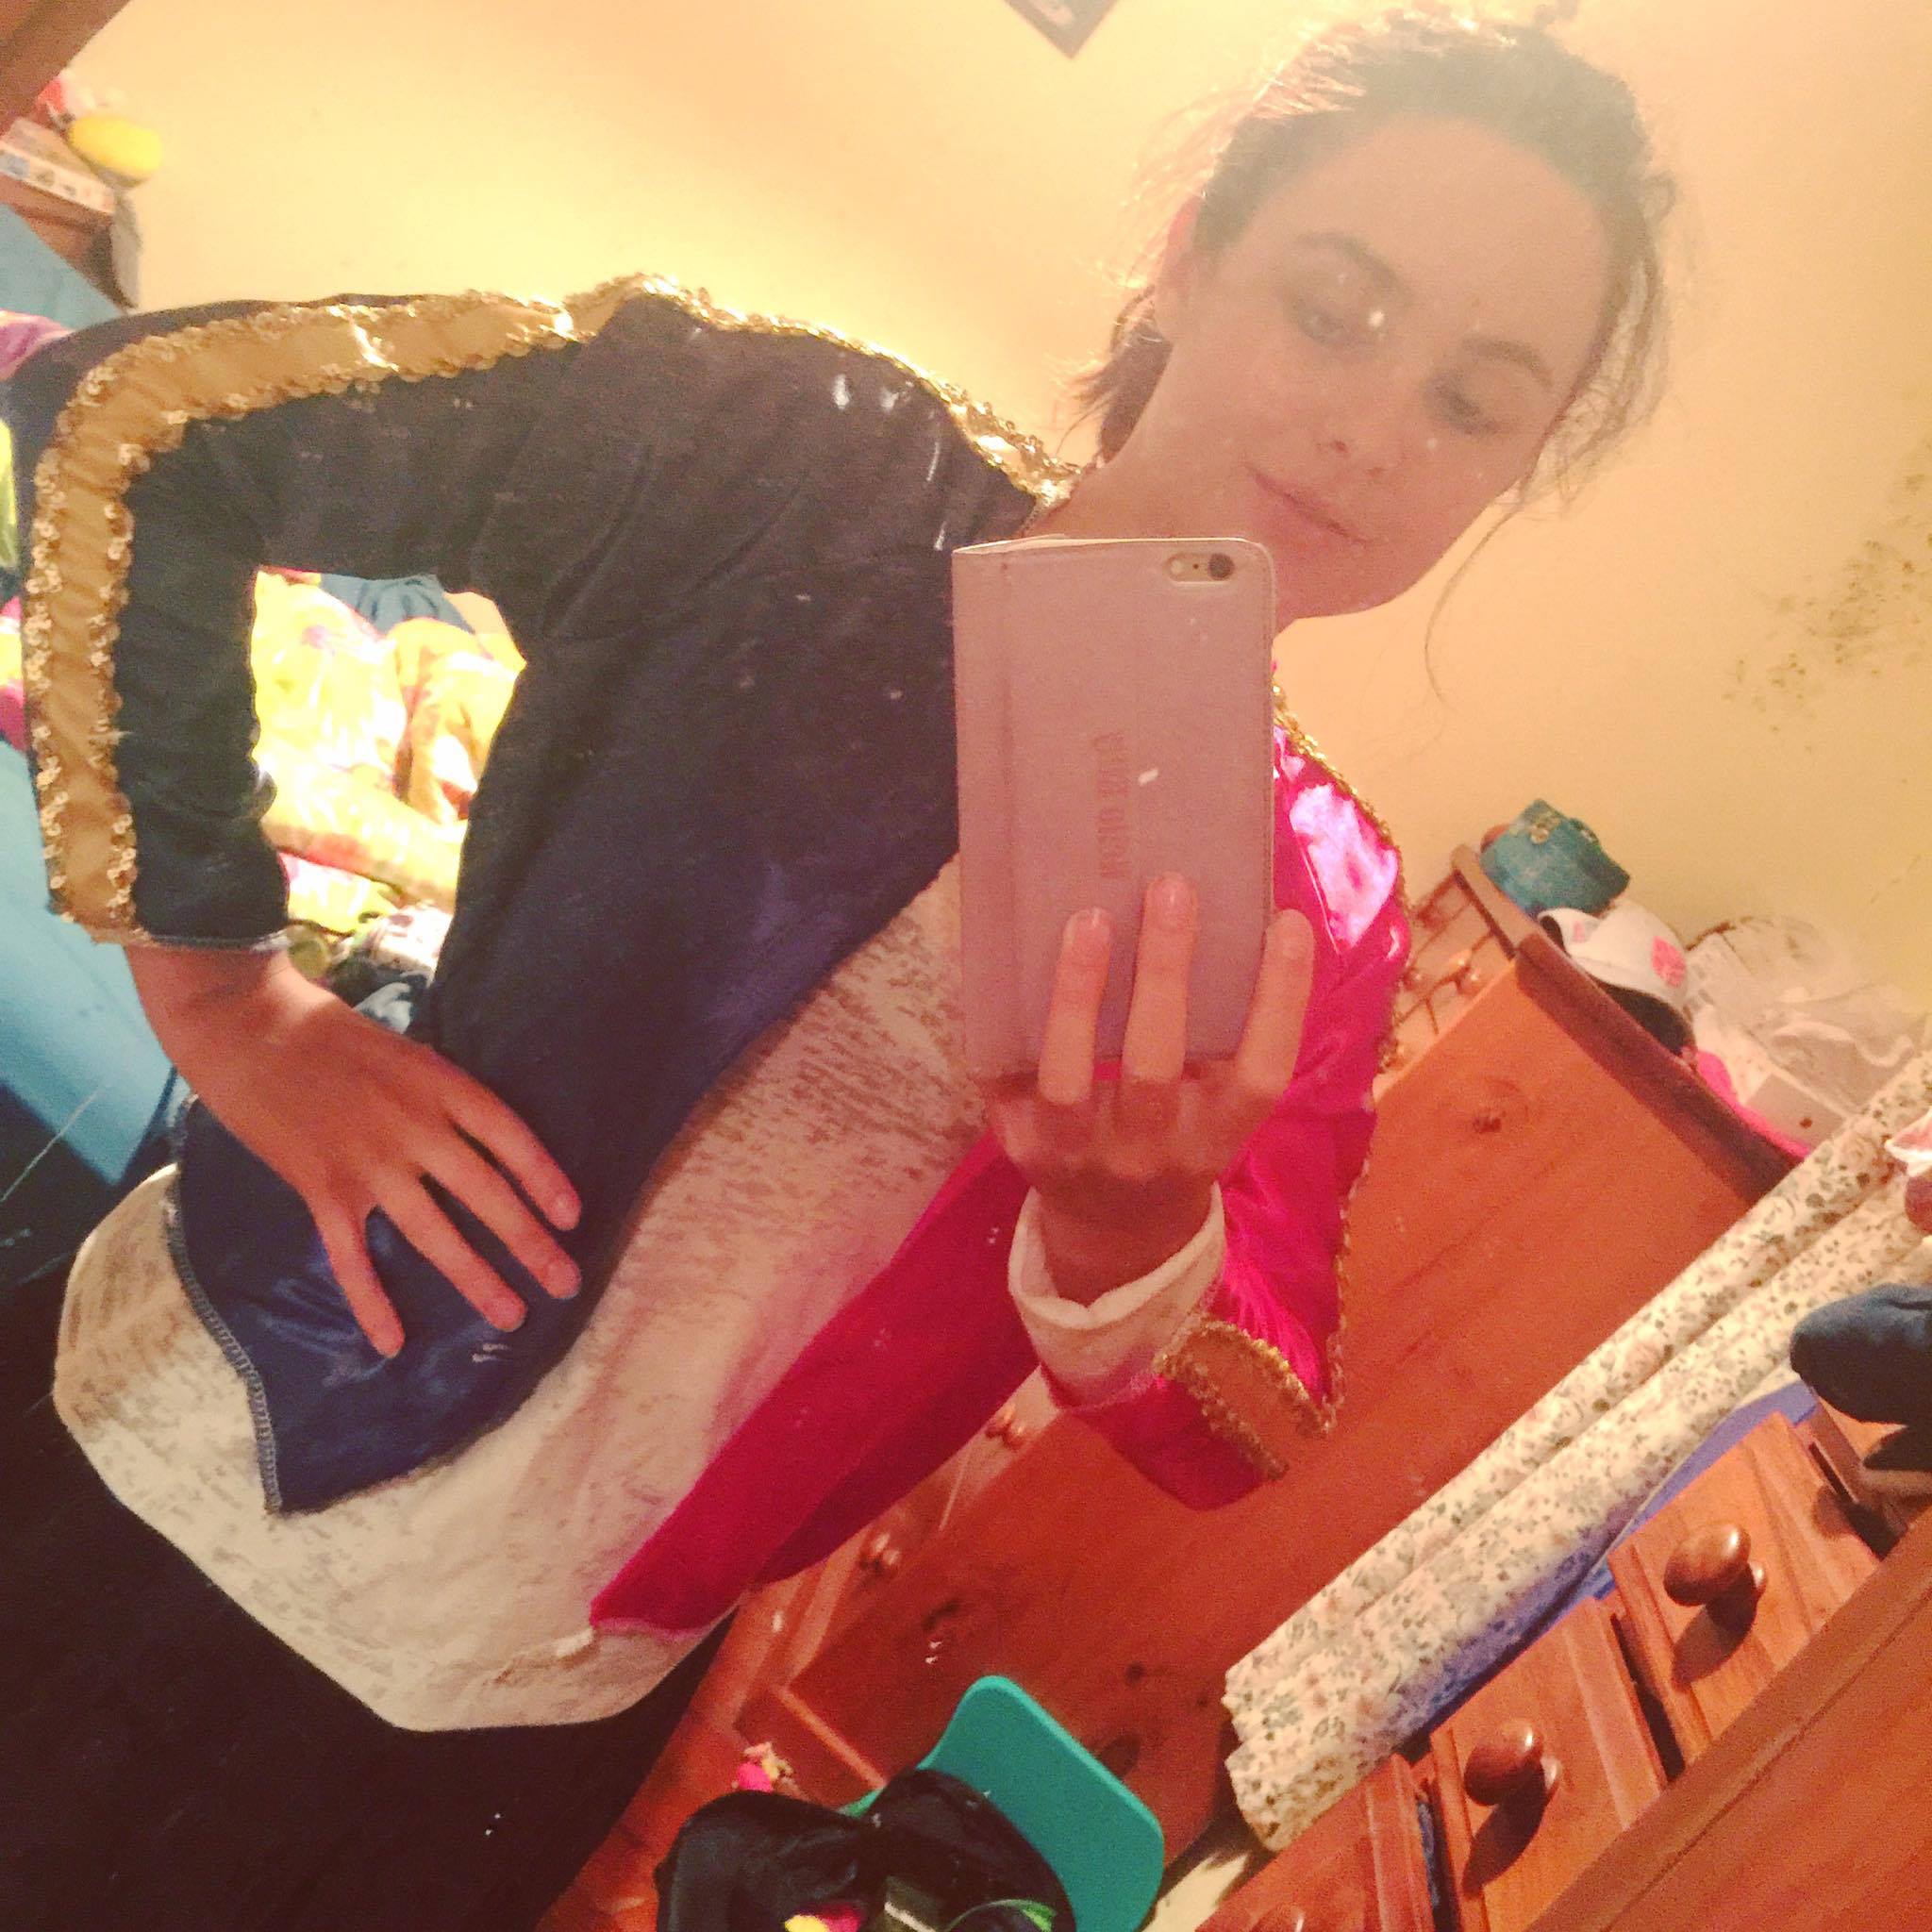
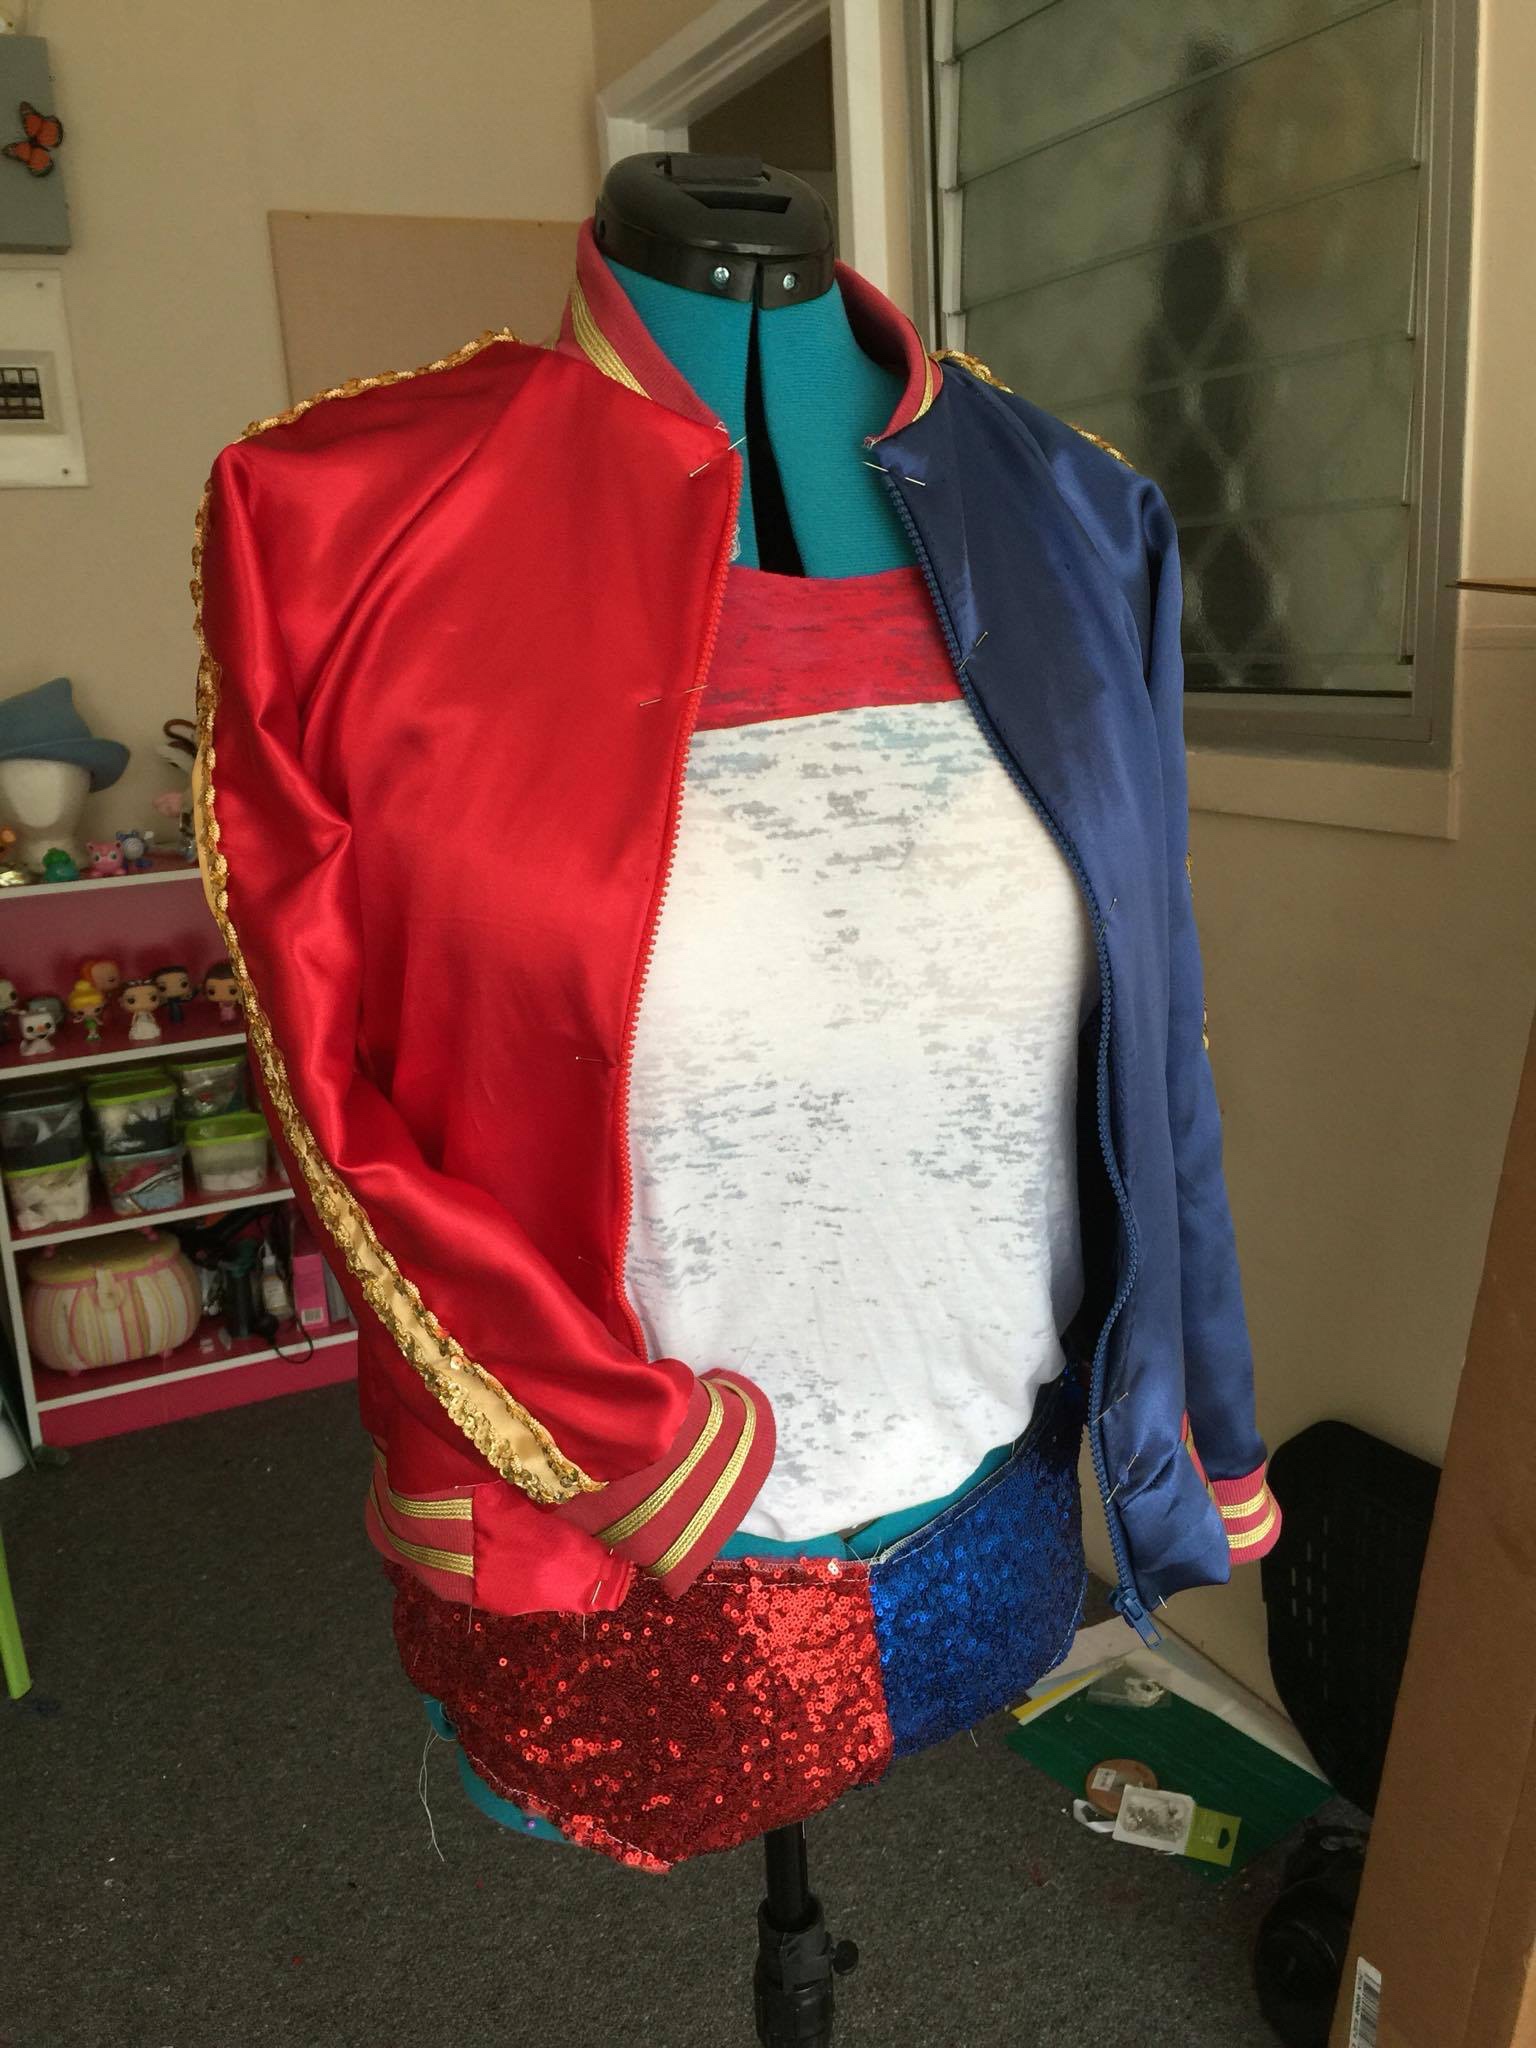
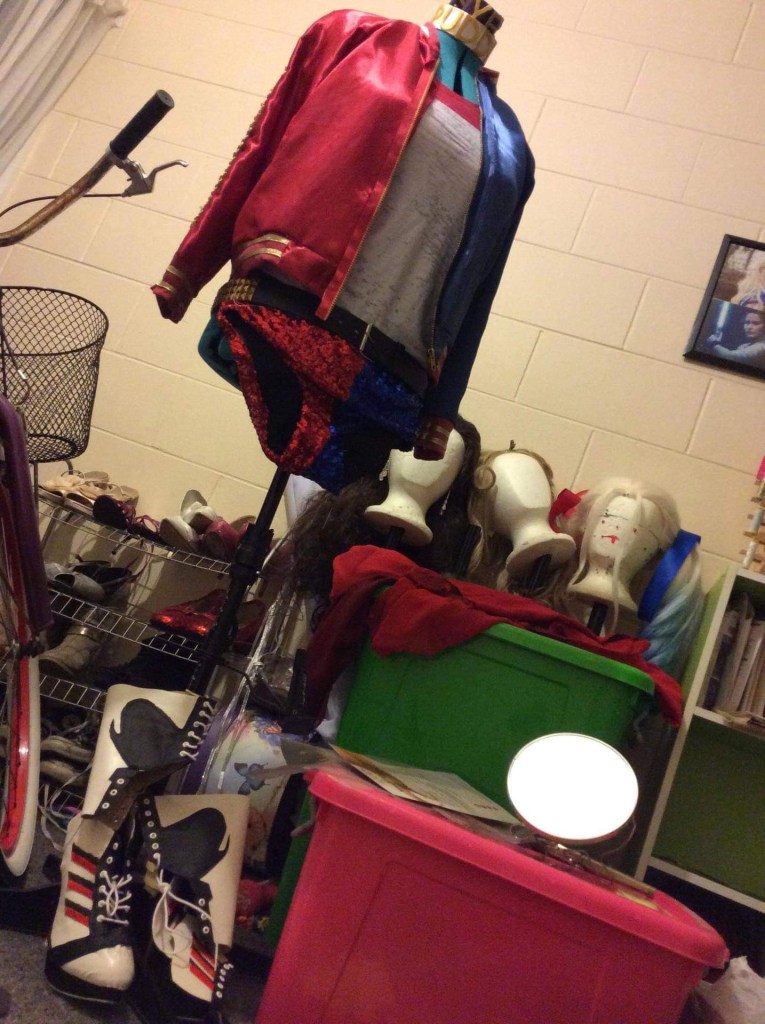
Jacket : I used Burda 6489 to make the jacket. Making sure to cut half the pattern from blue satin and half from the red satin. I opted to leave out the pockets on the front though as at the time, I didn’t know that hers had pockets there.I
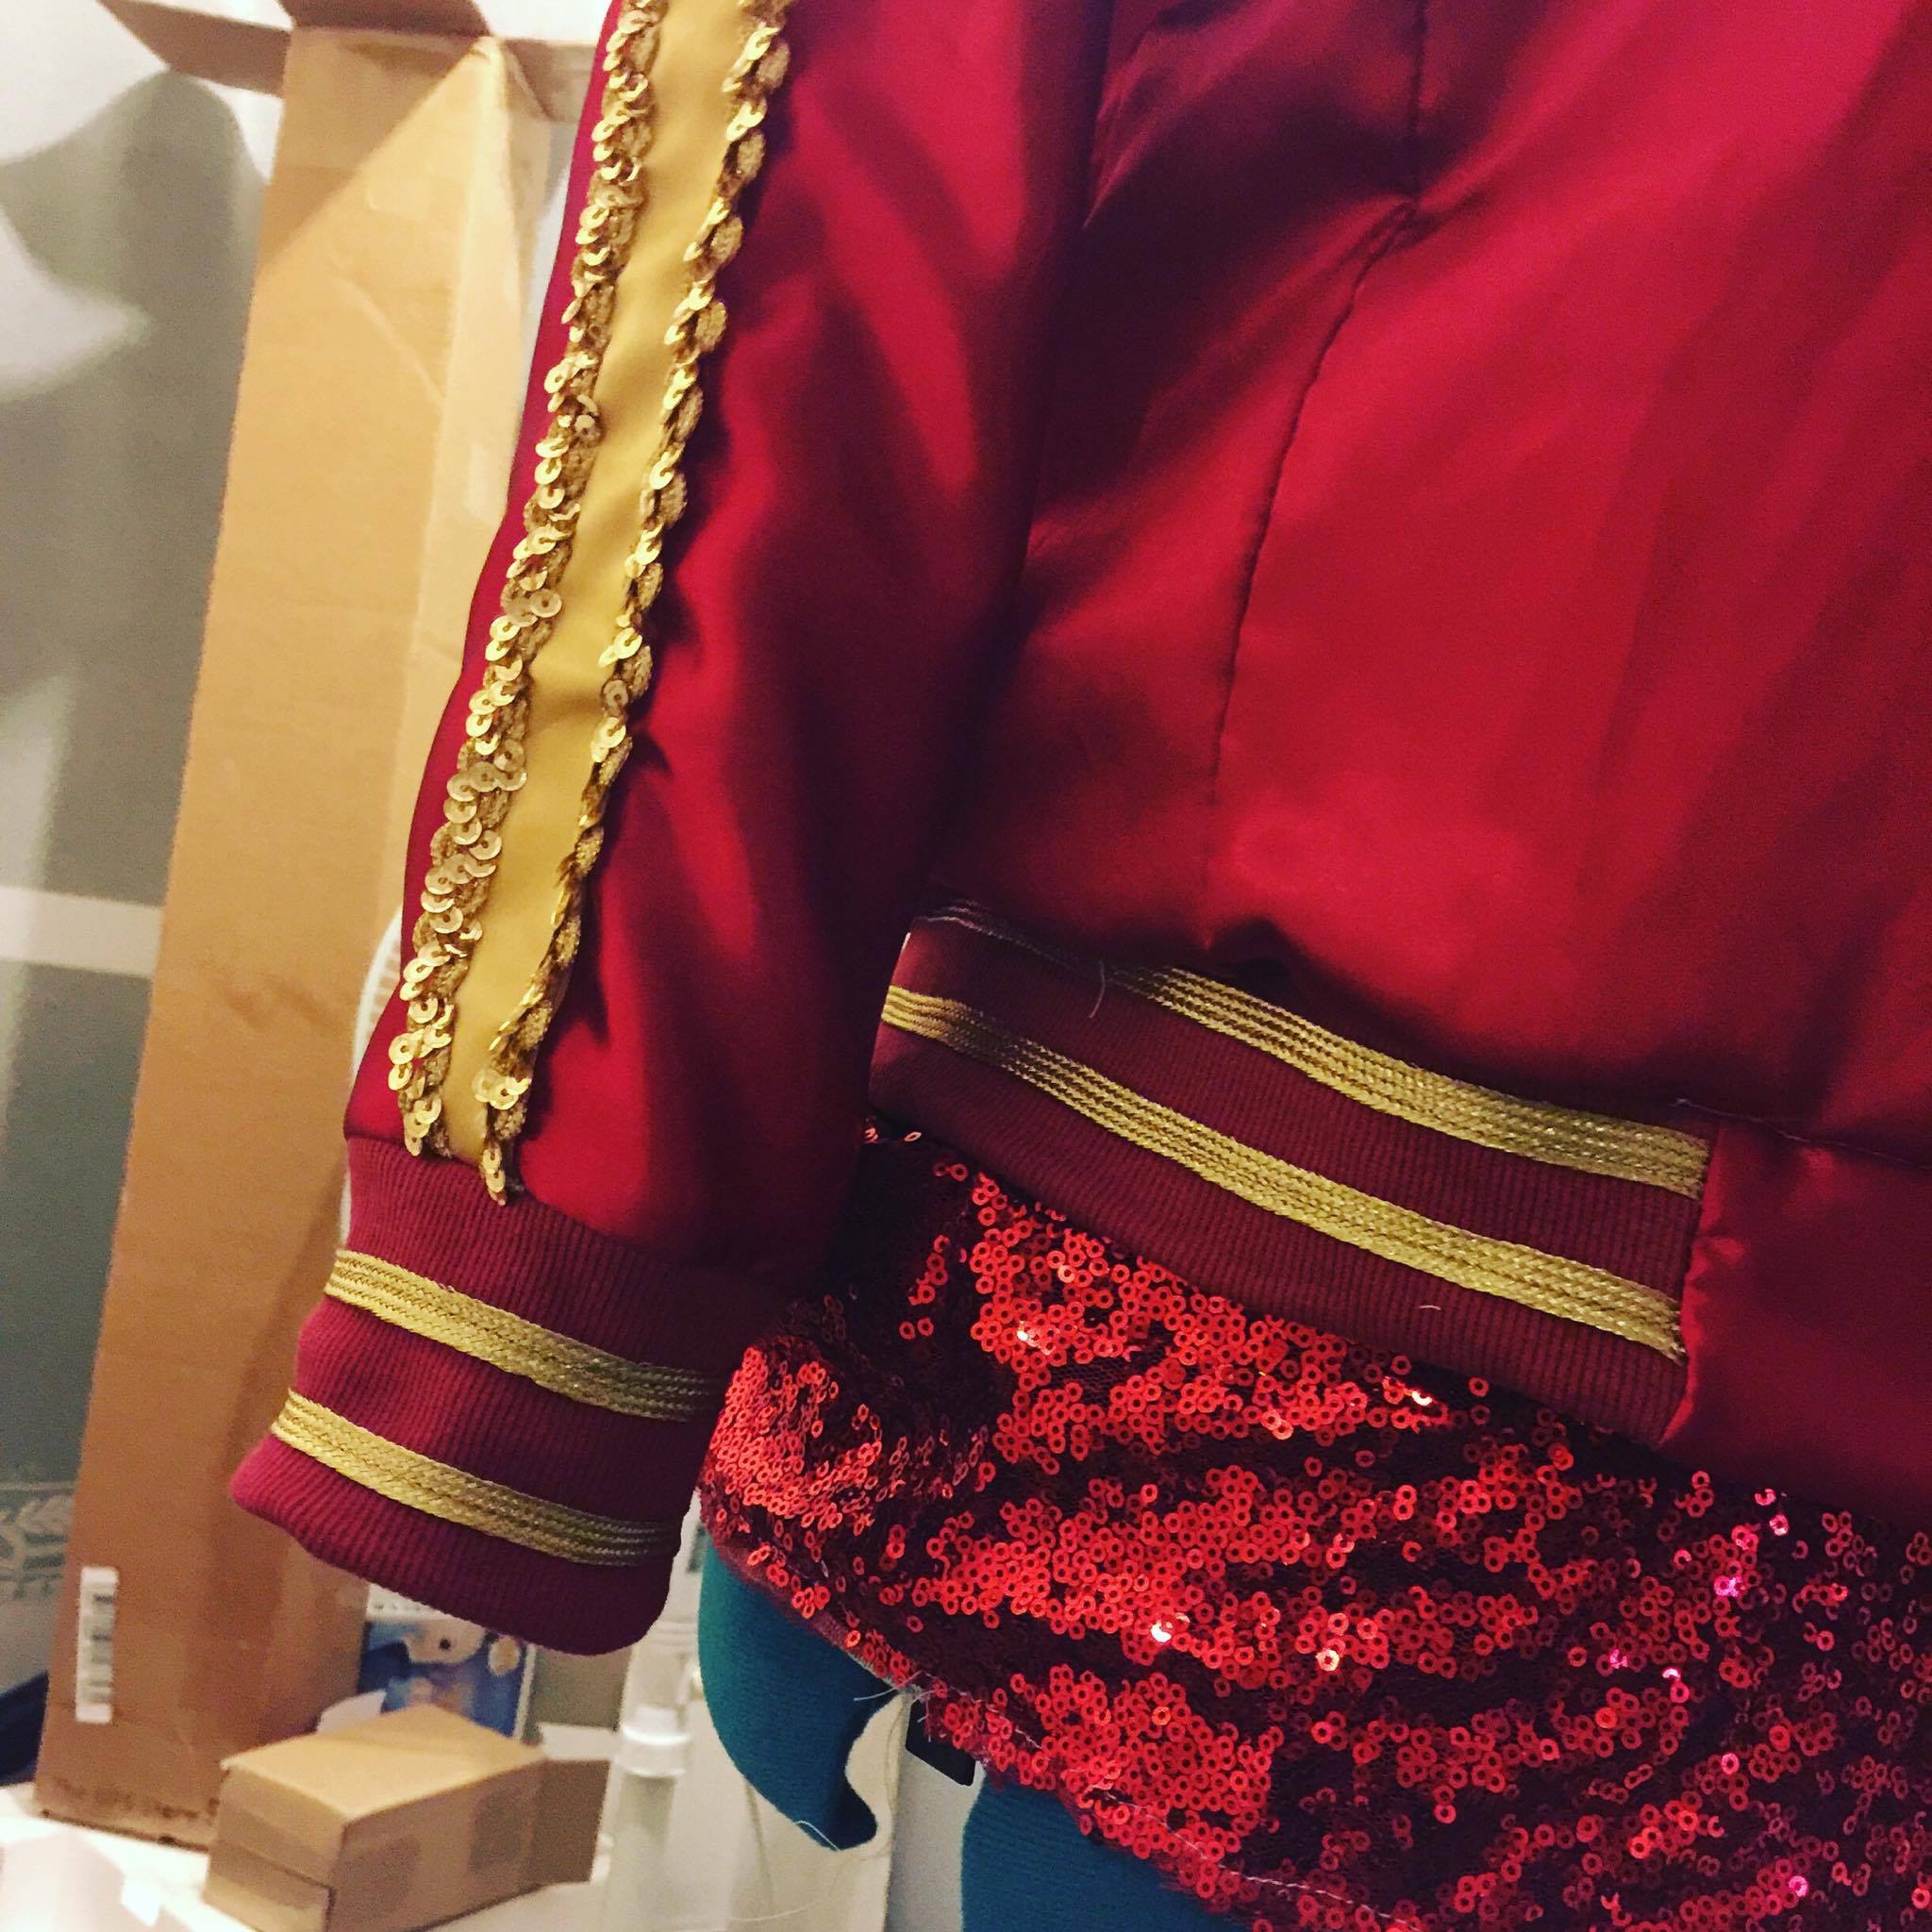
I could only find white ribbing for the cuffs and waistband so I had to buy some burgundy dye and dye it. I took the dye really well and then I sewed some gold metallic ribbon on top to give it the gold stripes that hers had.
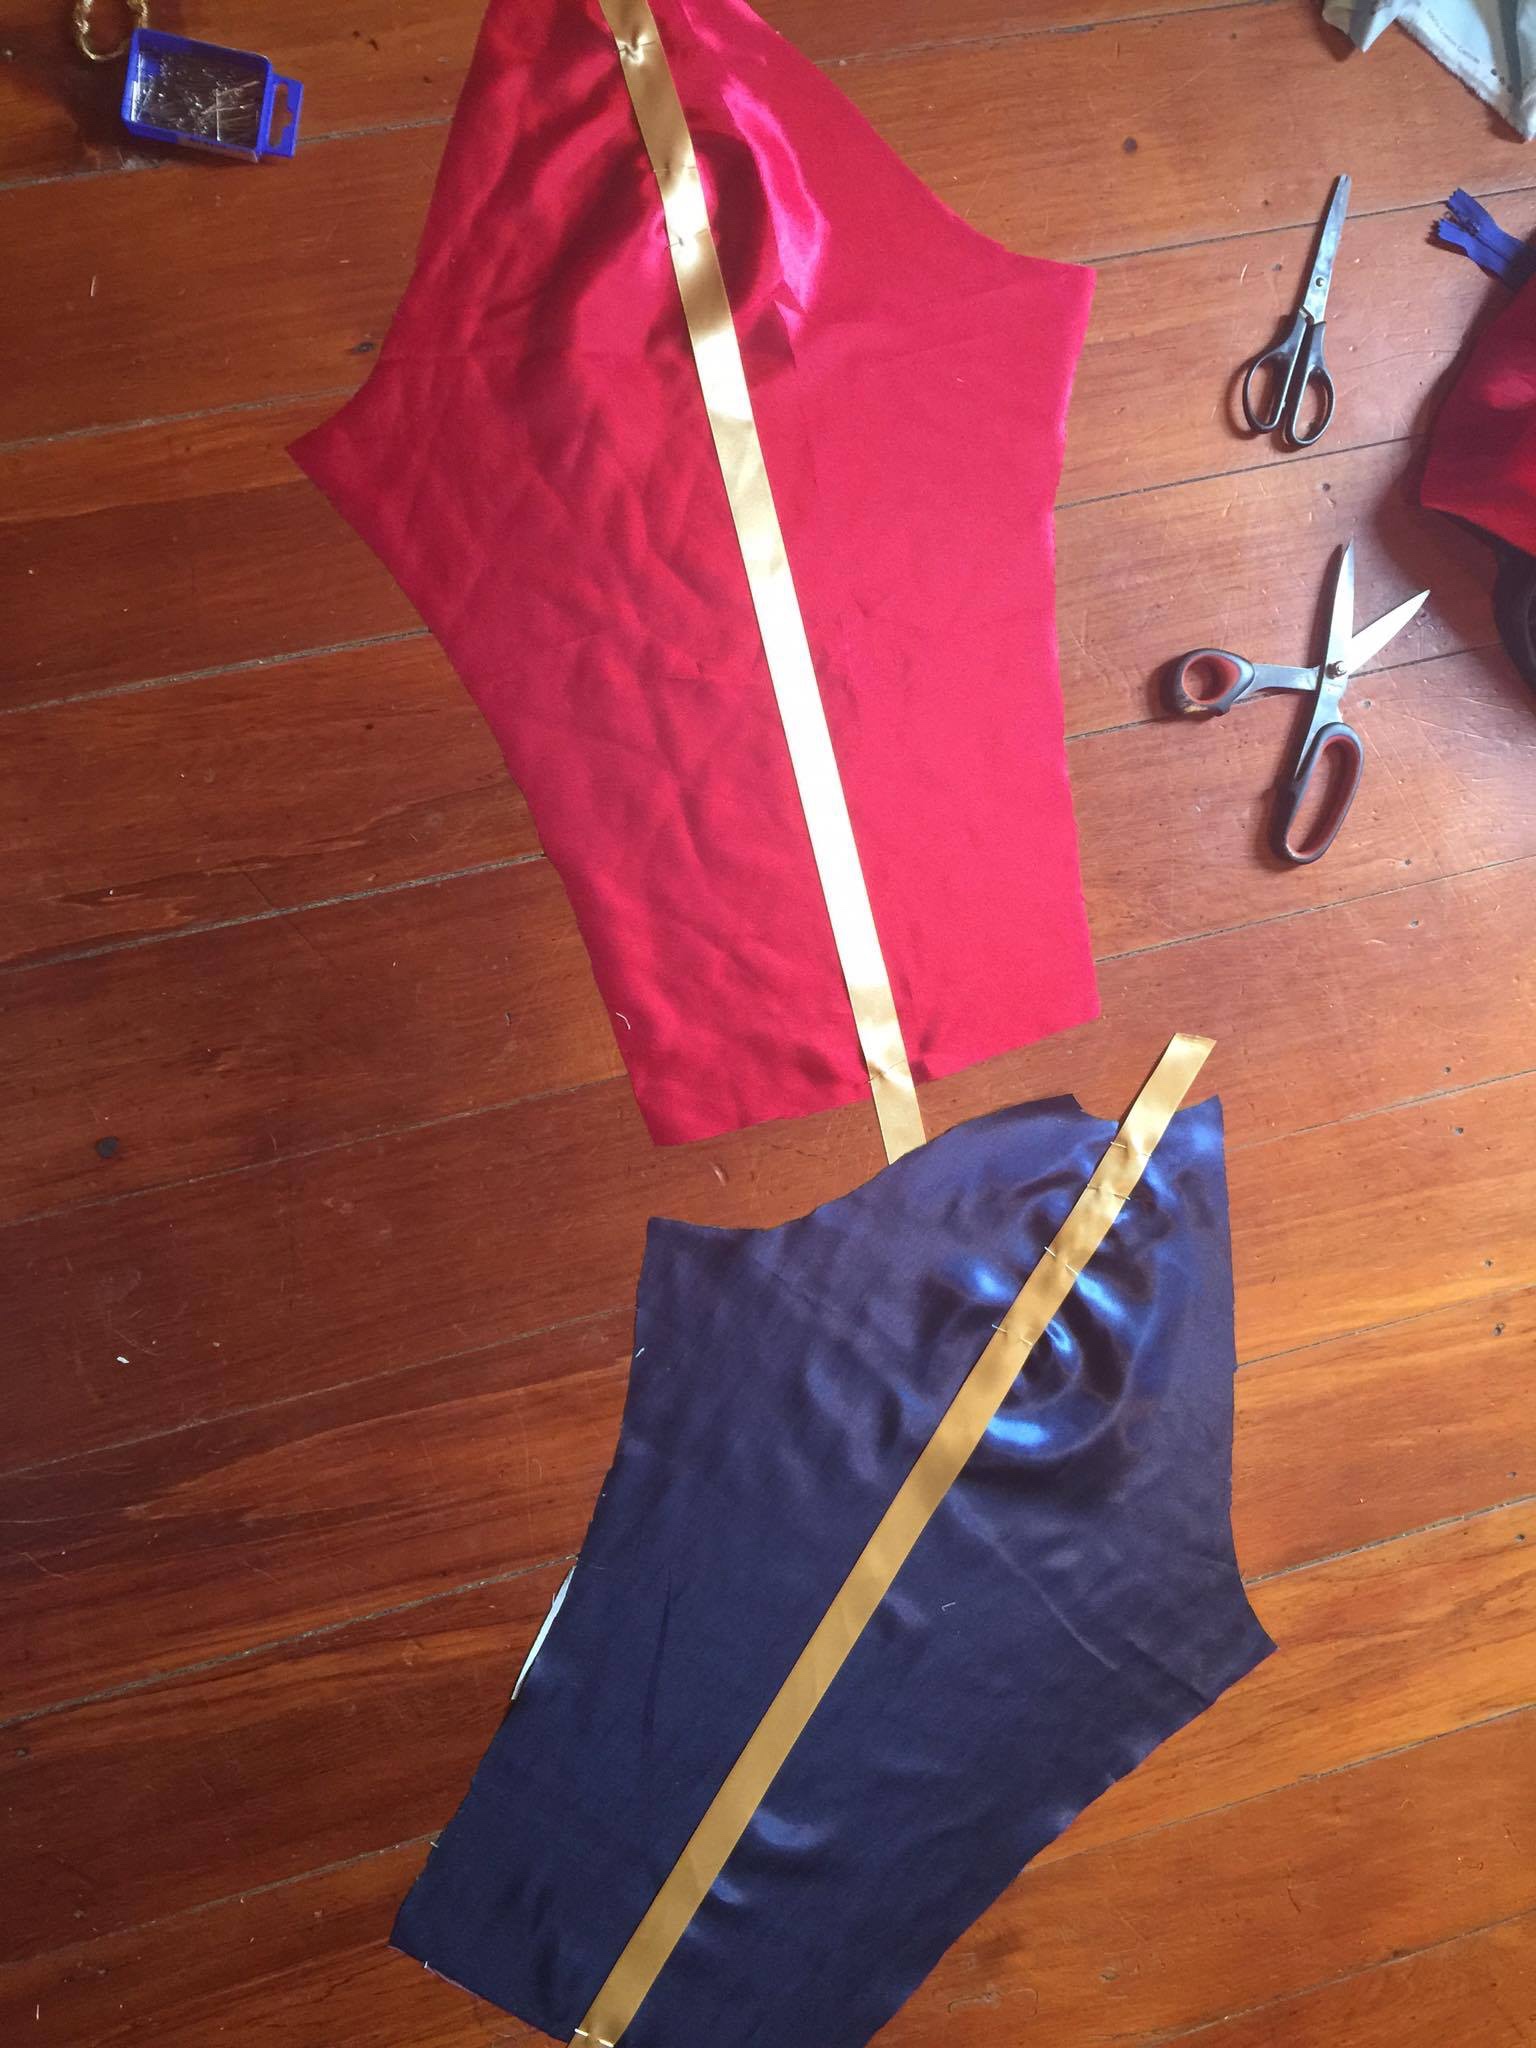
On both of the sleeves, before sewing them together and joining them to the rest of the jacket, I sewed a length of gold satin ribbon to it down the center. I then sewed gold sequin trim down either side of the satin ribbon. Then they were sewn in to the rest of the jacket.
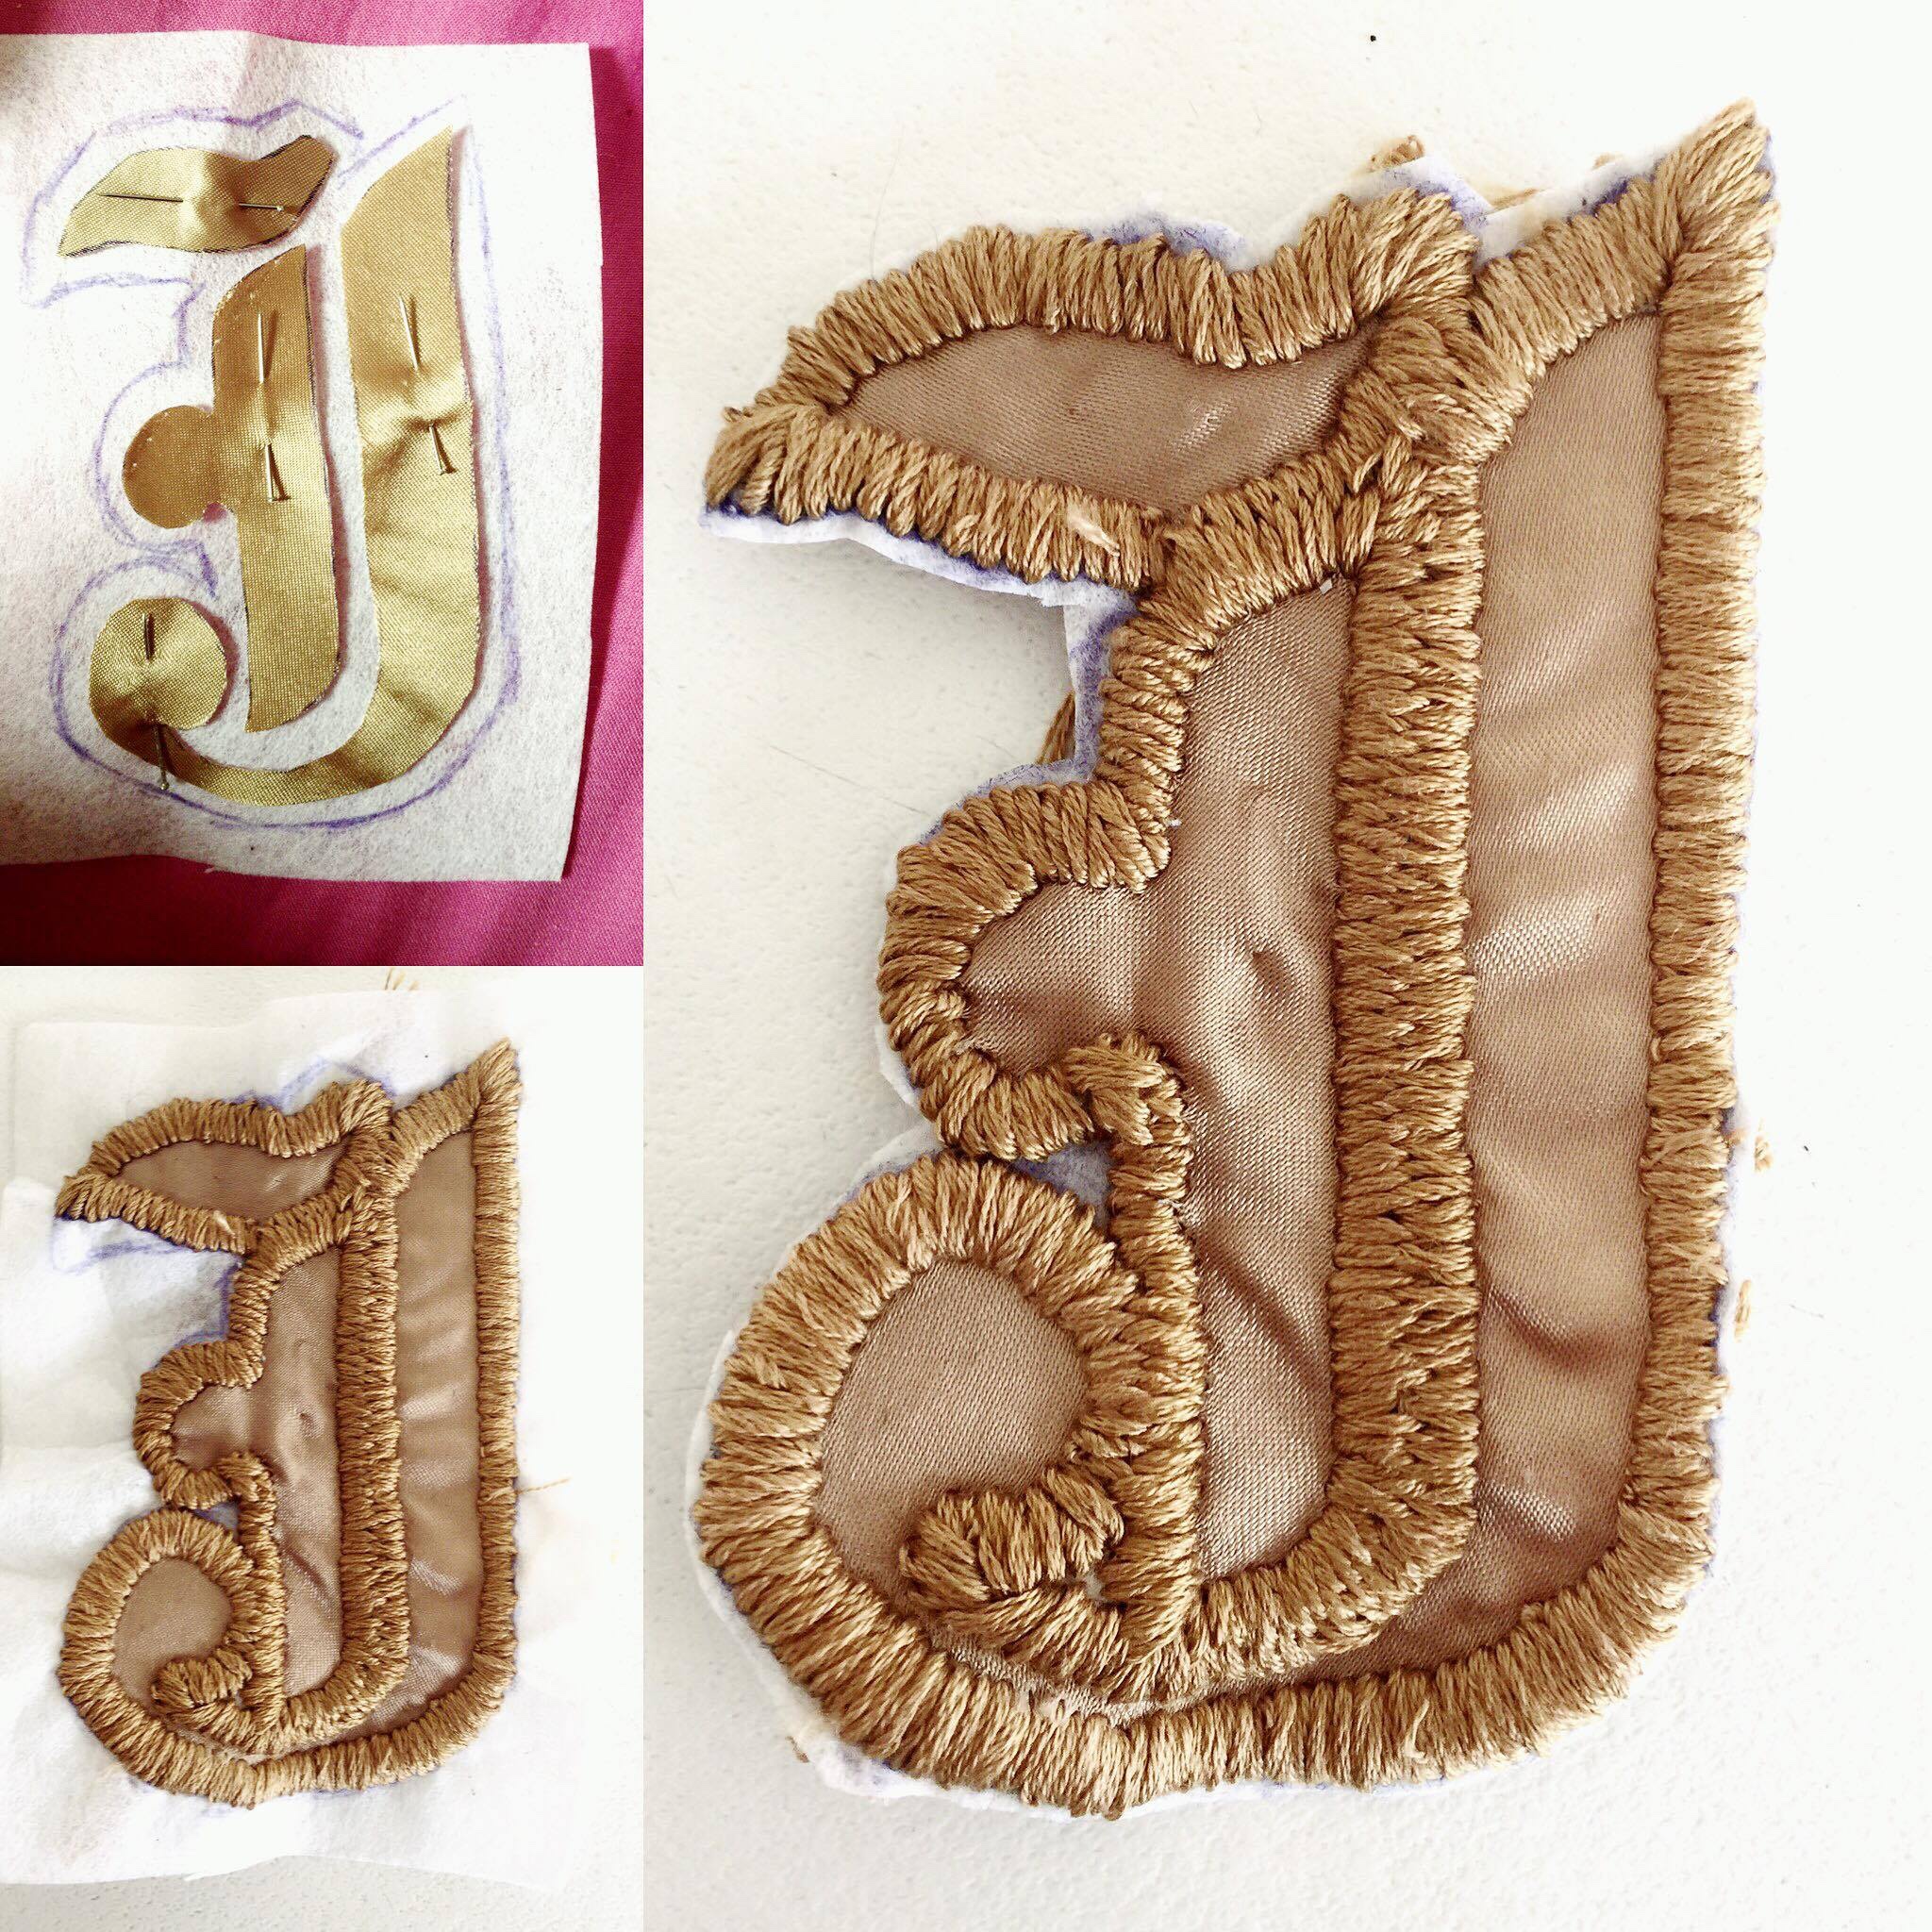
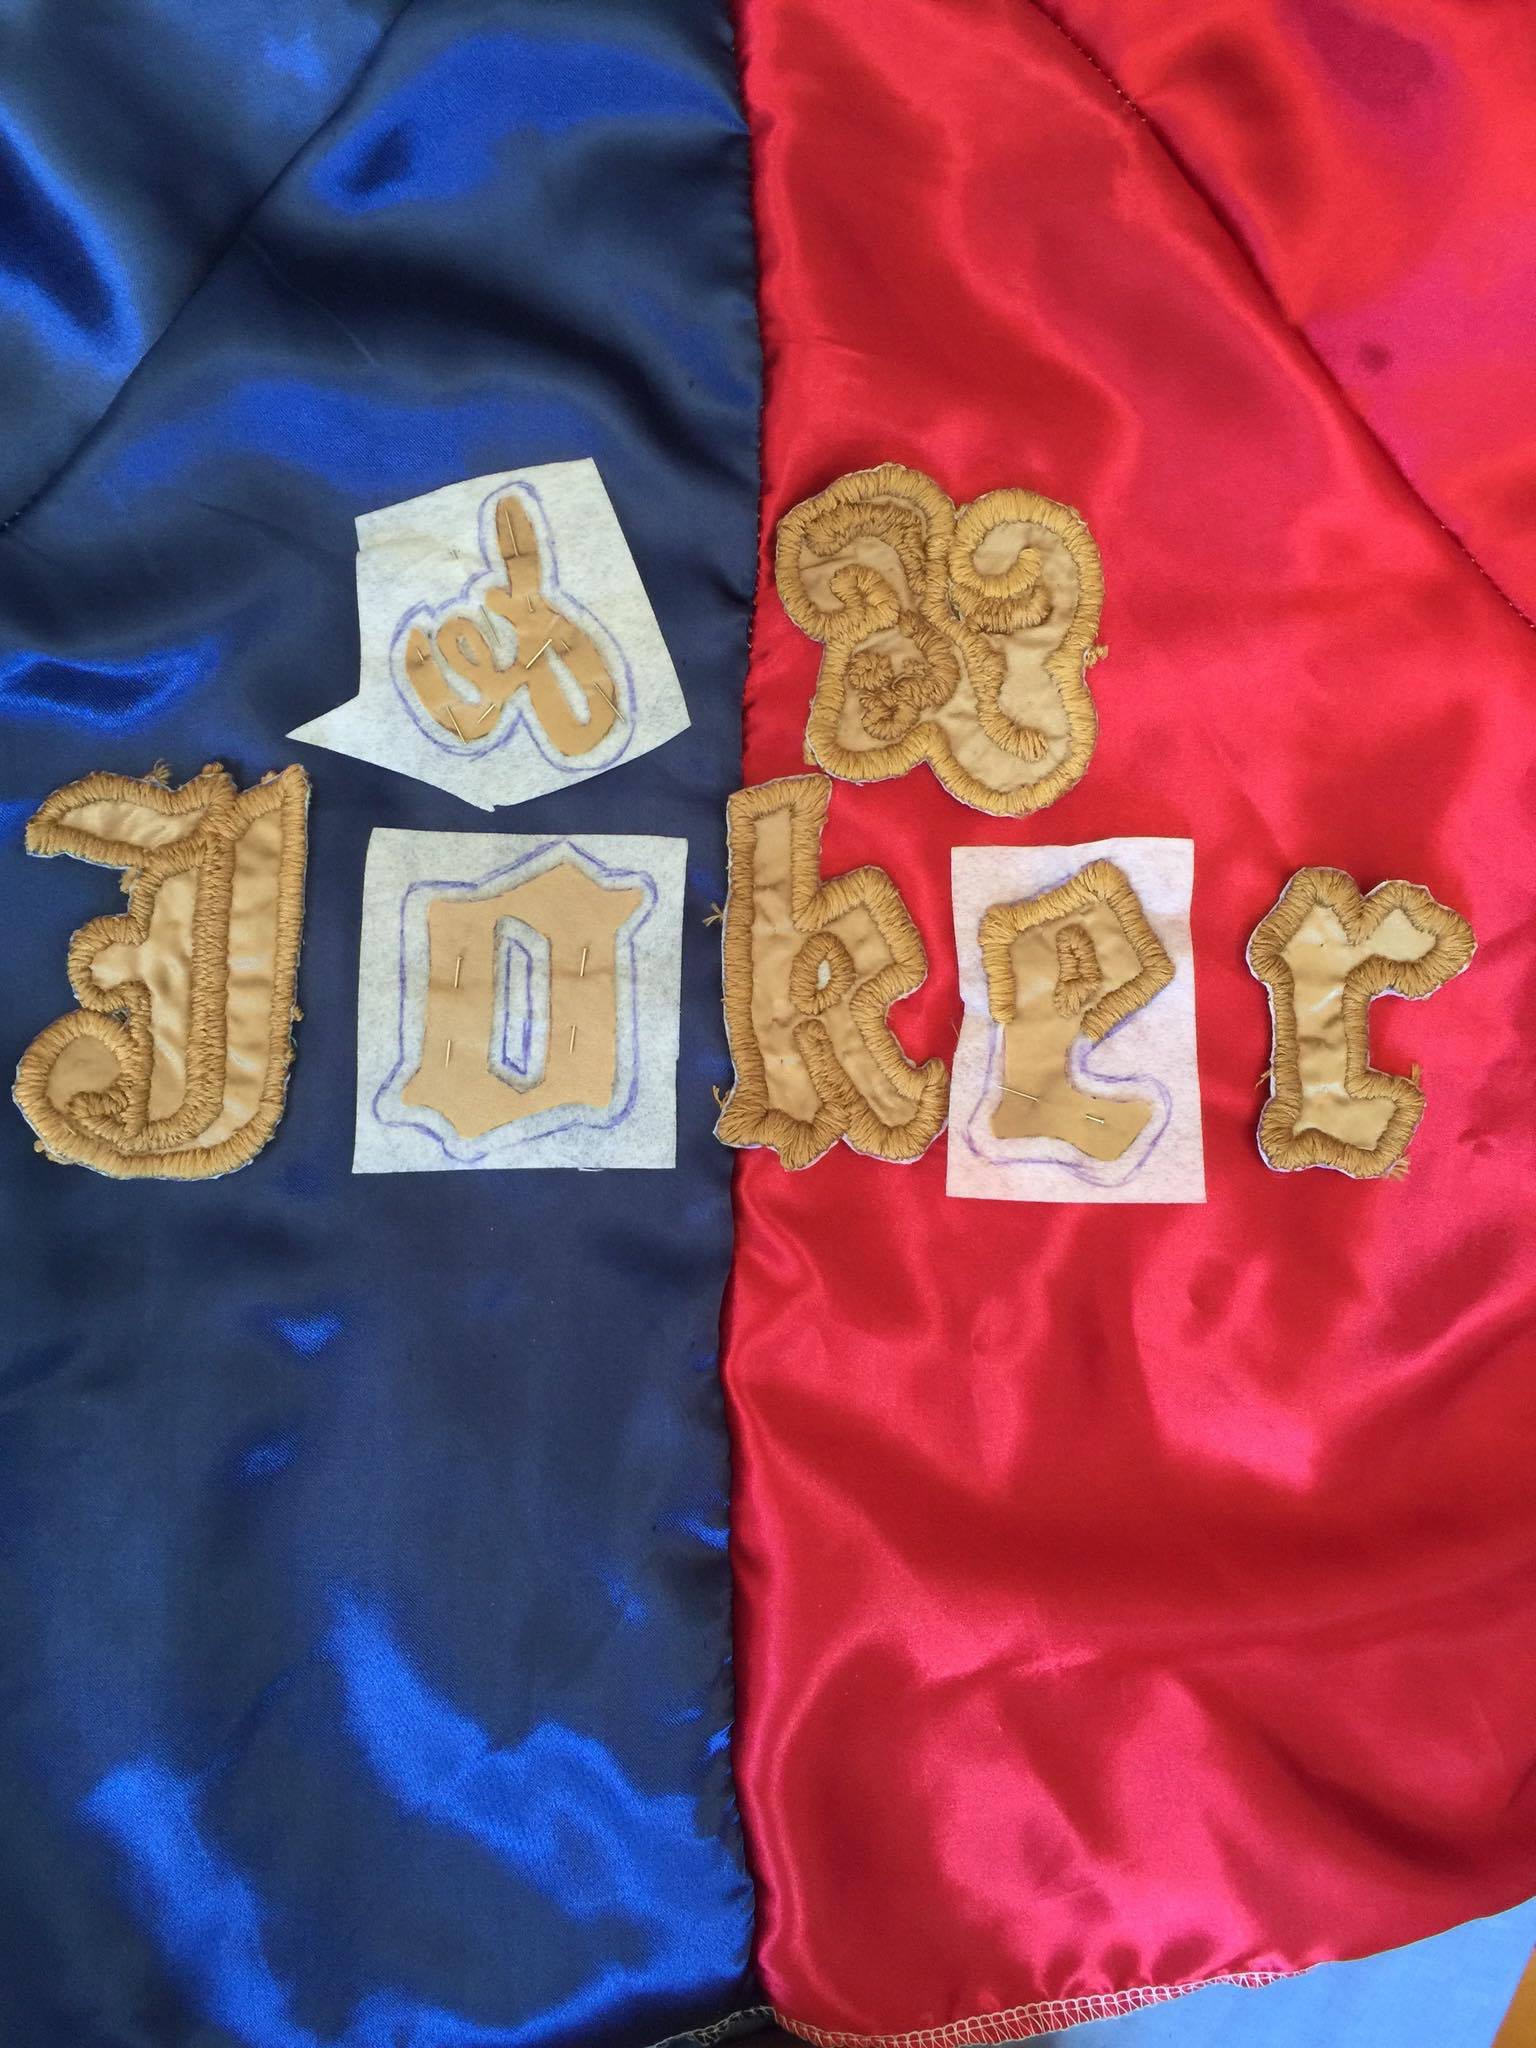
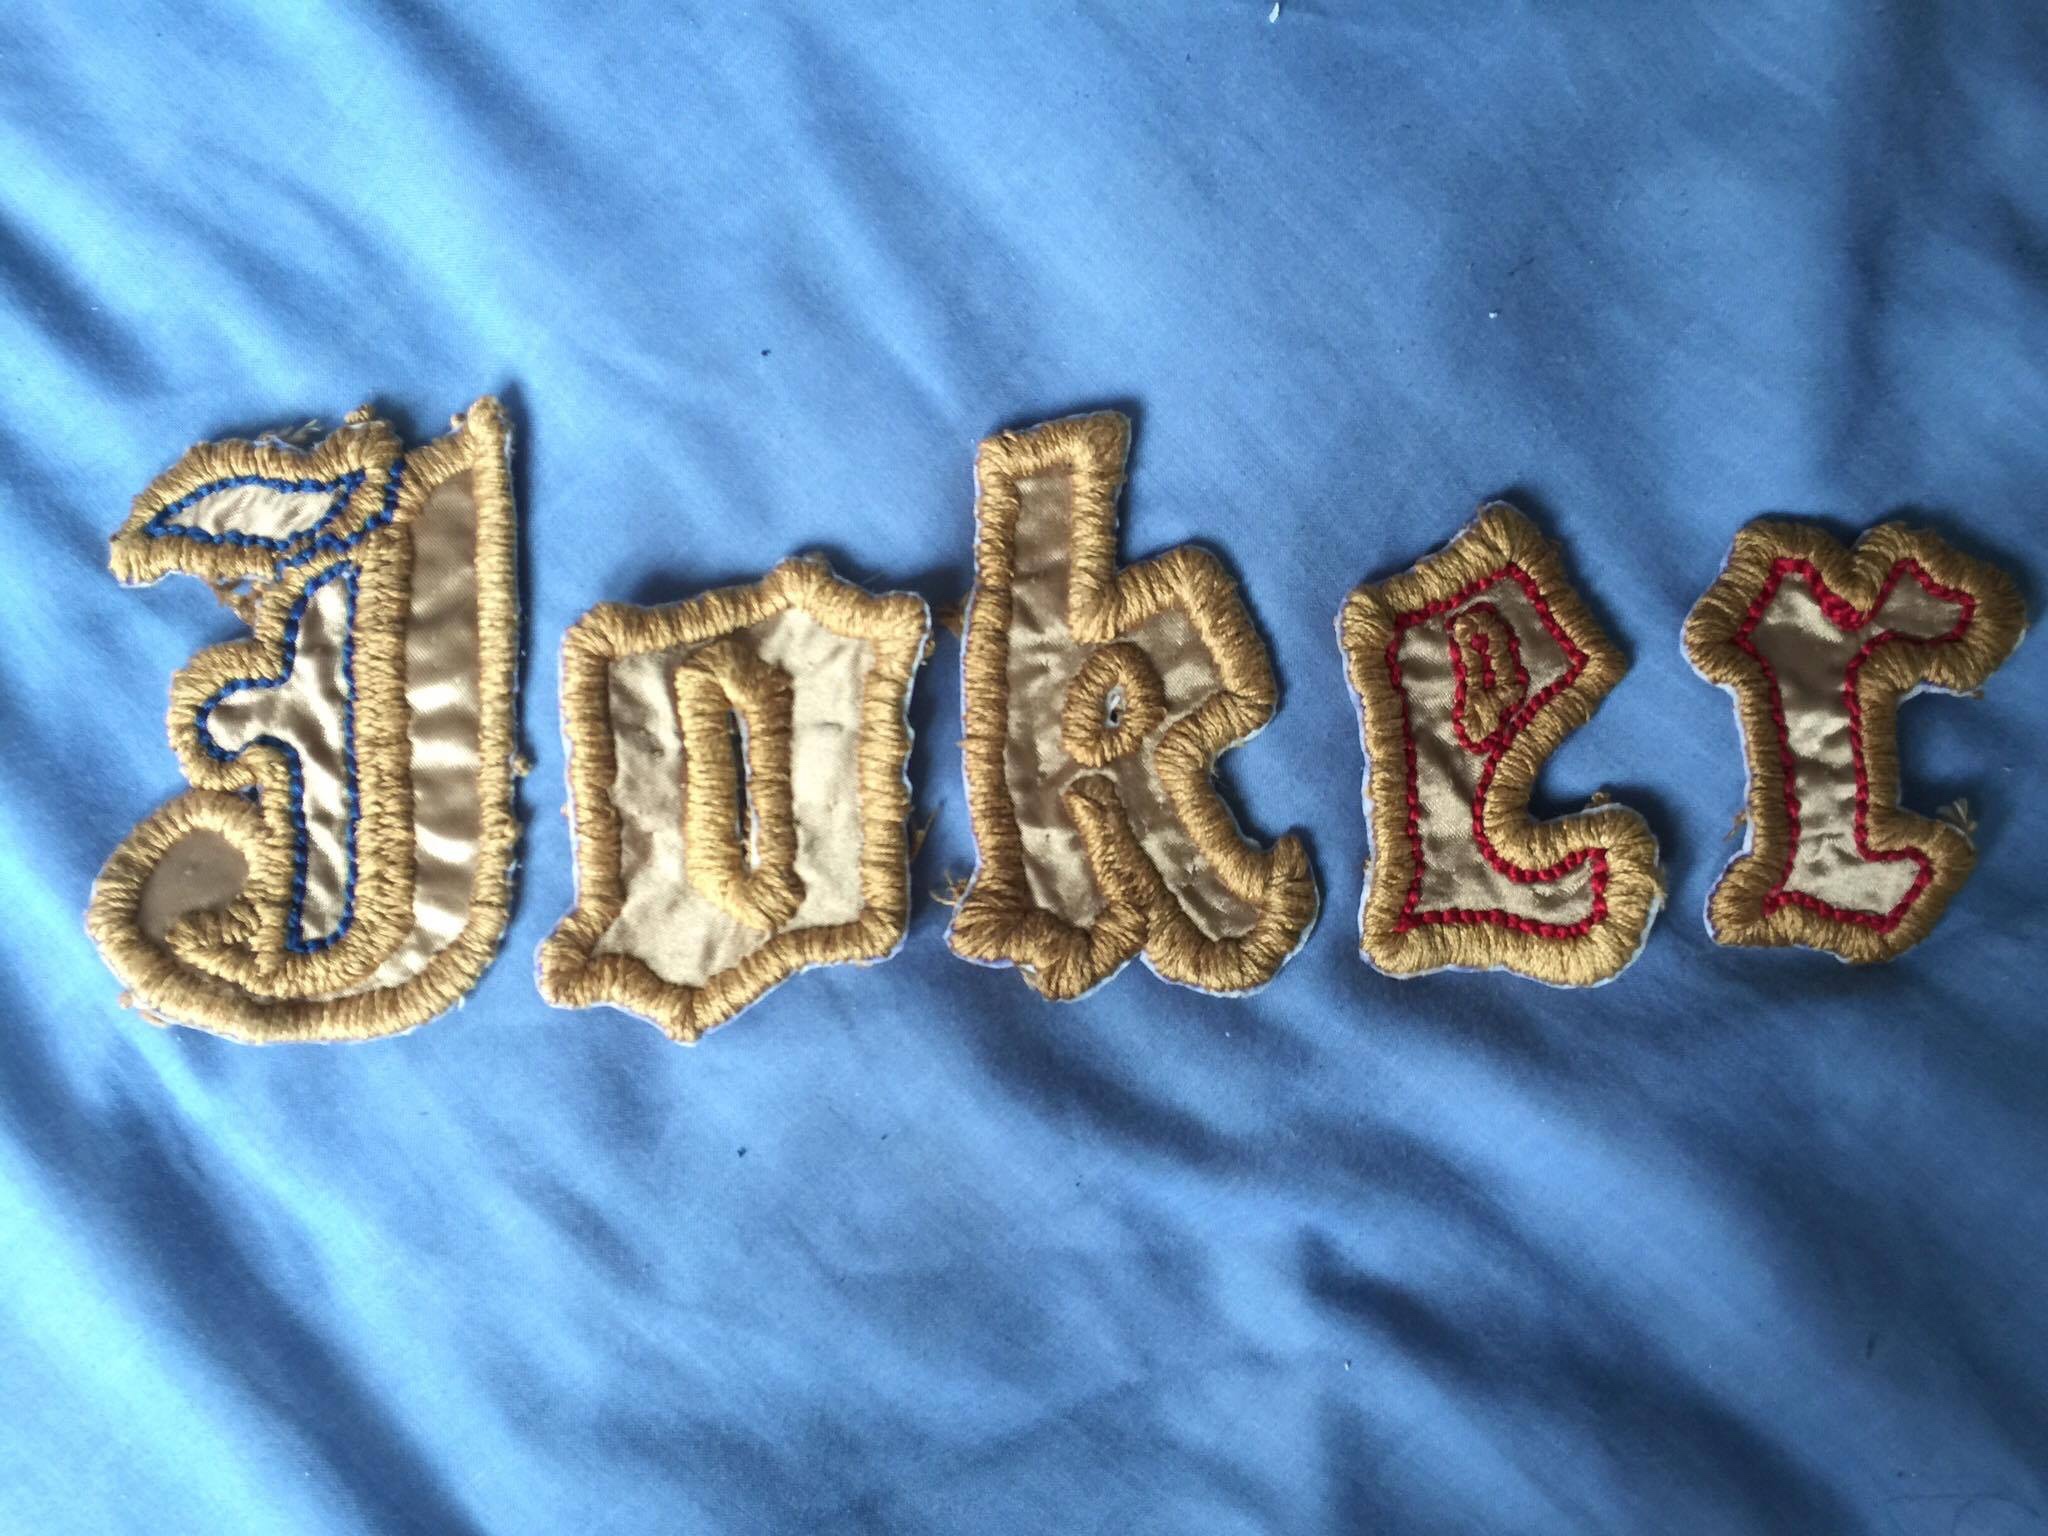
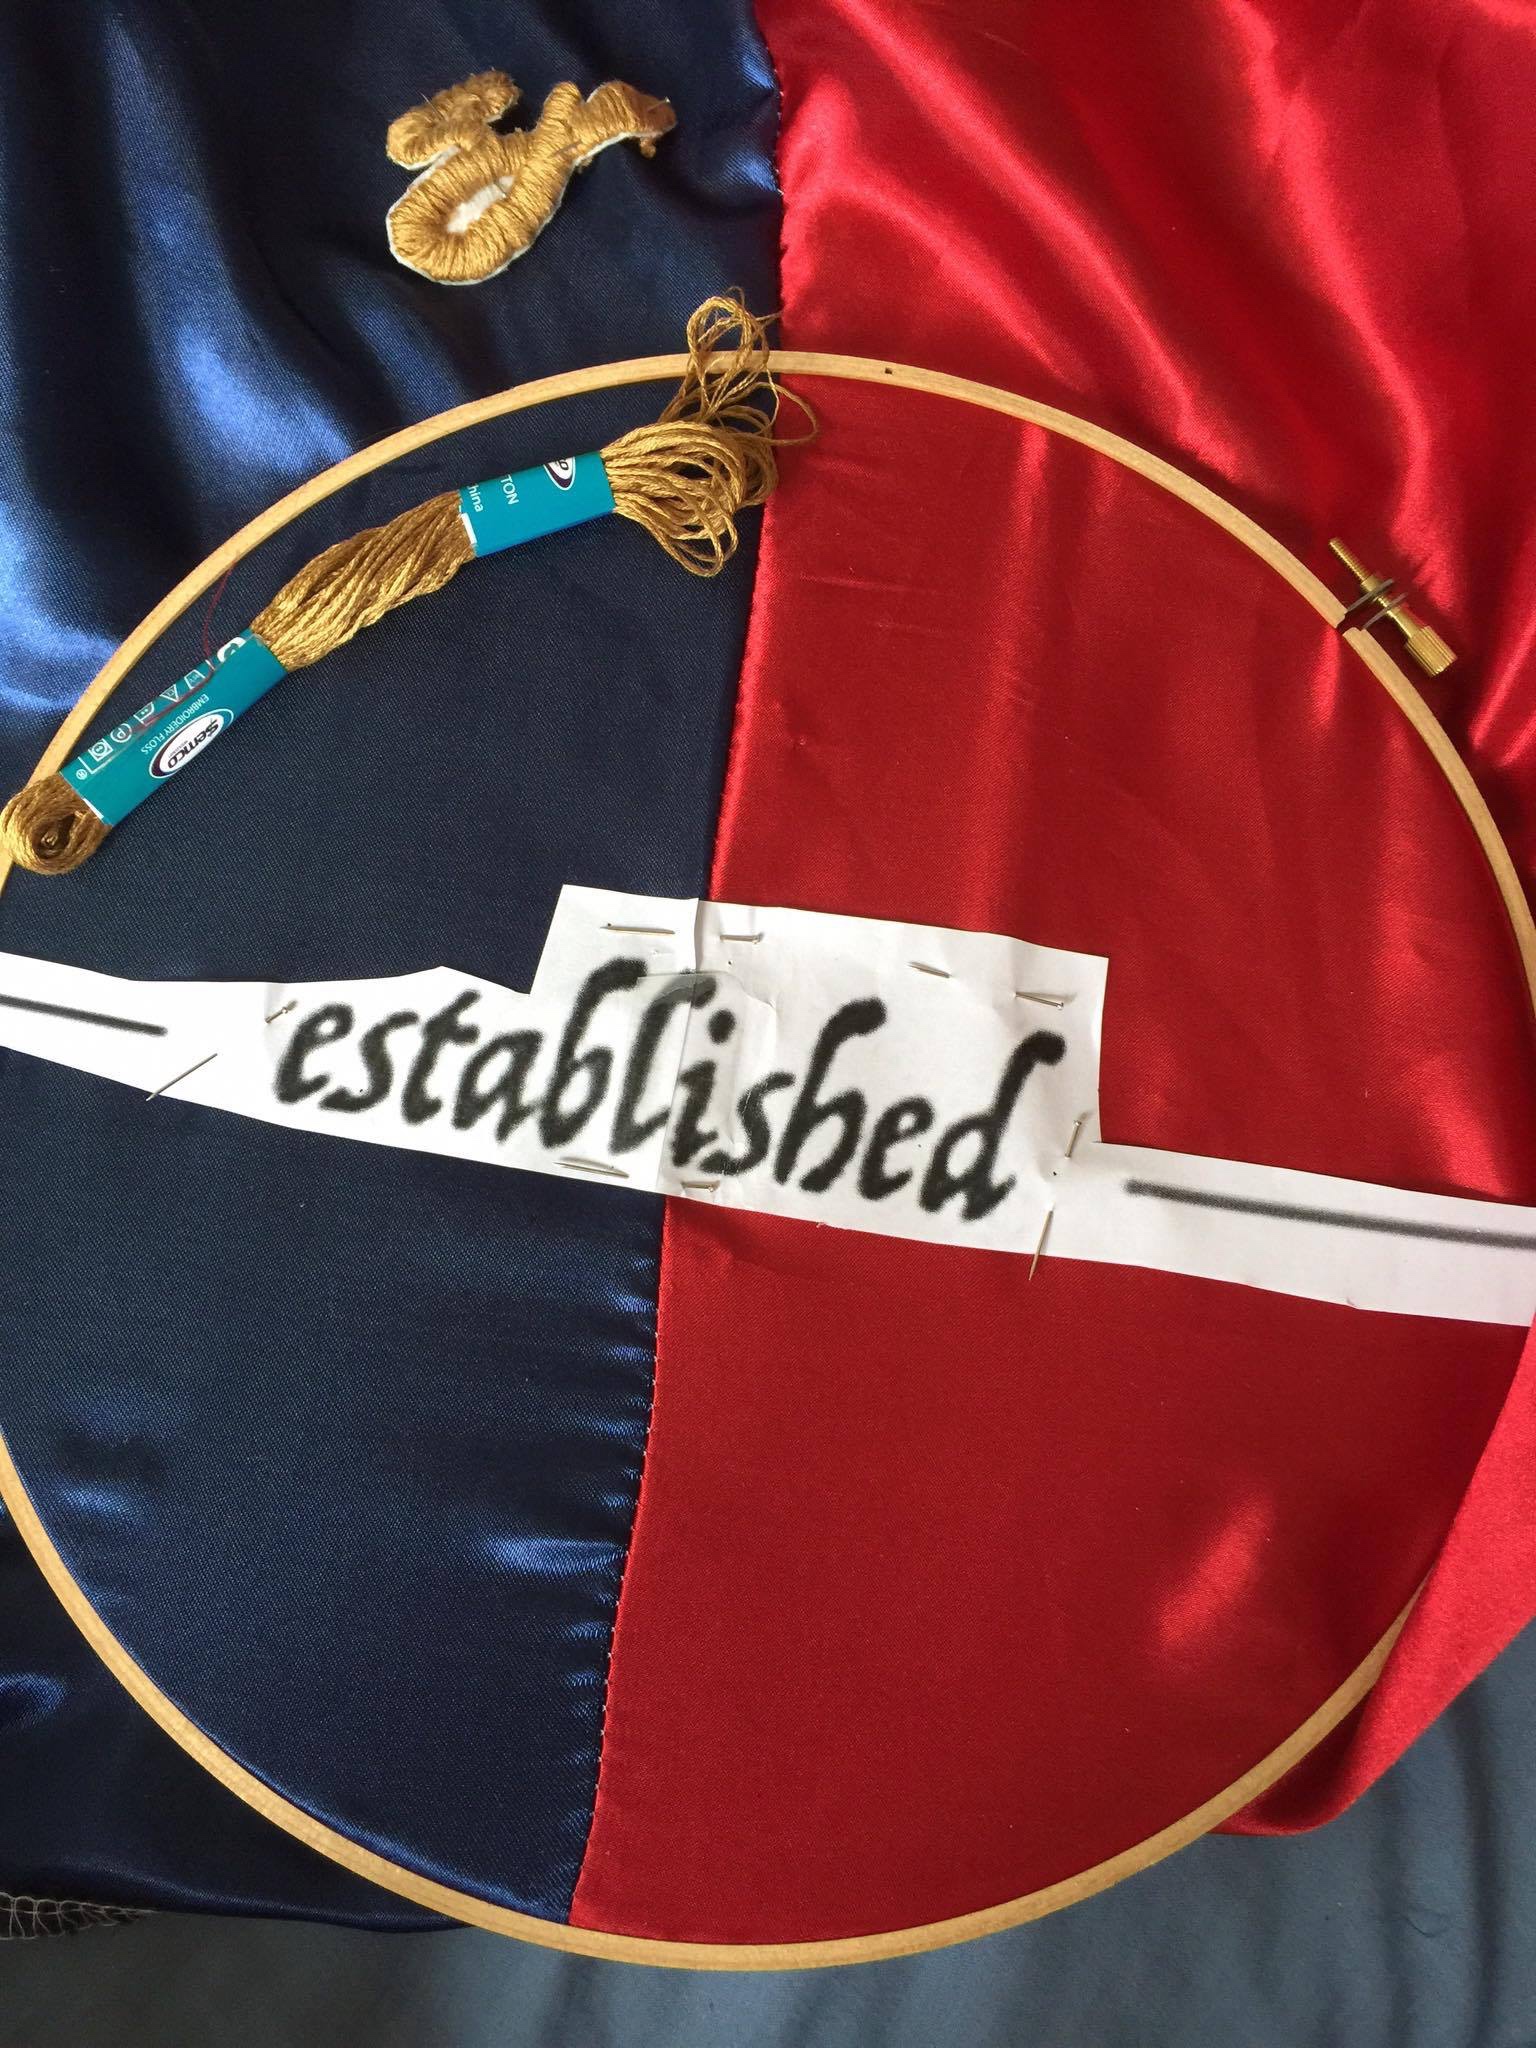
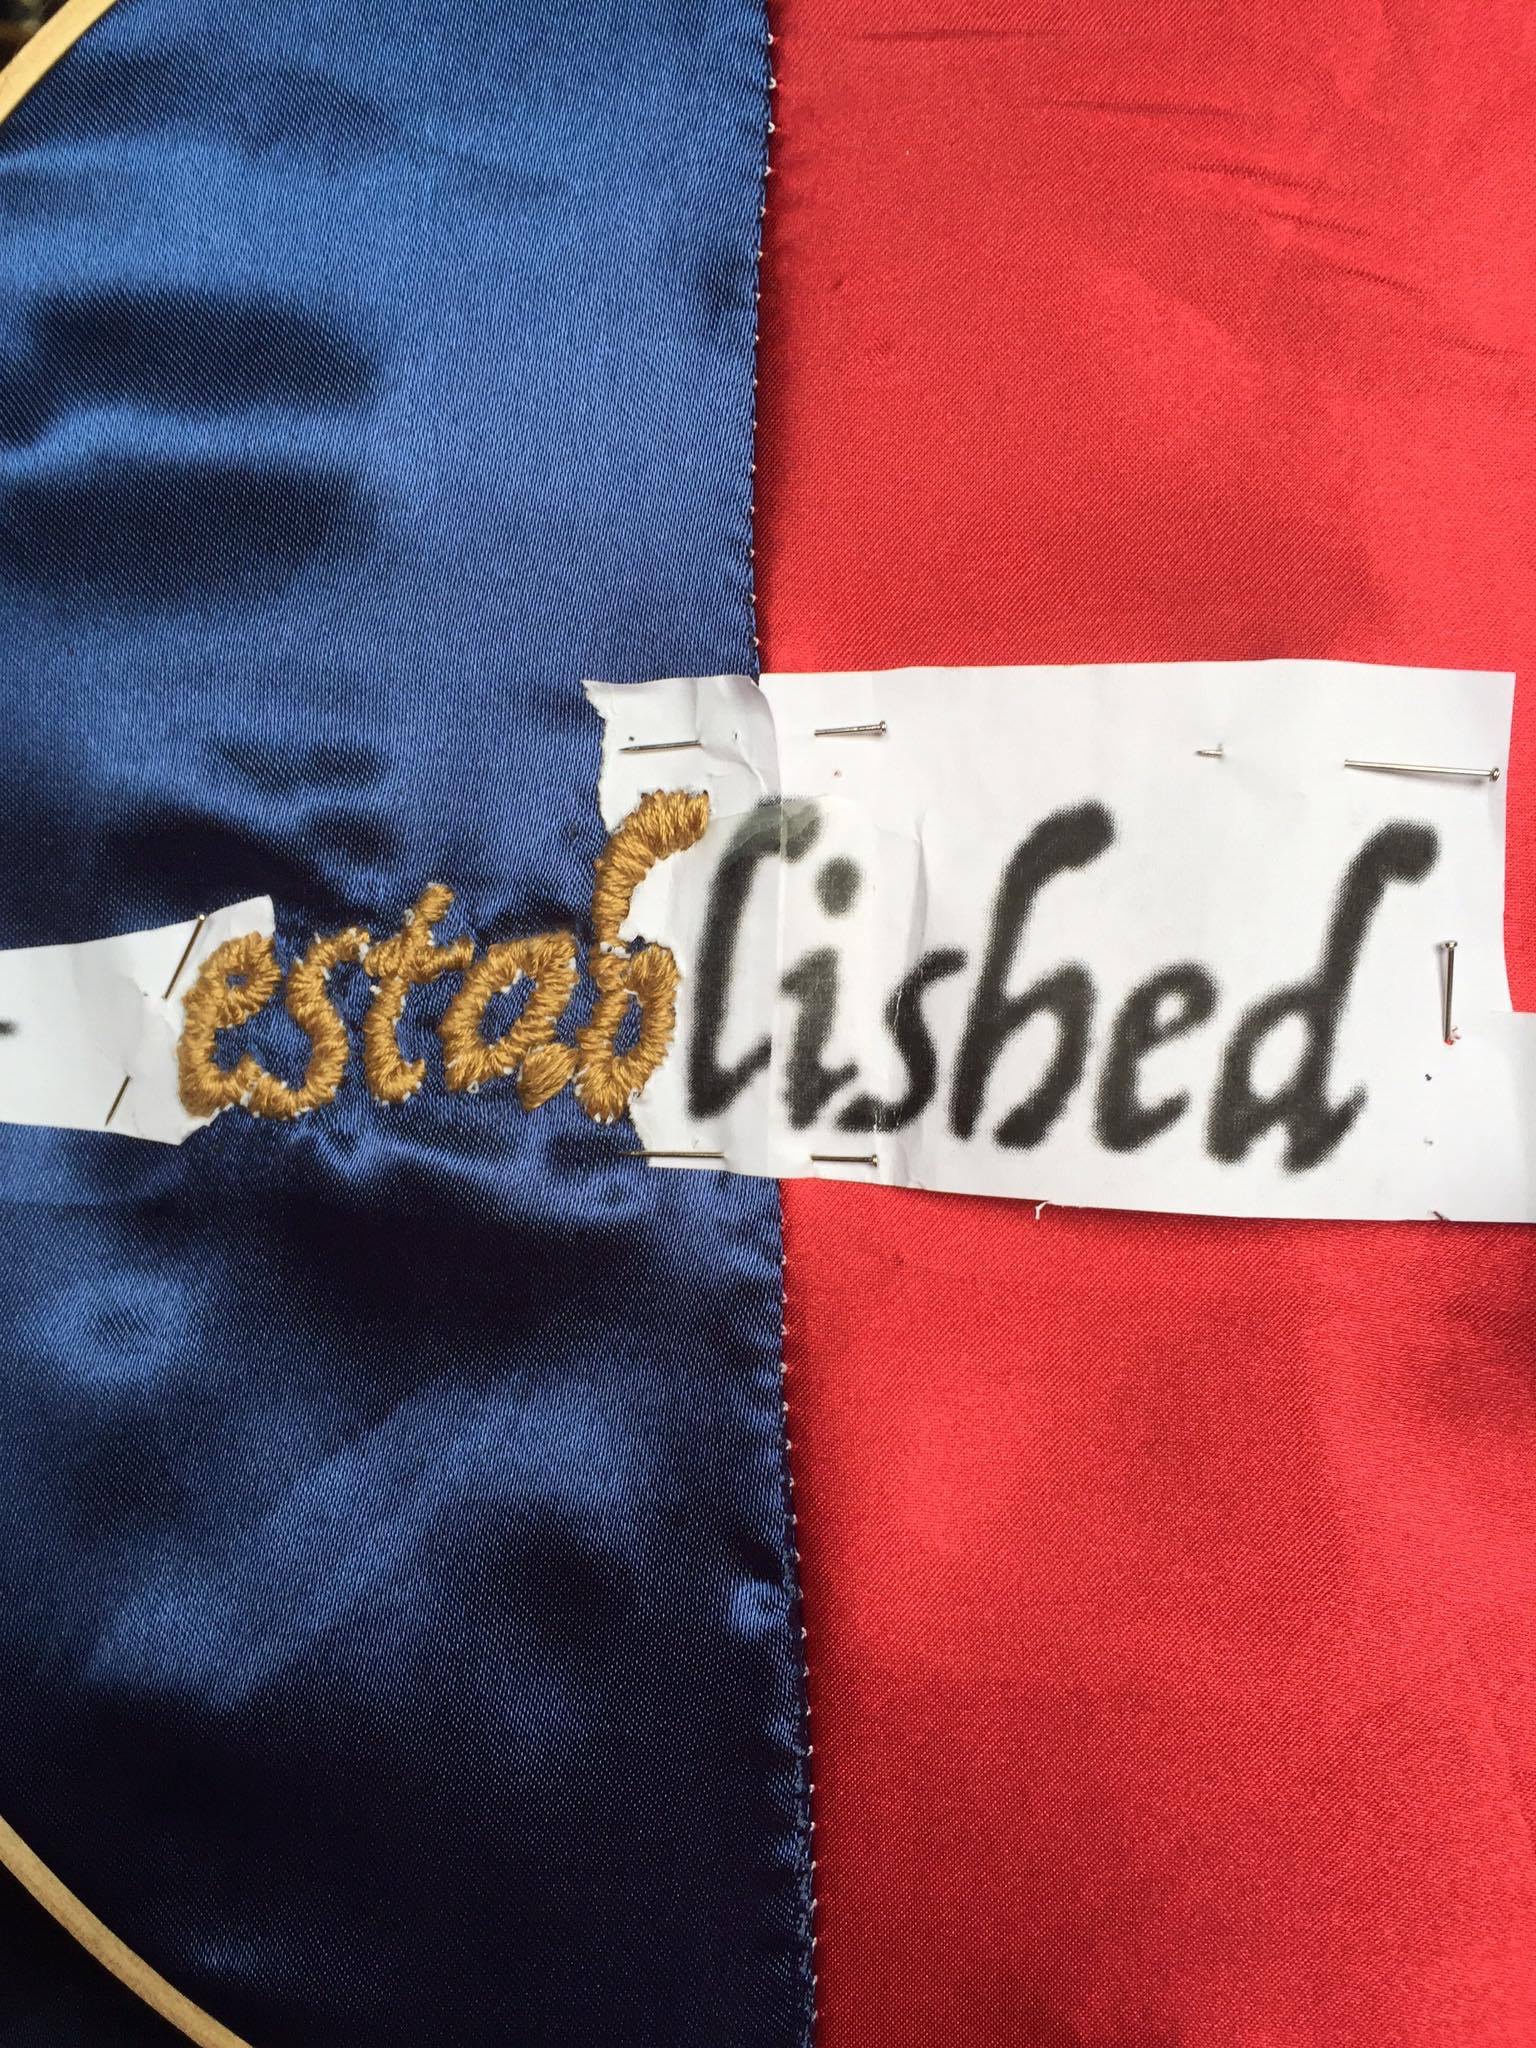
Once the jacket was sewn together, I used gold embroidery thread to embroider the design on the back of the jacket. Some of the larger letters, such as the word ‘Joker’ I cut from gold satin with interfacing ironed on to the back and embroidered only around the edge of the design before attaching them in place to the back of the jacket.
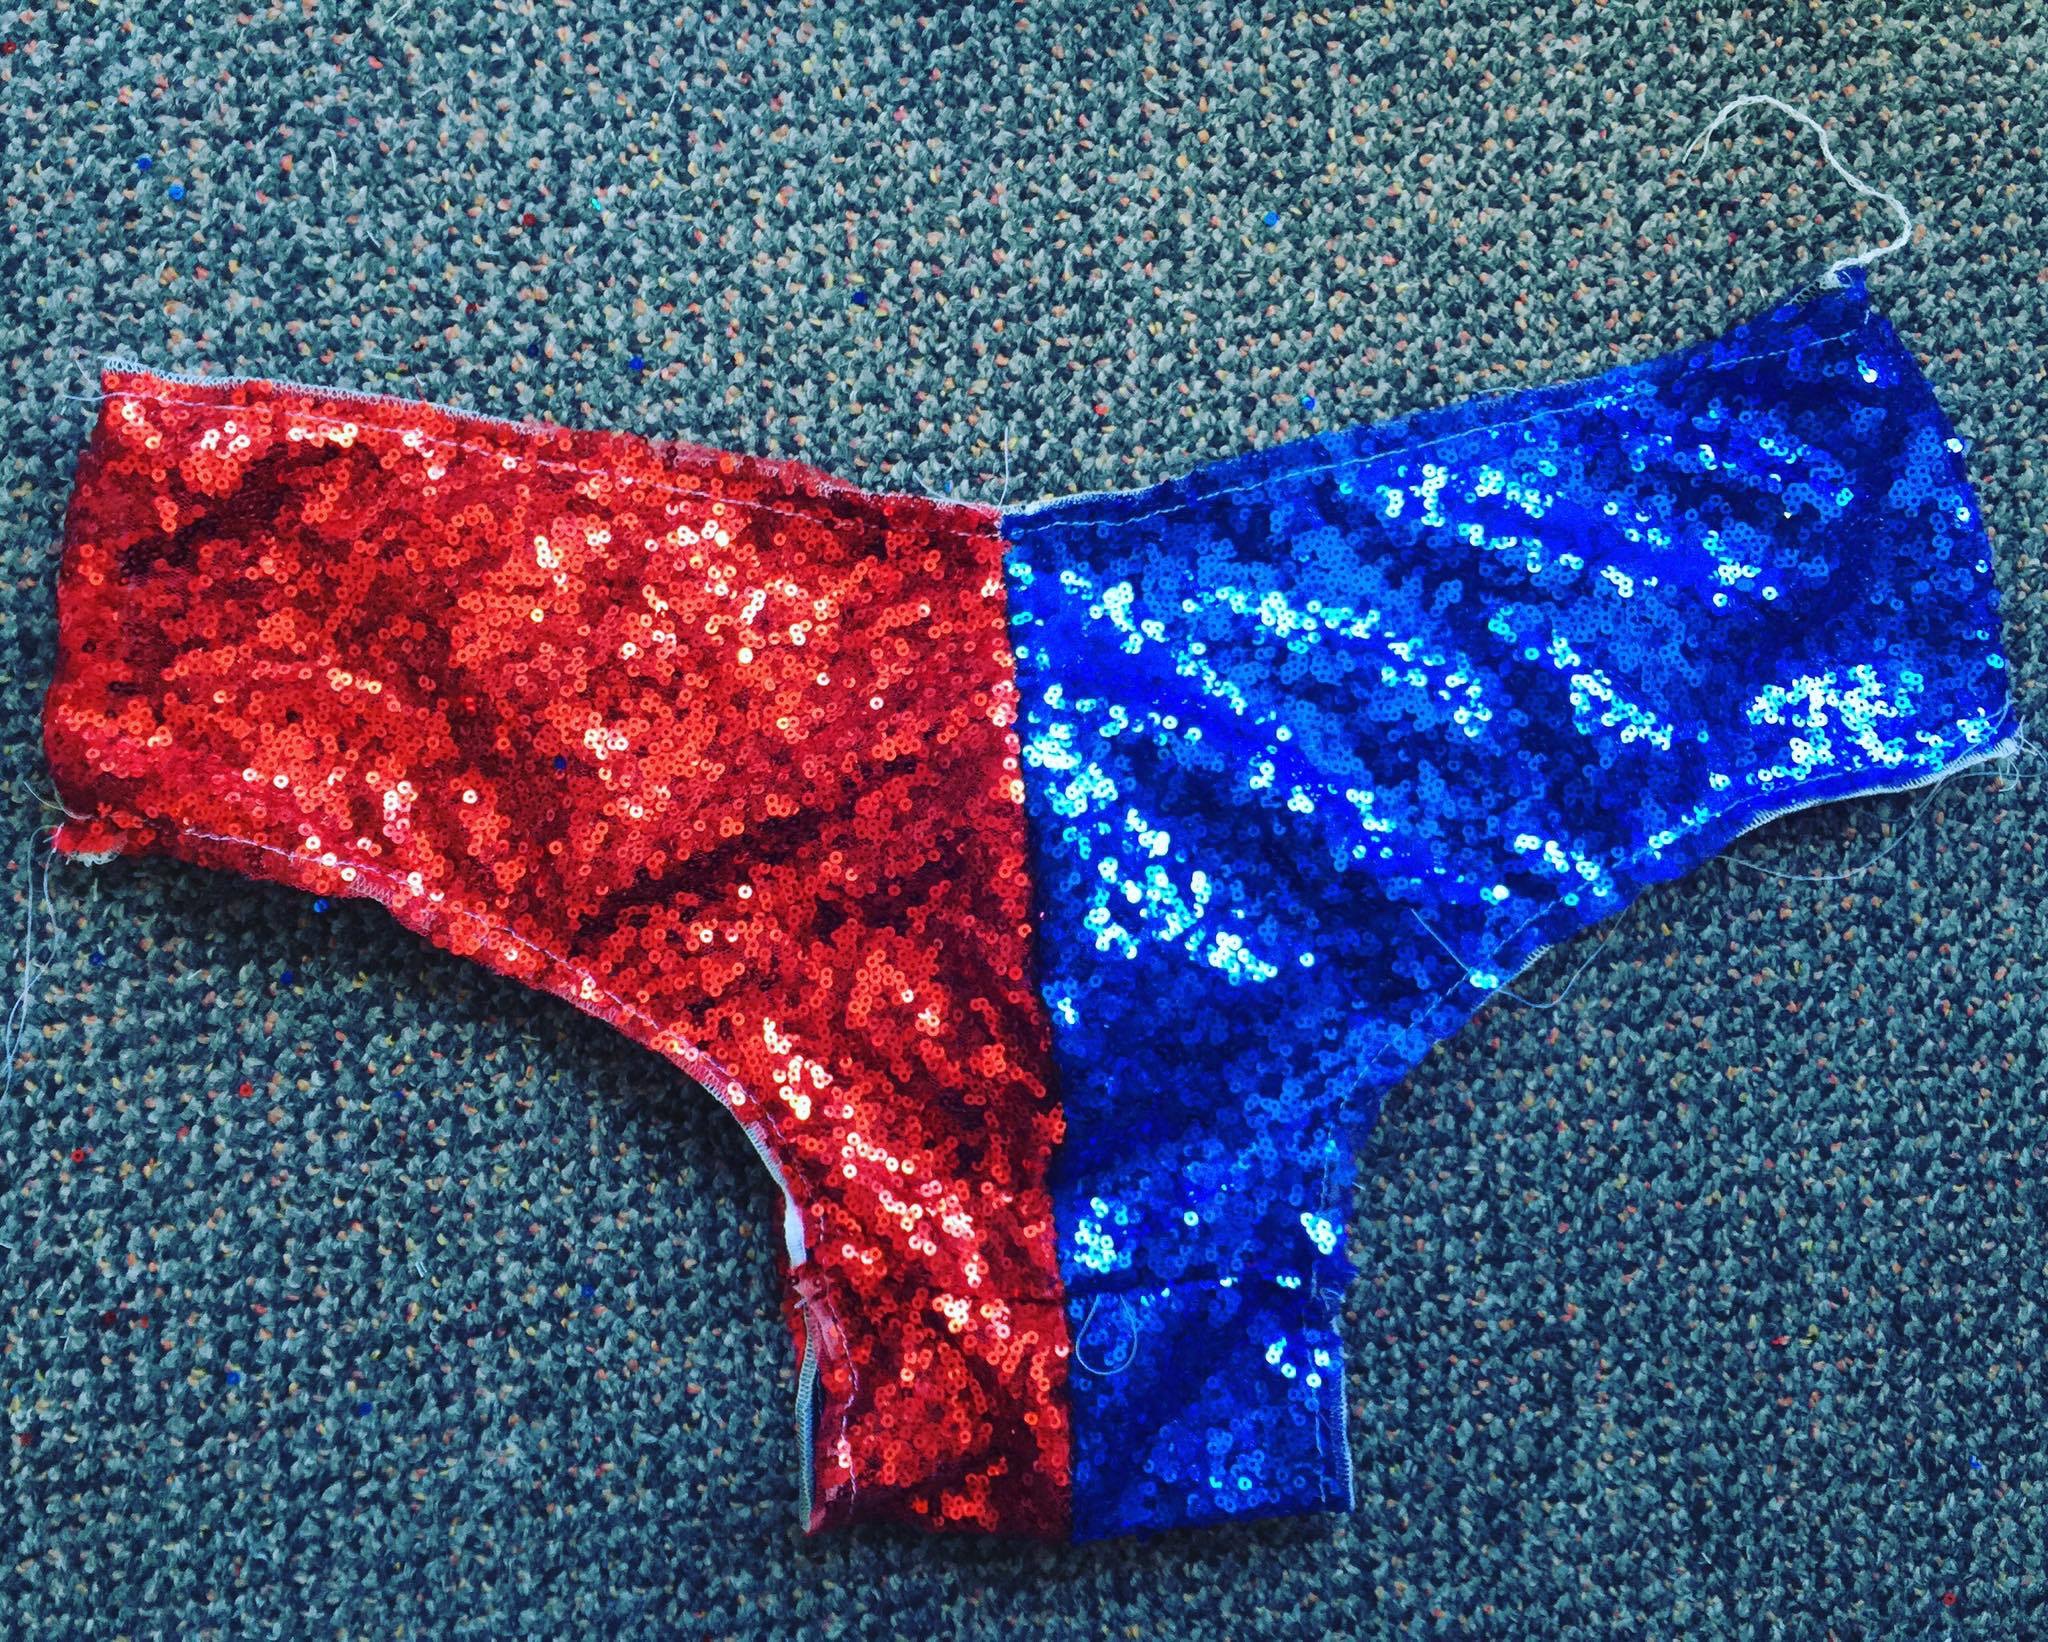
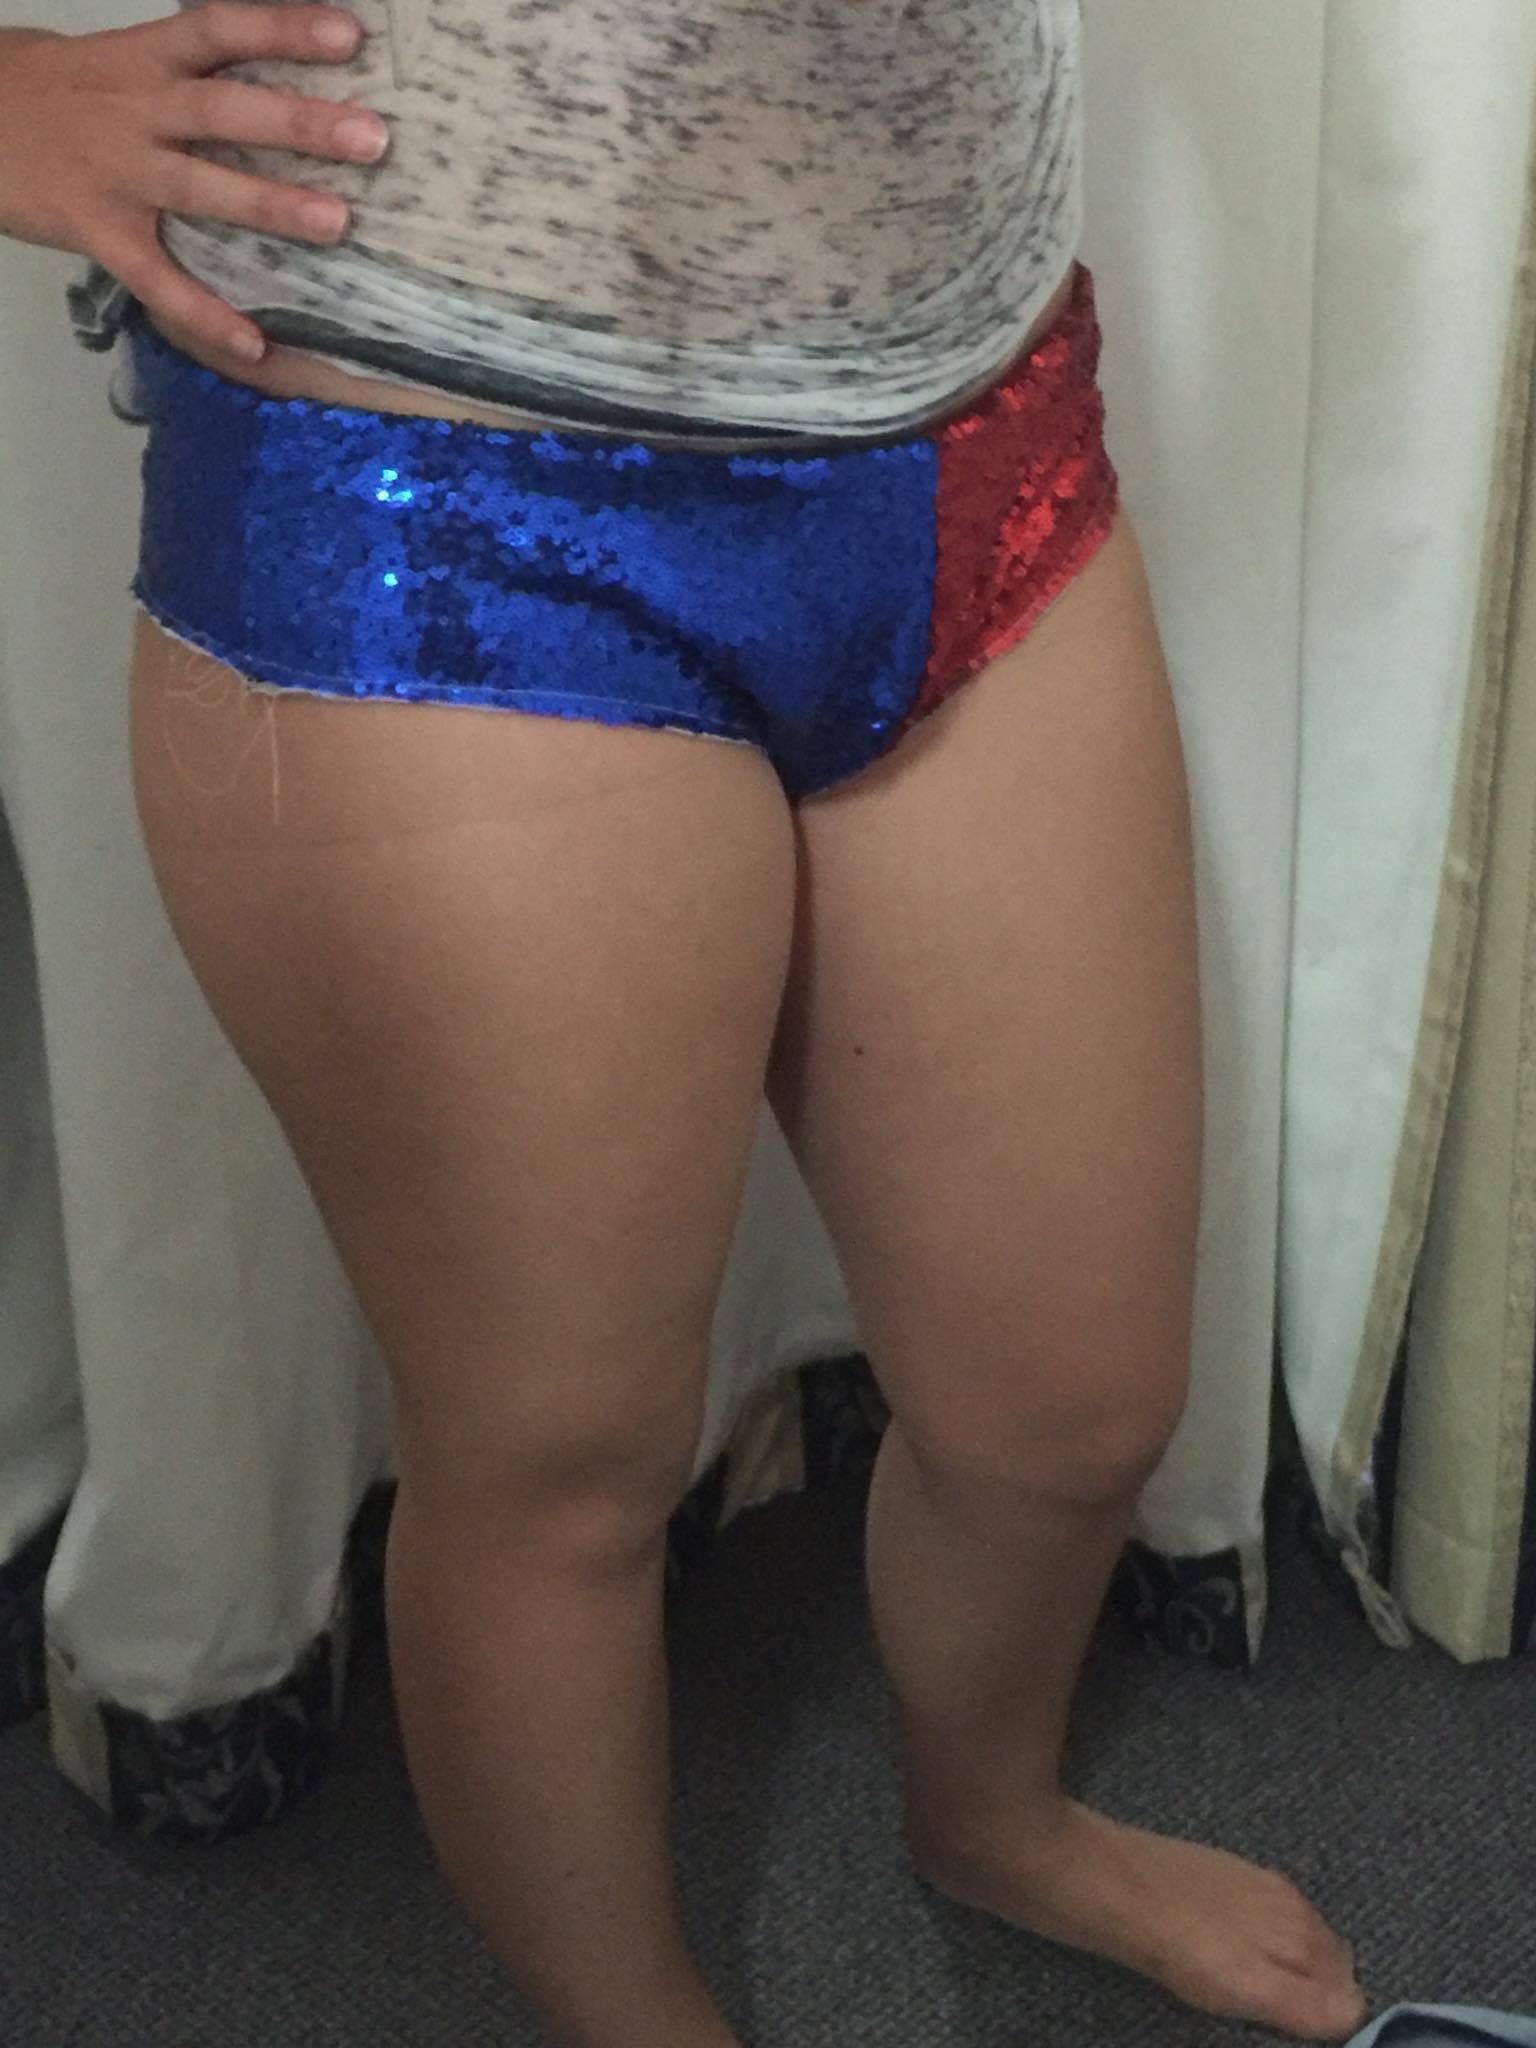
Shorts : Similar to the shirt, I traced an article of clothing that I already had that I liked the fit of. This time it was a pair of underwear. I had to add a bit of extra length so they weren’t quite as rude to wear in public though.
I cut the pattern out of black spandex first to use as a lining and then I cut the pattern in two halves, adding seam allowance to the center. I then used these pattern pieces from both blue and red micro sequin fabric and sewed them together and added the spandex lining.
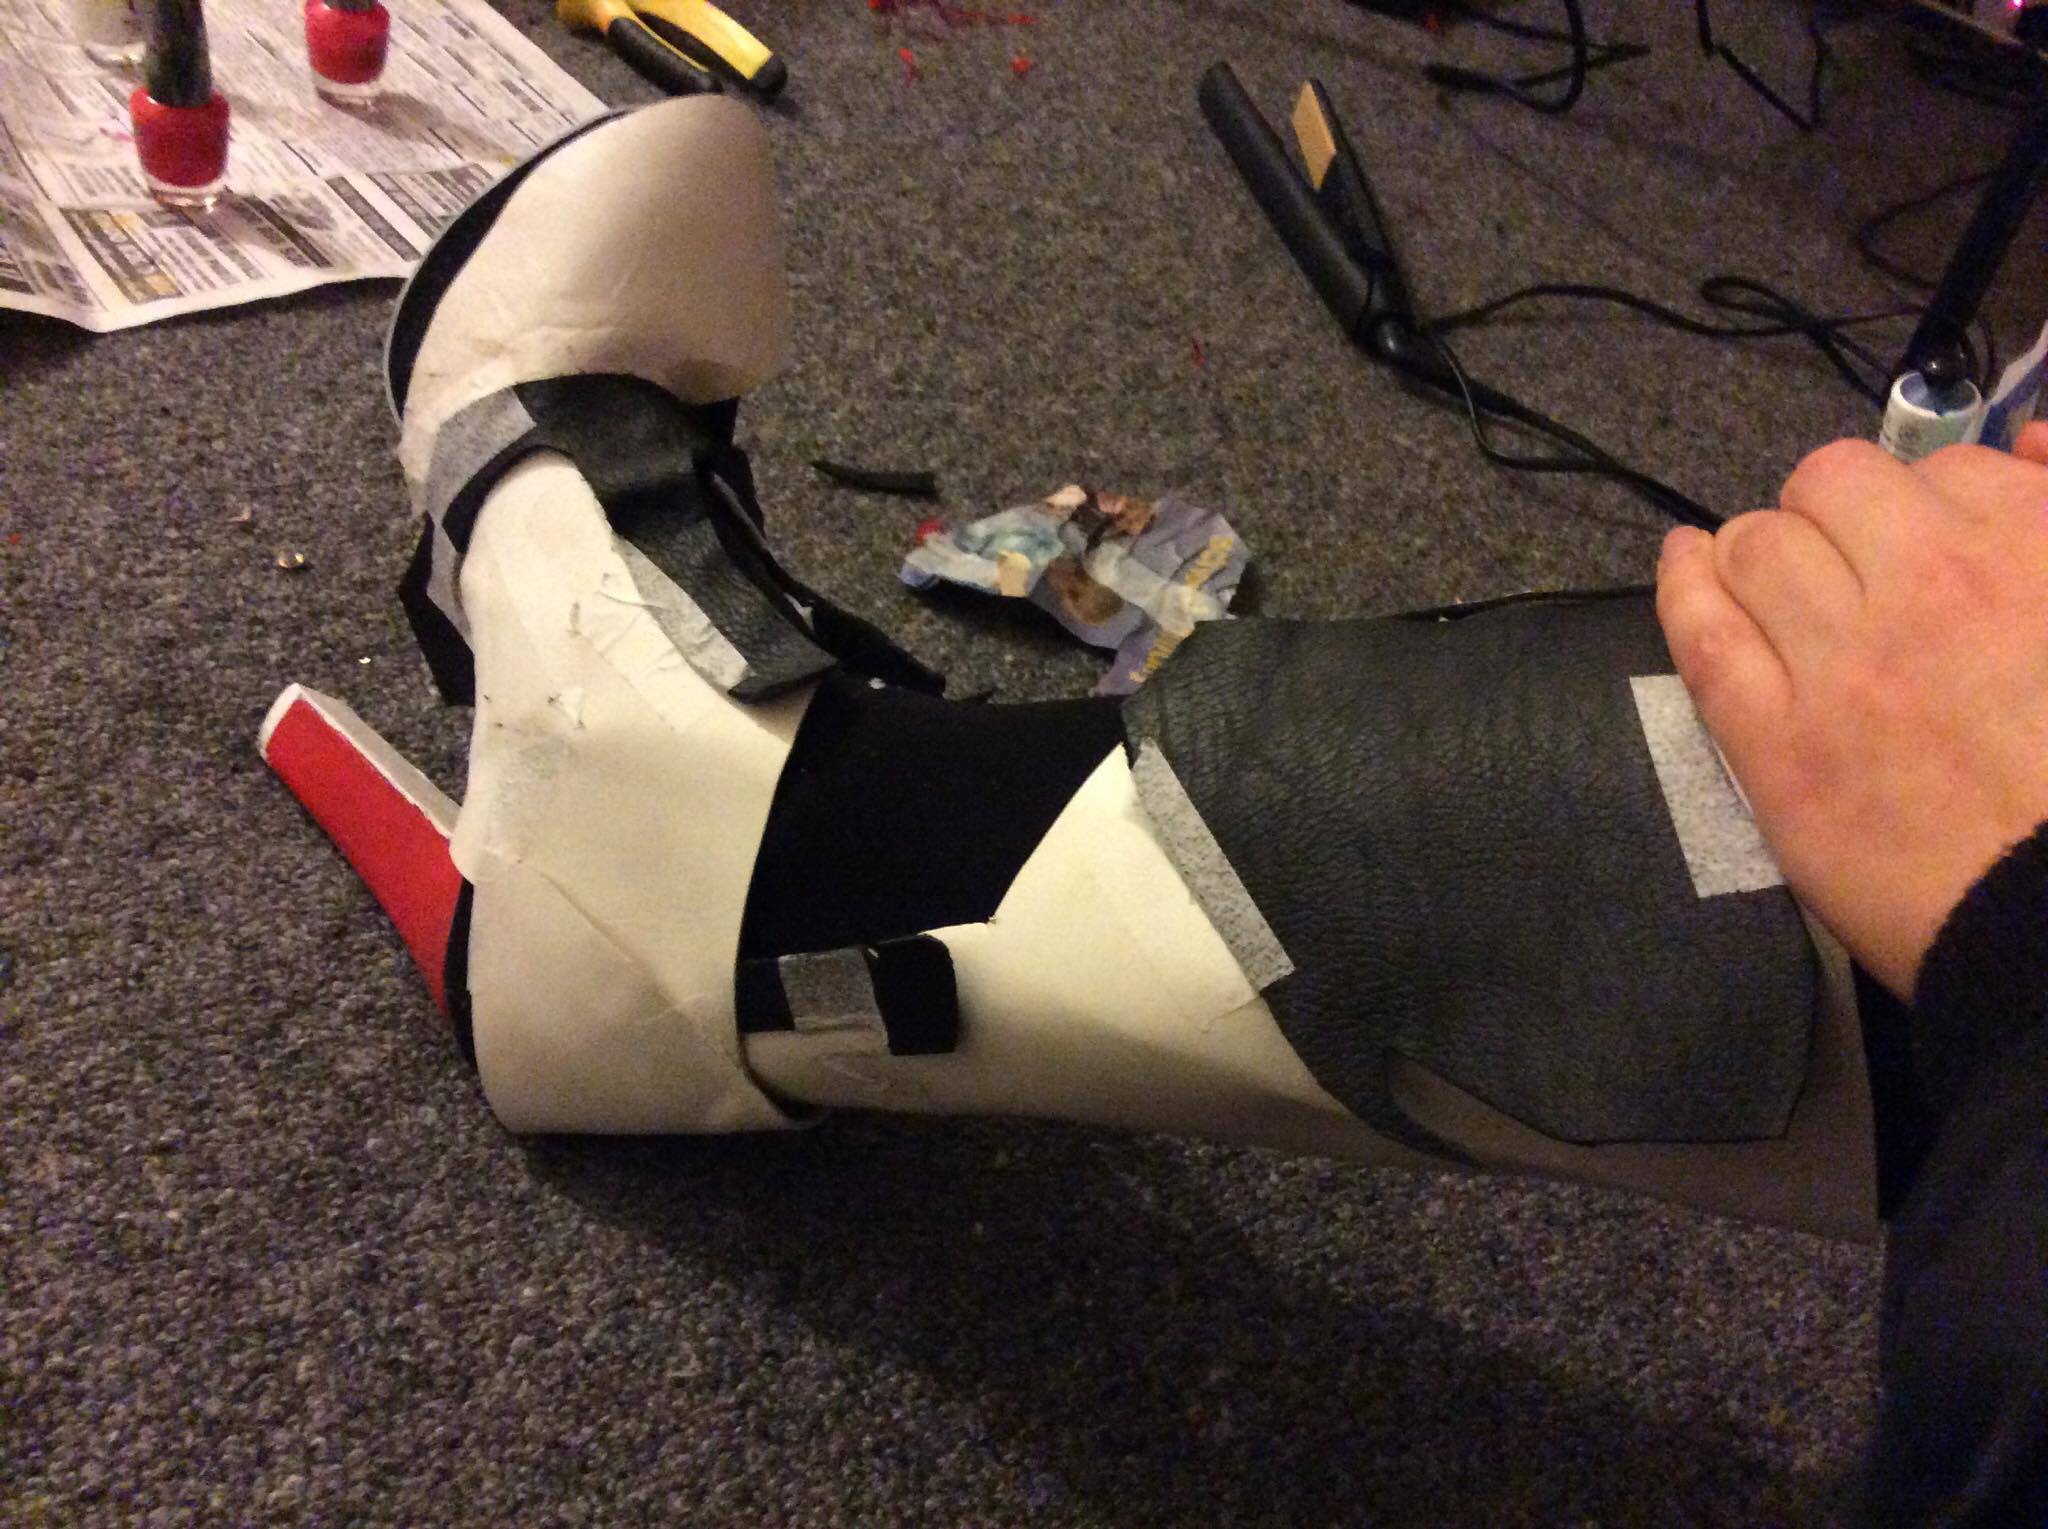
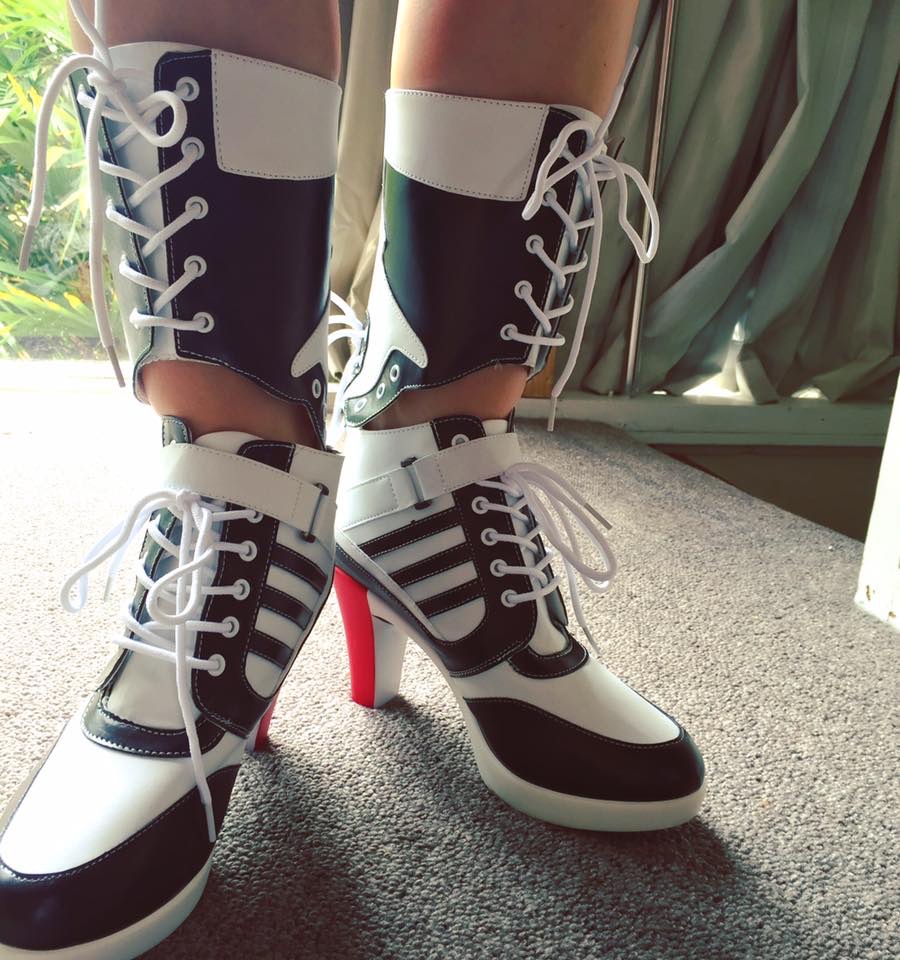
Shoes : The shoes started life off as a plain pair of high-heeled pumps. I made a pattern from paper for the shape by wrapping the paper directly around my leg and shoe and drawing the shoe shape on by eyeballing it. I transferred this pattern to the black and white leather and cut out the pieces. I then glued and sewed (where appropriate), the pieces of leather together and to the shoe. I added finishing touched by painting the red parts with nail polish and adding the Adidas logo where needed.
Accessories : I made the collar by cutting a strip of soft, white leather to fit around my neck comfortably. I painted the leather with a thin layer of iridescent nail polish and added gold snaps so it could fasten together in the back. I found some glow in the dark plastic letters that were roughly the right size for the collar so I painted them gold and glued them on to the leather collar using hot glue.
The belt was originally covered in silver studs but I painted them using them same gold that I’d used for everything else. I’ve no idea what I made the diamond belt buckle from though.
progress photos


related costumes


One thought on “Harley Quinn – Skwad | 2016”