
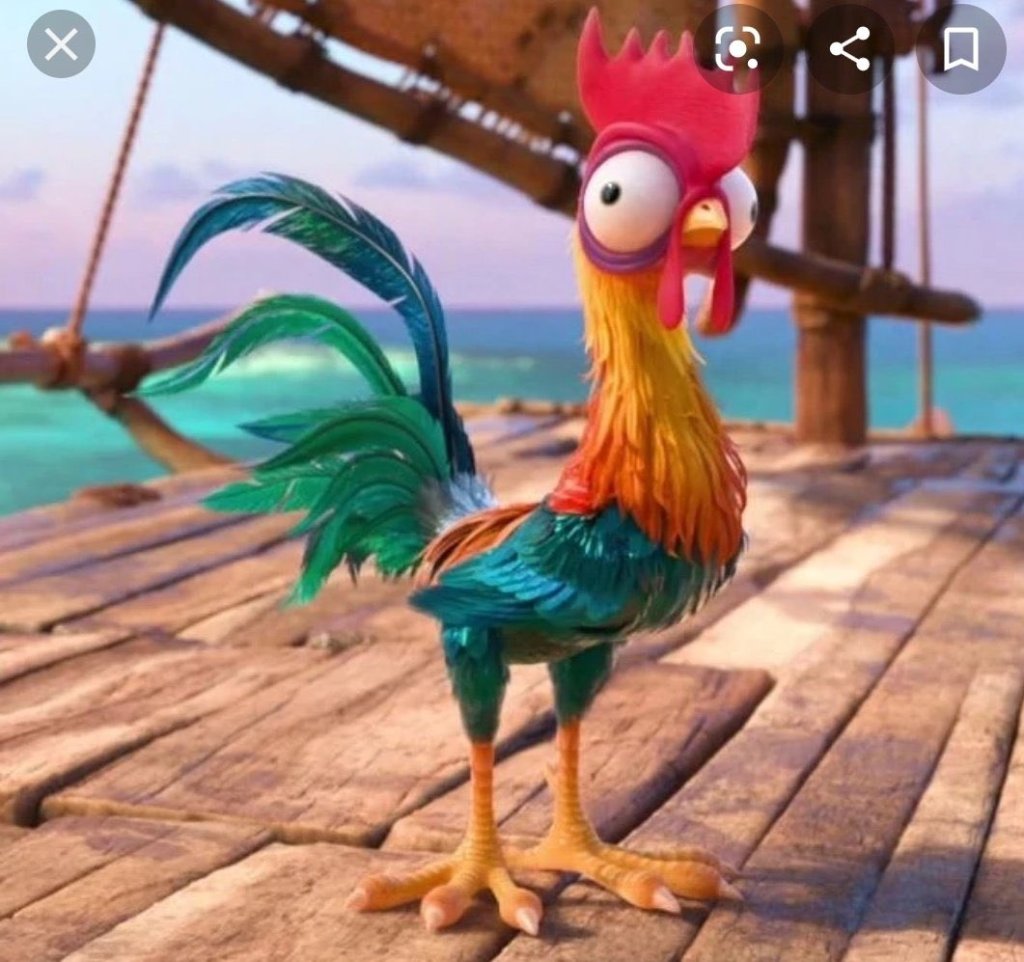
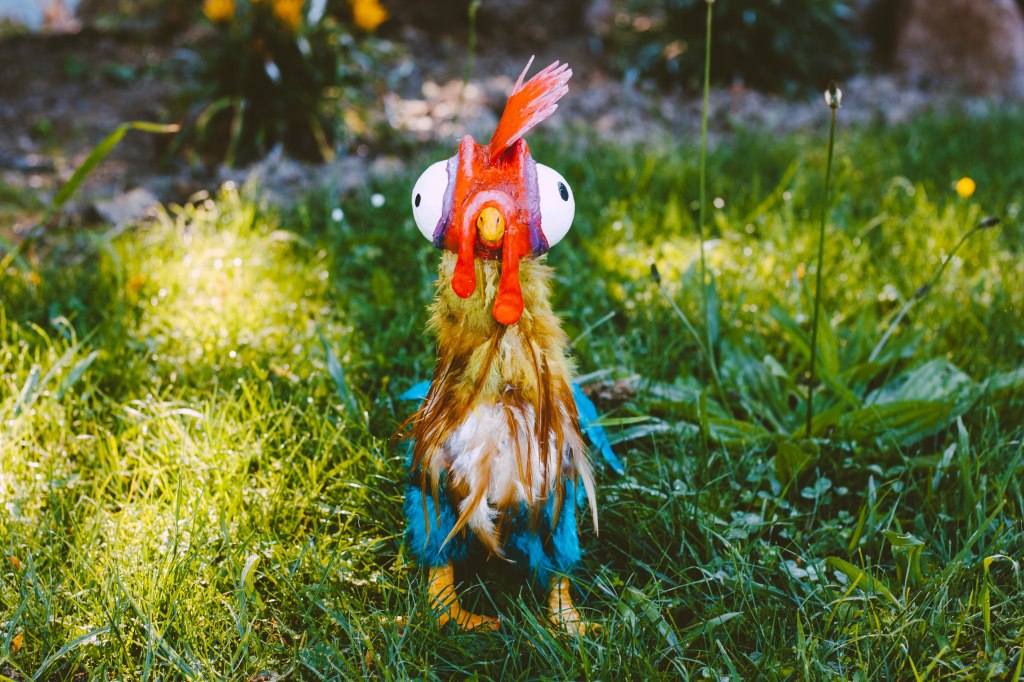
I am curious about that chicken eating the rock. He basically lacks an intelligence required for pretty much… everything. So can we just……Cook him?
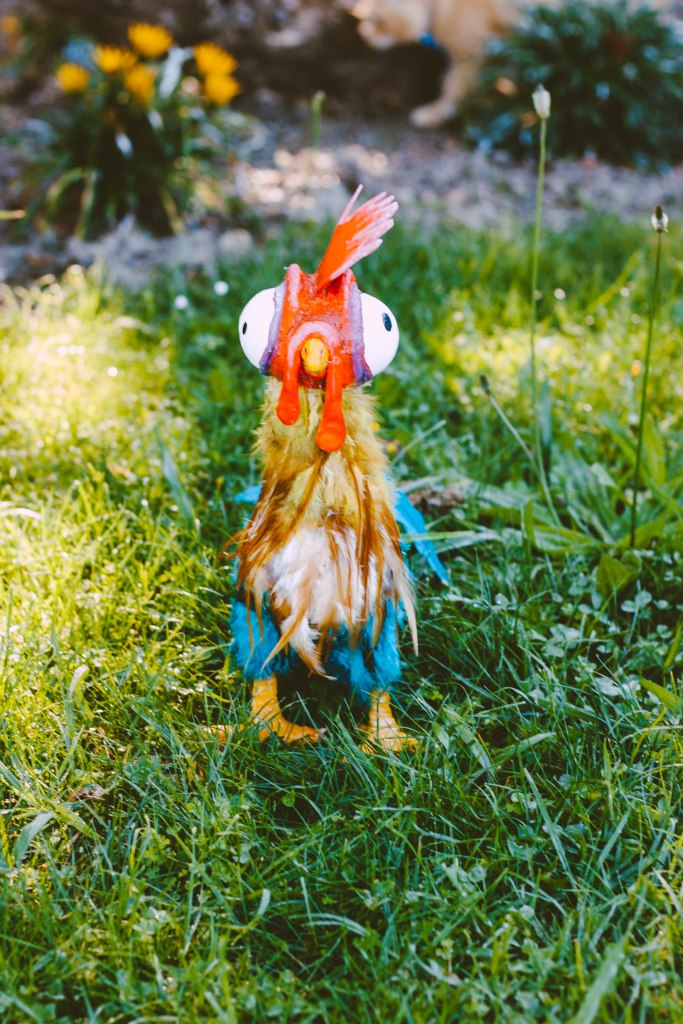
Background : I came up with the idea to make a Heihei to go with my Moana costume after I’d been waiting weeks for pieces of her costume to arrive in the post. I needed something to do in the meantime and I thought, how hard could it be to make a chicken really?


Things used :
- foam block
- 1x styrafoam ball
- oven-bake polymer clay
- florist wire
- green feathers
- blue/teal feathers
- light brown feathers
- yellow feathers
- long teal tail feathers
- tinfoil
- silicone caulk
- cornstartch
- pva glue
- hot glue + gun
- acrylic paint
- varnish
- nail polish
- half a meter of batting
- needle + thread
- scissors
- craft knife
- razor blade
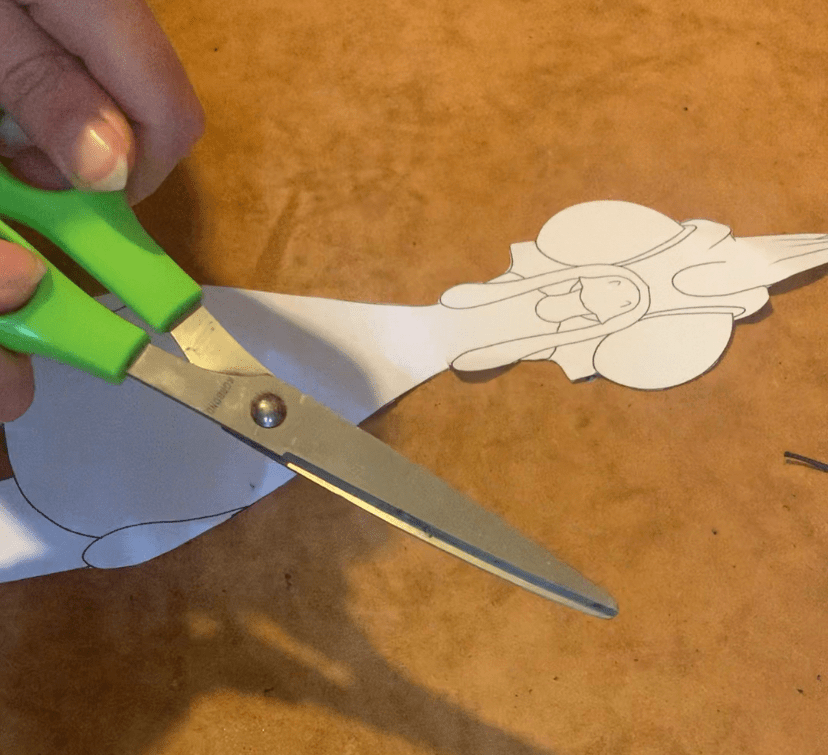
Step one :
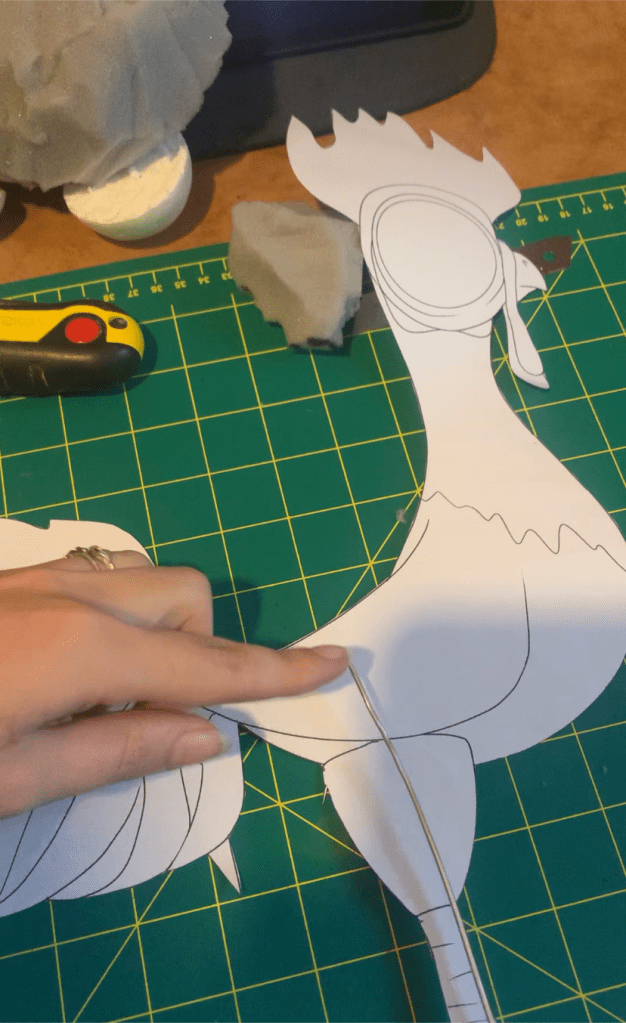
Print a Heihei template (front and side views) to the size you wish to make him and cut it out. You can download the template I drew below.

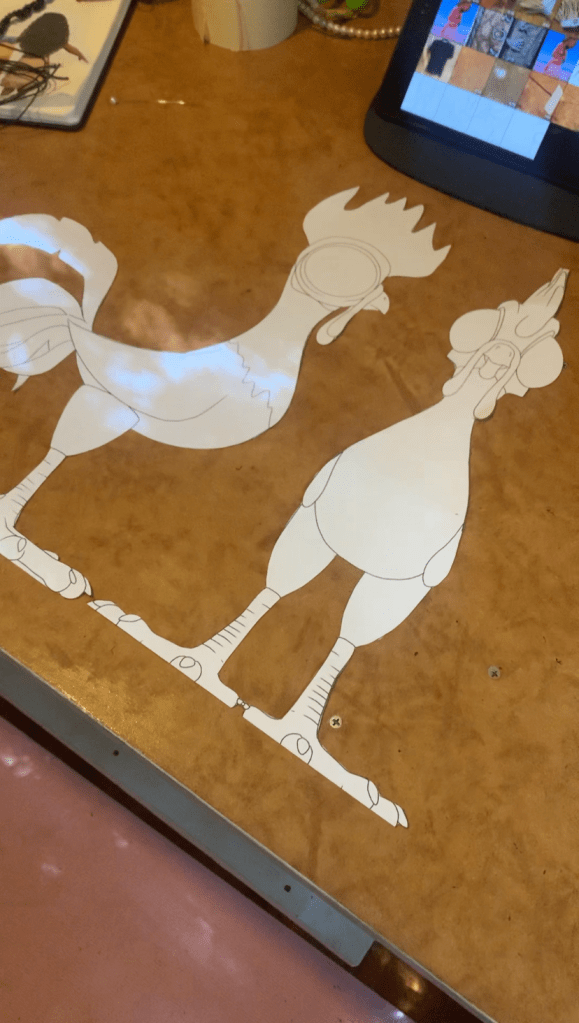
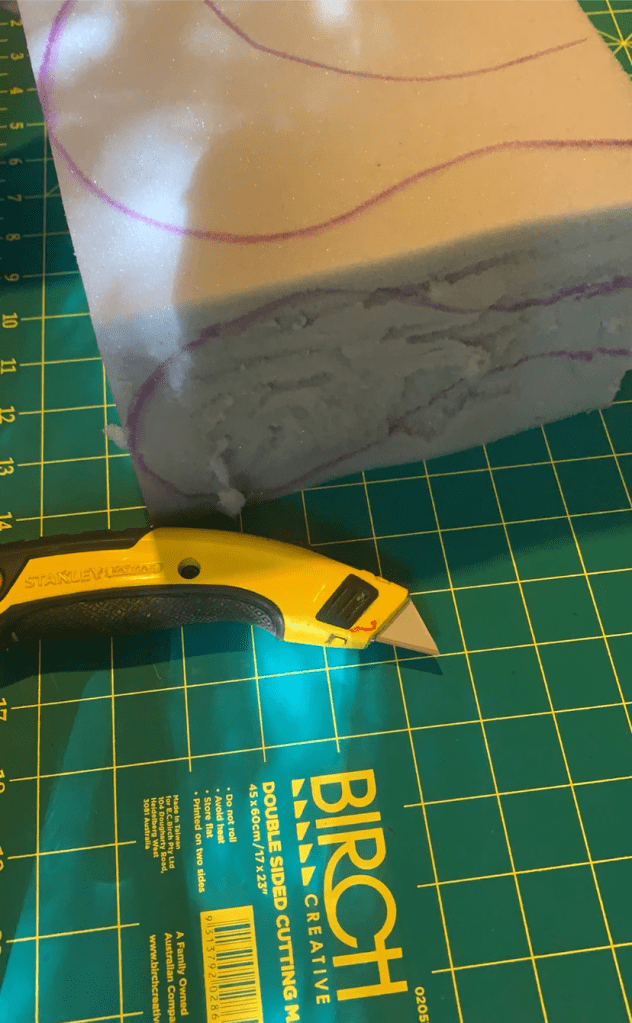
Step two :
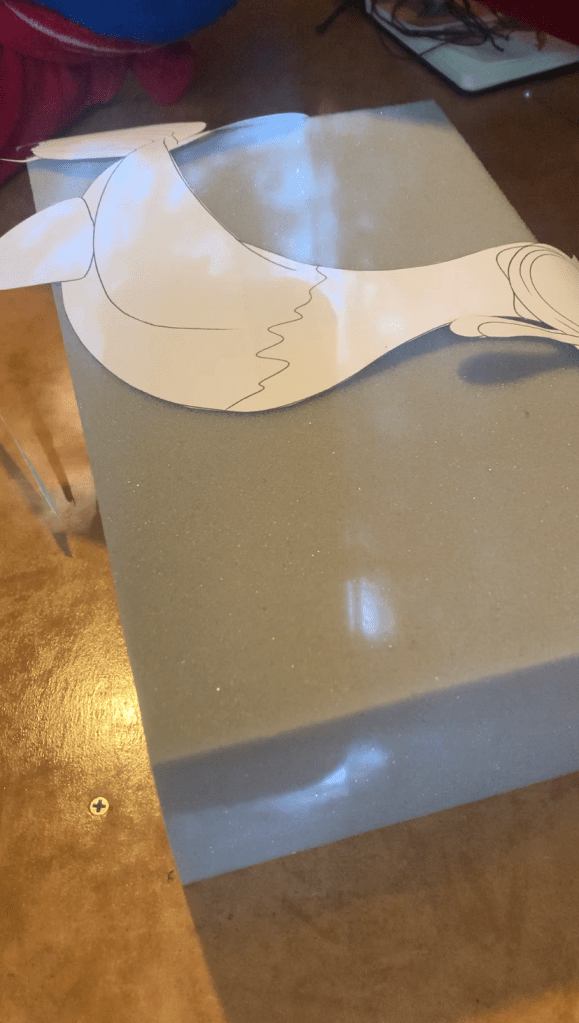
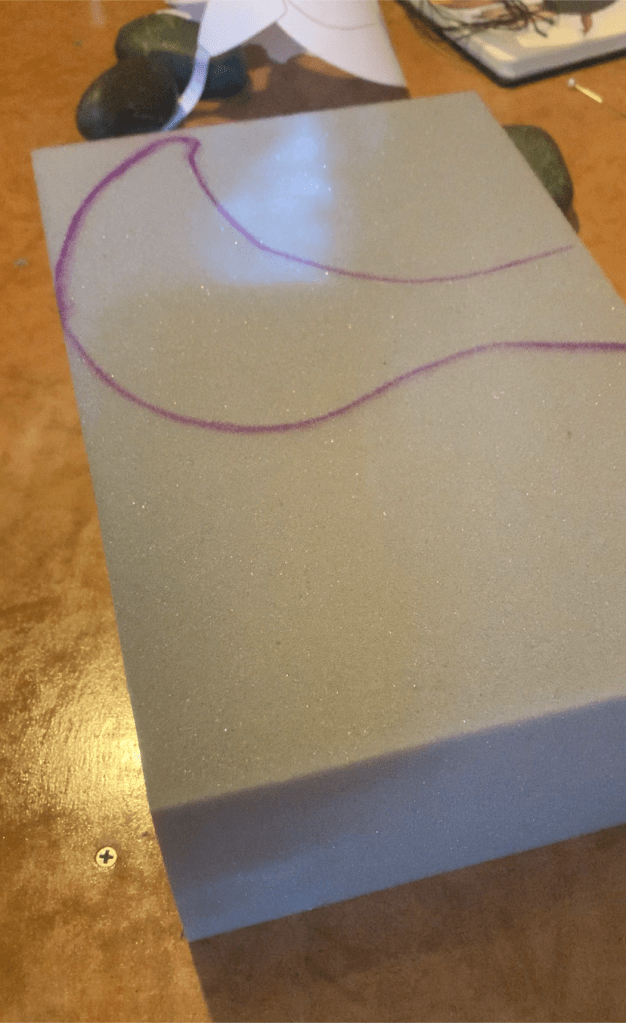
Place the side cutout template on to the side of your foam block. Trace around the outside of the body. Don’t include the feathers, legs, thighs or head when you do this. Repeat for the front view making sure the top and bottom edges line up with where you’ve traced the side view.

Repeat this process on a smaller piece of foam for the head. But don’t trace the eyes, beak or dangly bits.
Repeat again for the thighs.
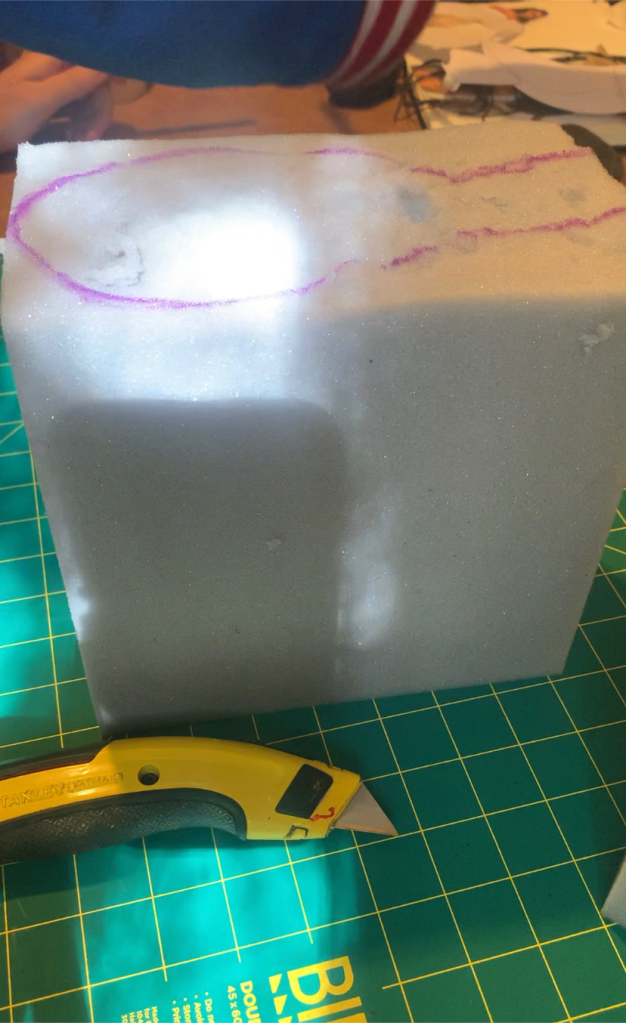
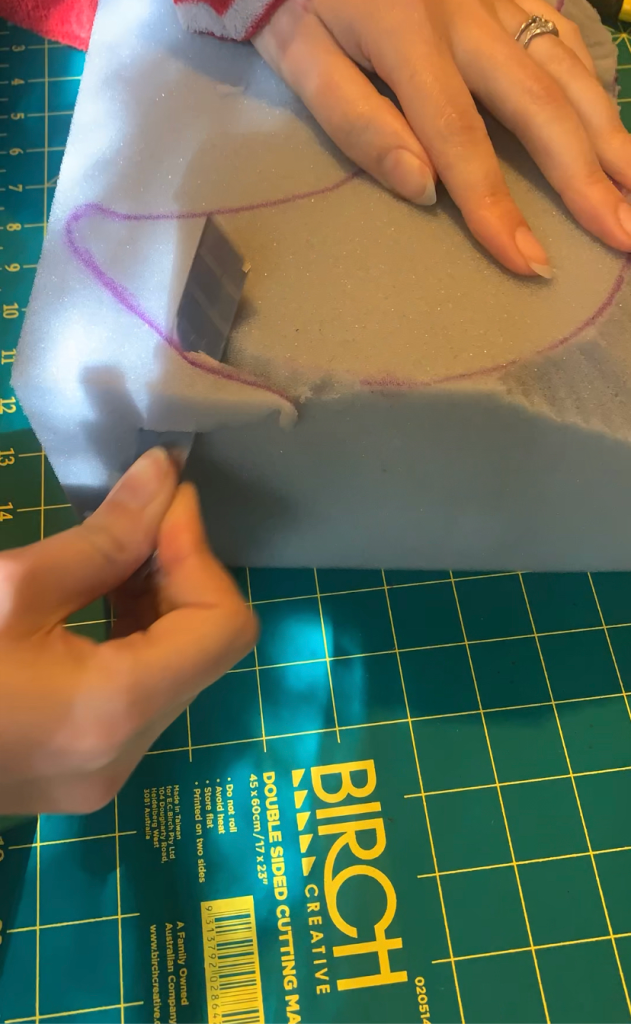
Next you want to use a sharp razor blade and carve the foam into a chicken shape. Repeat with the head and thighs too.
Step three :
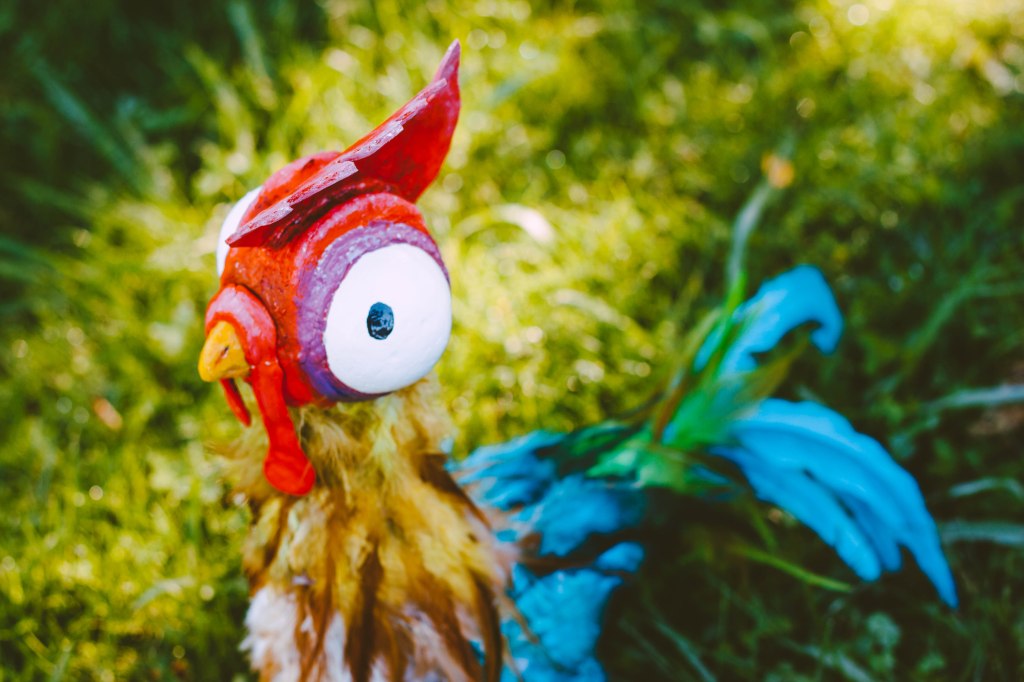
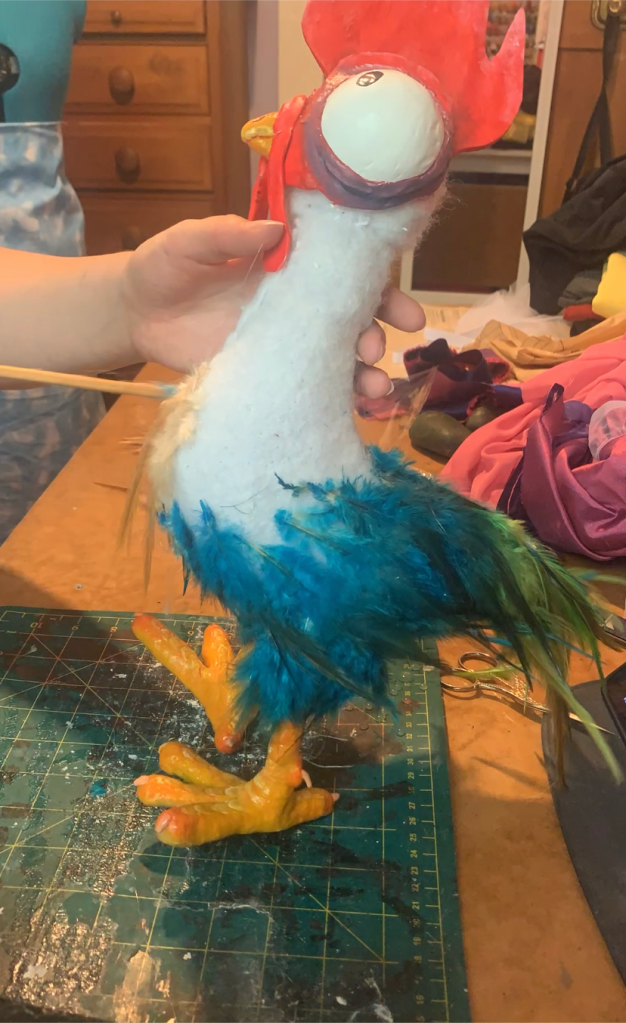
Cut your styrafoam ball in half. Paint it white. I used a glossy white that was also a primer so it went on smooth and filled in the small crevices that styrafoam balls have. If you don’t have an all in one paint like that, I suggest priming it first. Once your white is dry, paint on the pupils with a black I used a black nail polish so it would be shiny. You don’t really have to worry about the placement and size of the pupils matching because Heihei’s are different. Adds to the unhinged look.
Once these are done, set them aside and we’ll come back to them later.

Step four :
Using the template, measure on it two lengths of a sturdy floral wire from the base of the foot to just above the start of the thigh. Cut using wire cutters.
Use this same process to cut a length of wire for the neck. You need this piece to start about halfway in the head and finish just after the neck connects to the body.
Next you want to poke a hole for the wire to go in in the thighs, neck, head and where these places meet in the body. Put a dab of hot glue on the hole entrances and exits on the neck and head. Poke the wire through connecting the head to the body in the process. Don’t do this for the leg pieces just yet.
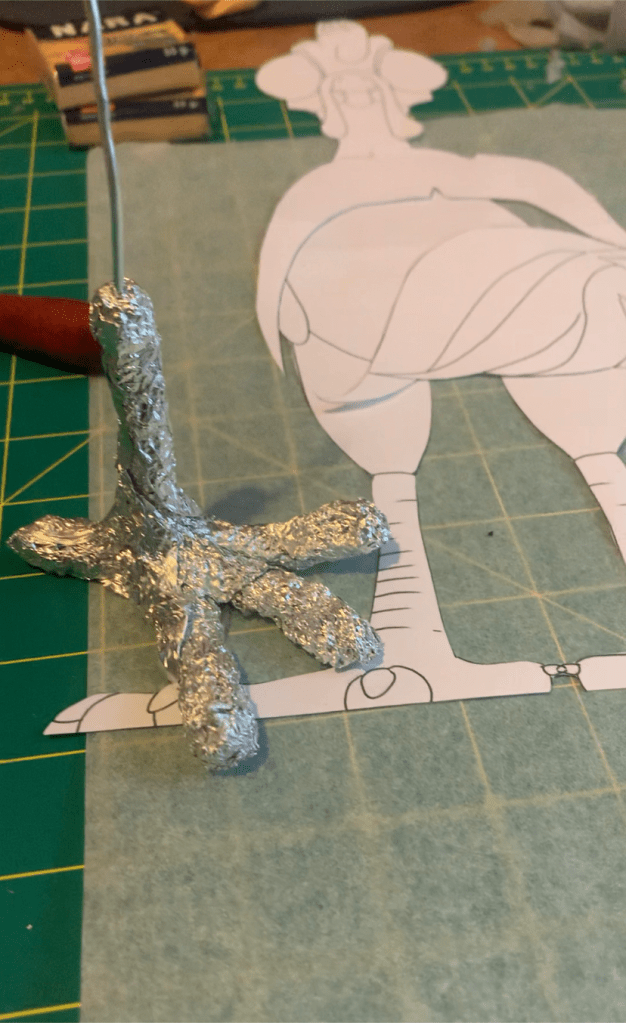
Step five :
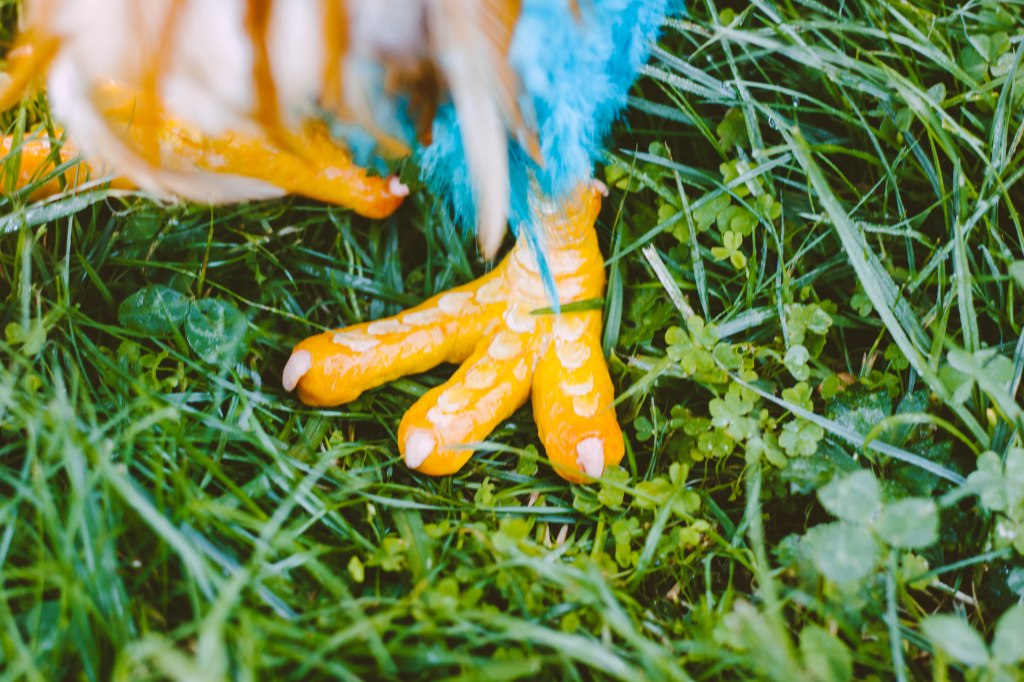
Let’s make the feet! Grab your leg wires from the last step and using your printed template as a guide, start covering the bottom in scrunched up tin-foil creating feet shapes. Test constantly to see if your Heihei body can hold itself up on it’s new feet by inserting the wires in the holes poked in the thigh and body.
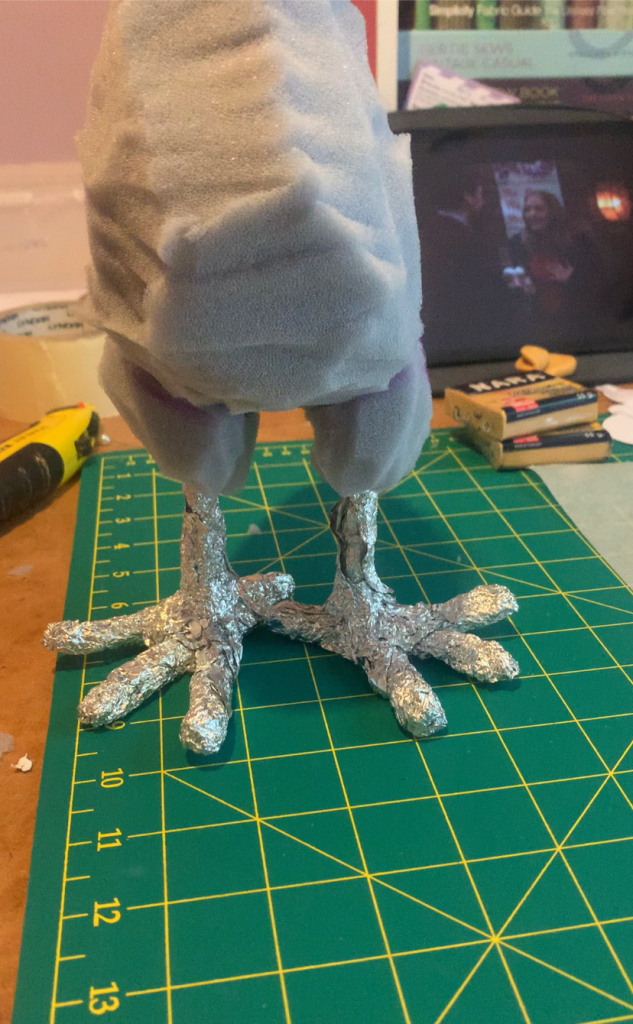
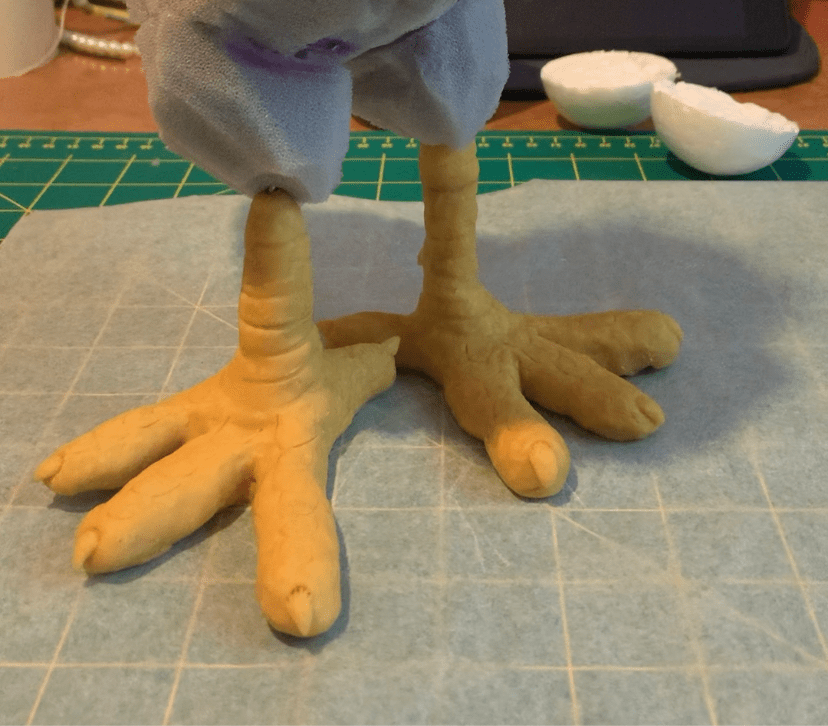
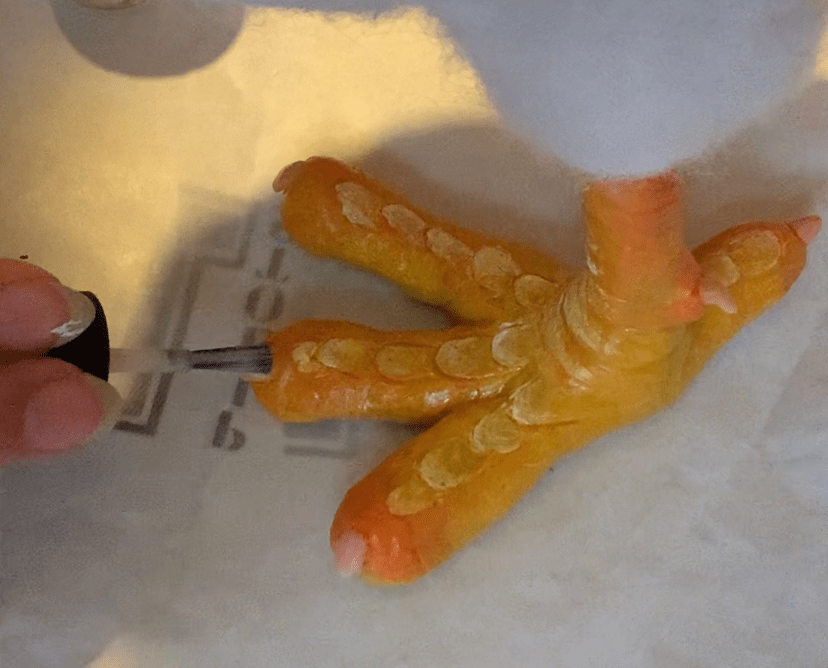
Once you’re happy with the shape and your Heihei’s standing abilities, cover the feet in a thin (roughly 3mm thick) piece of oven-bake polymer clay and begin sculpting in the scales and nails. After your desired look is achieved, bake according to your clay’s instructions.
Repeat for the beak. Start with a screwed up ball of tin-foil roughly the size and shape as the beak on your template. Cover in a thin layer of polymer clay and sculpt constantly referring to your template and reference images. Bake according to your clay’s instructions and set aside for now.
Step six :
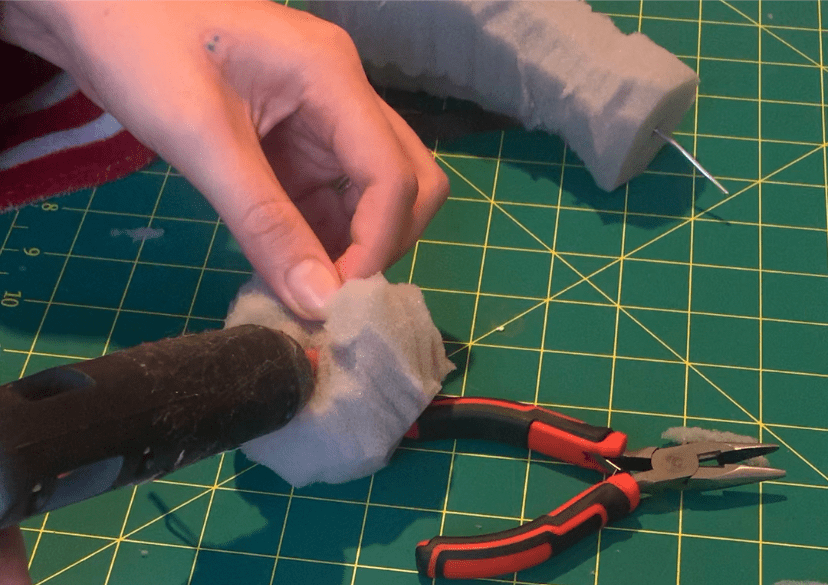
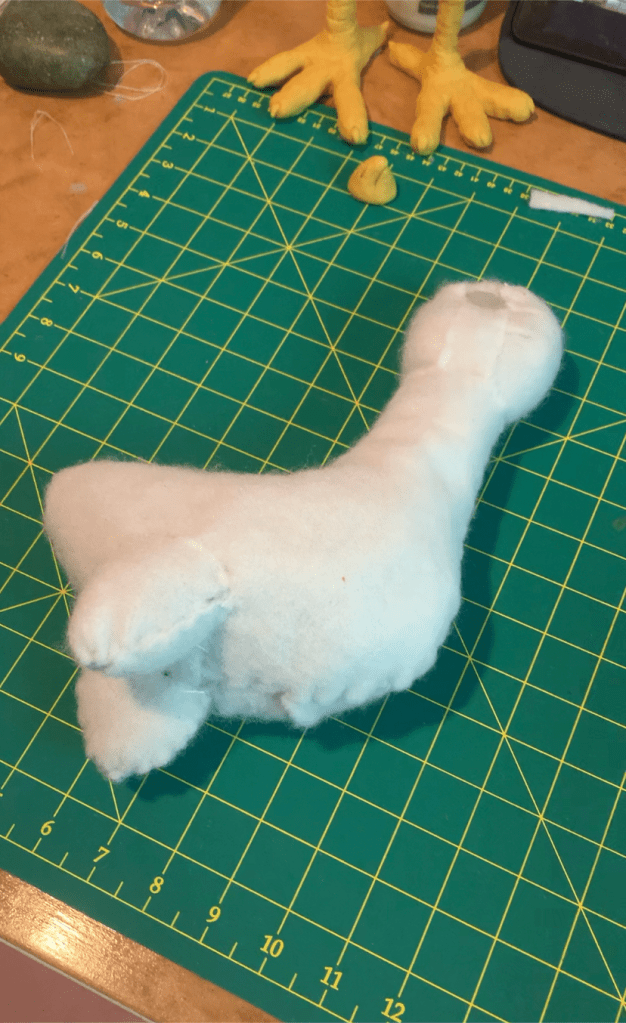
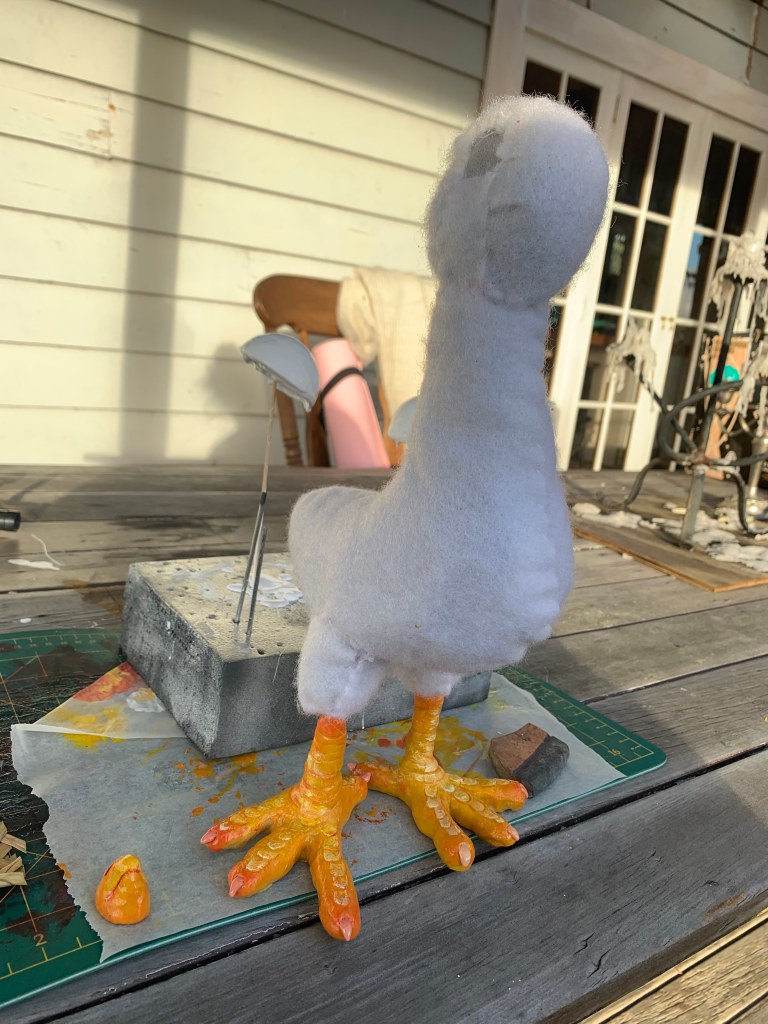
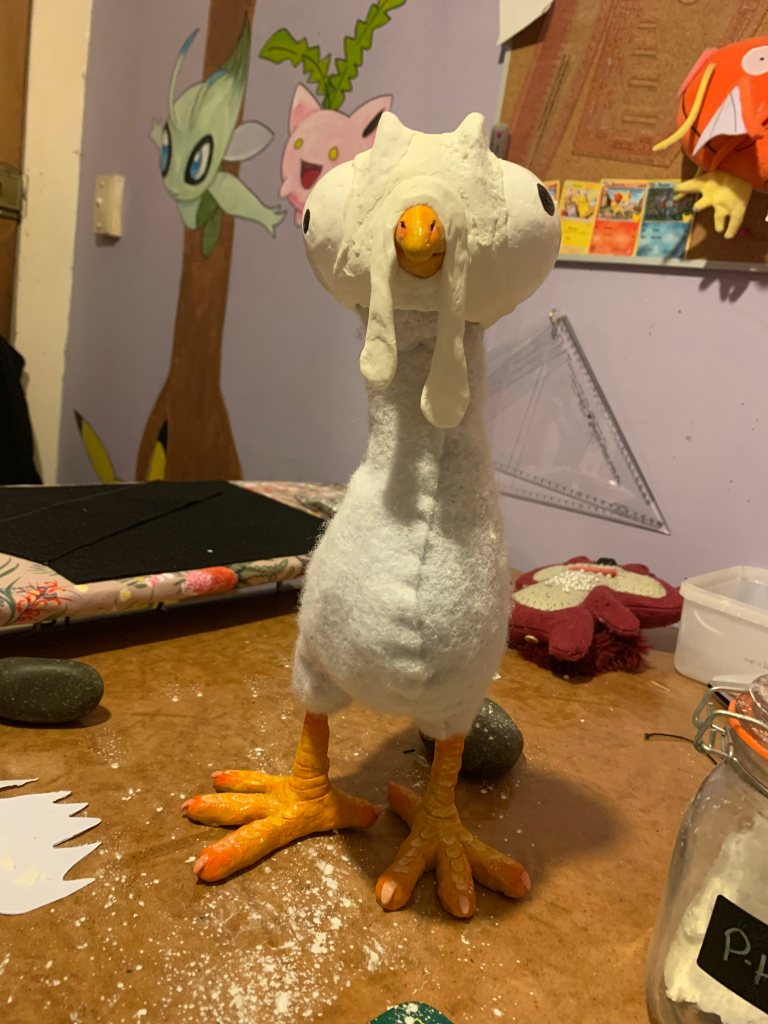
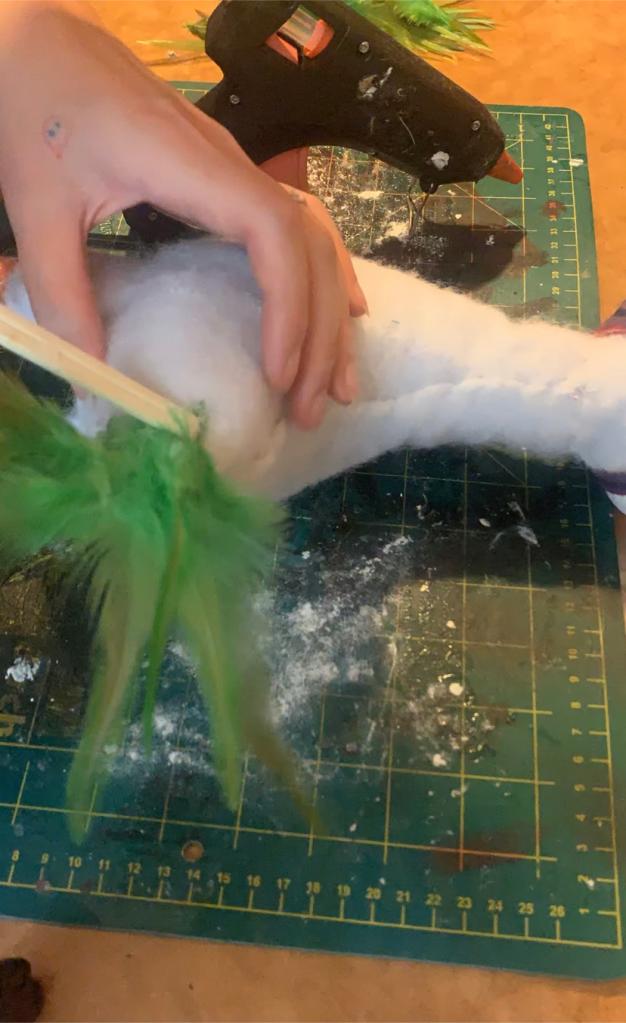
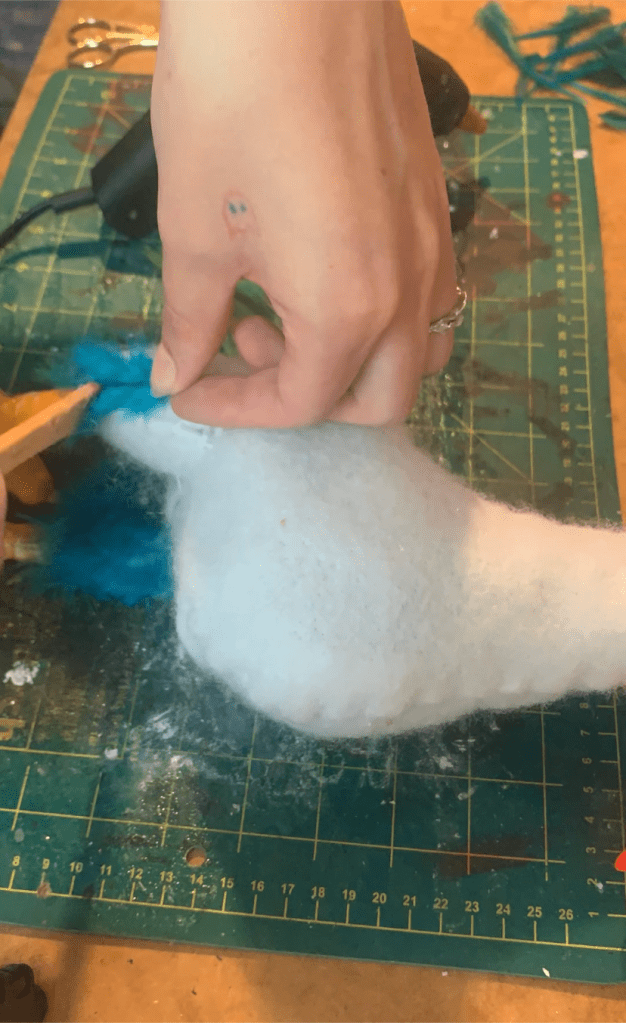
Cover your Heihei in batting. This step helps smooth out all the jaggedness of the carved foam body. I lay the foam body on to the doubled over batting and traced around the shape. I cut about 5cms extra around the edge so that it would wrap around the boy and meet nicely in the middle. Using a curved needle and thread, sew the batting in place. You can sew directly in to the foam body.
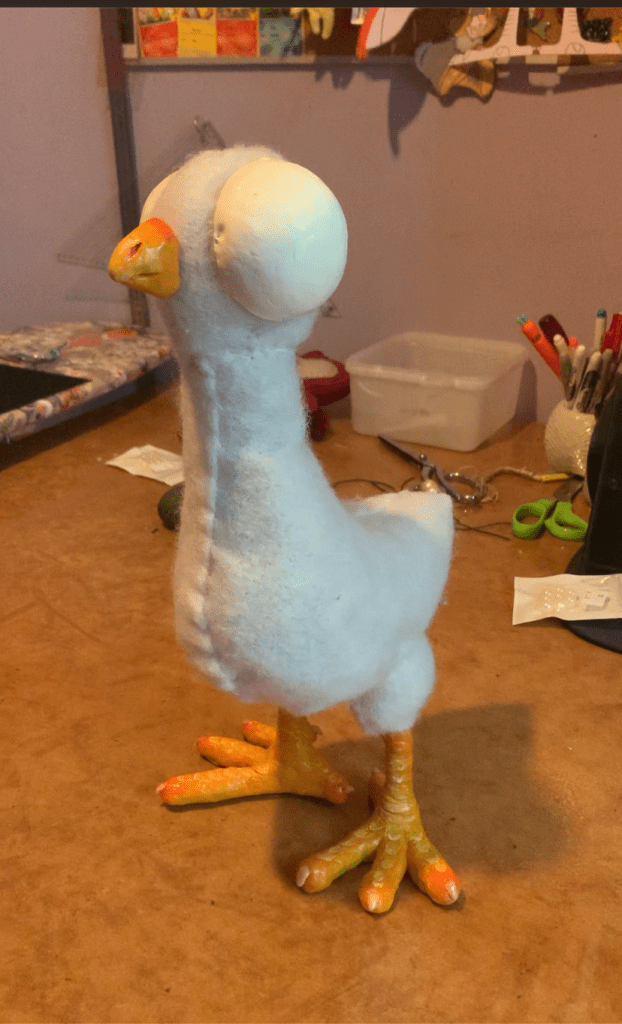
Use hot glue to glue the legs and beak on to the body. Paint them using acrylic paints and let dry. Then do a top coat in a gloss varnish.
If you’re feeling super fancy, you can even give his nails a manicure with some nail polish.
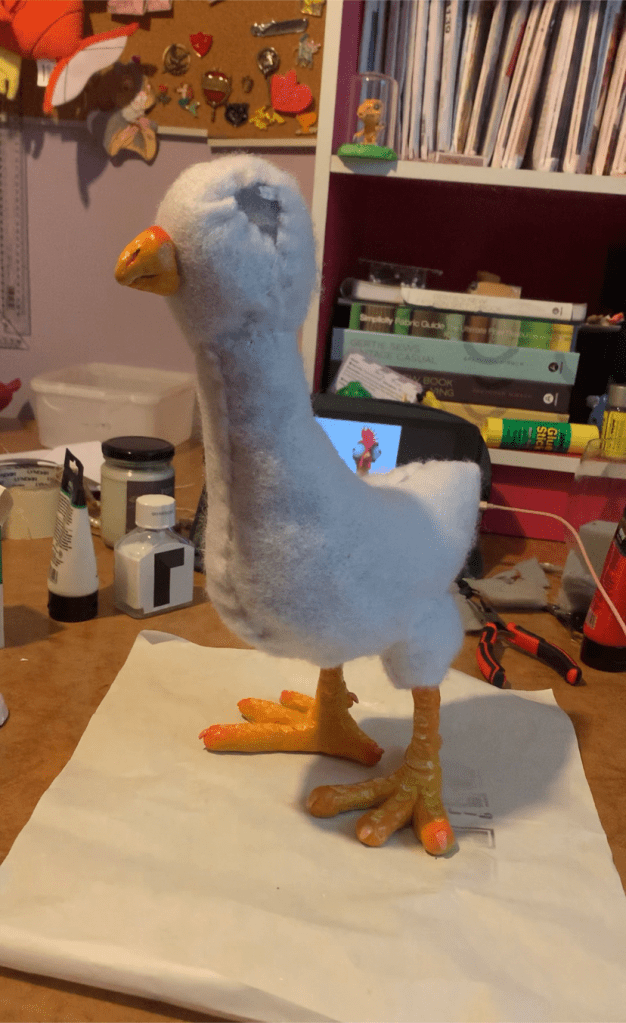
Glue his eyes on using PVA glue. It has to be PVA because most other glues (including hot glue) melt or eat away at the styrafoam. I used pins around the edges to keep the eyes in place as they dried.
Step seven :
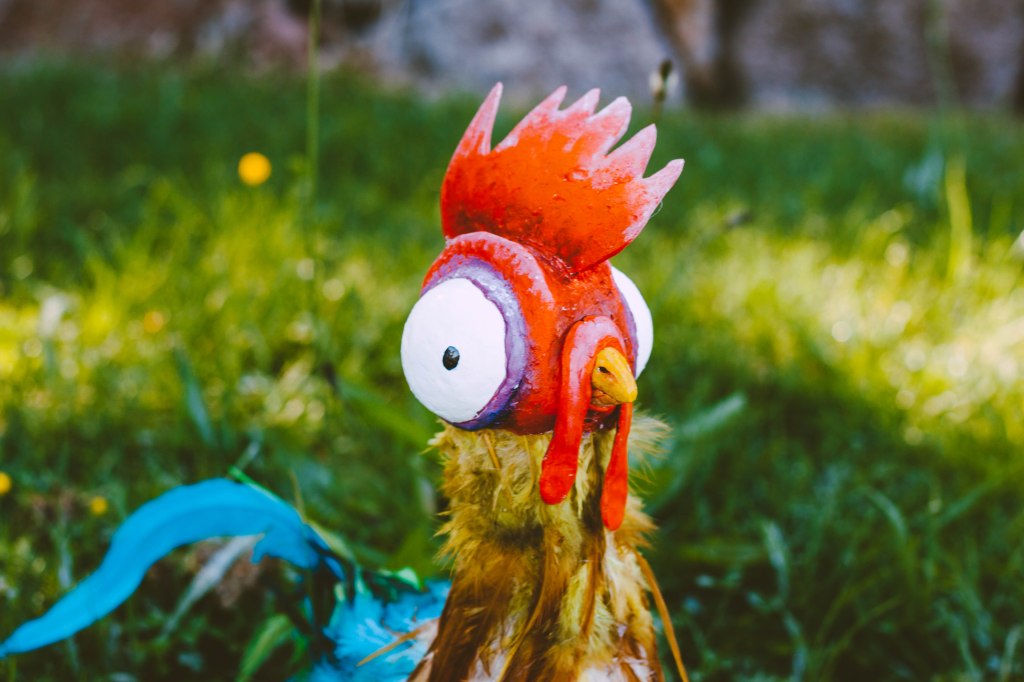
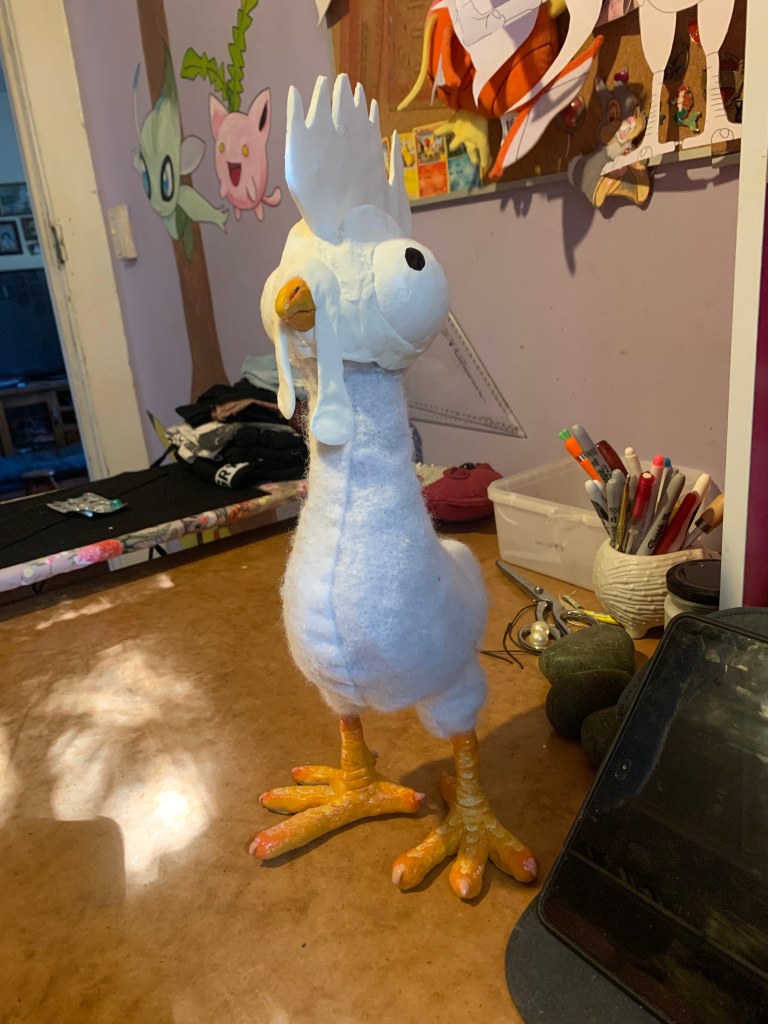
The part part. Making all the dangly bits. For this I discovered a really cool technique. You can mix cornstarch with silicone caulk and create a play dough like consistency that you can sculpt with. Beware that it absolutely stinks though! I don’t know what the ratio is but I kept adding cornstarch until it wasn’t sticky.
Using this dough, sculpt the dangly bits on the head around the eyes and over the beak. I sculpted the crest separately by rolling a piece of the dough flat (about 5mm thick) and letting it cure. Once cured, I cut it to shape using my template as the reference. I then stuck it to the head using some pure silicone caulk.
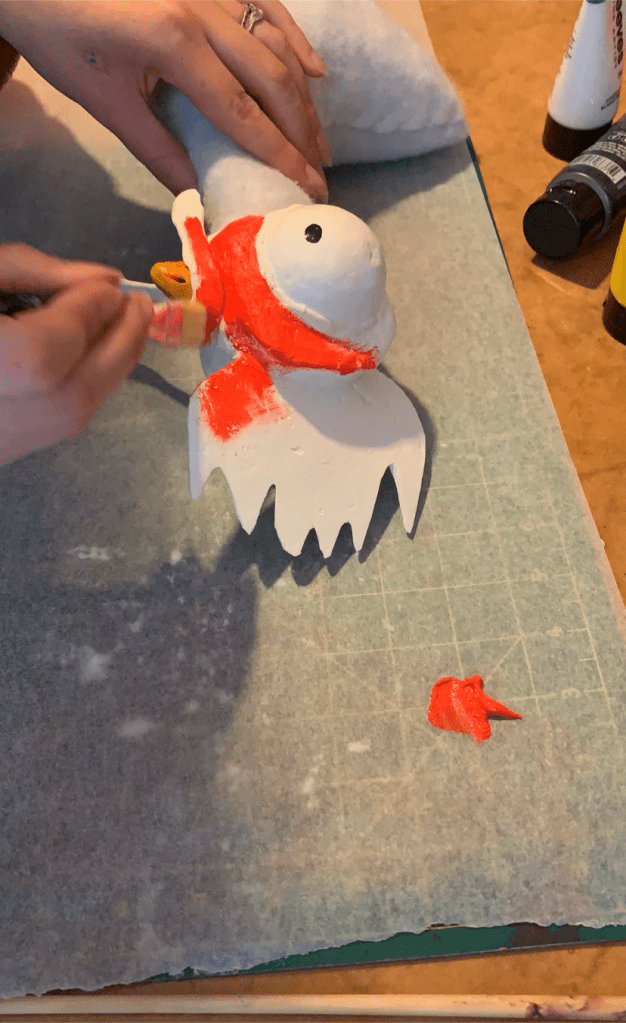
Leave the silicone and dough to cure for 24 hours. Once cured you can paint it! I did a base coat of pure red with acrylic paints. Then I went in and added detail and depth.

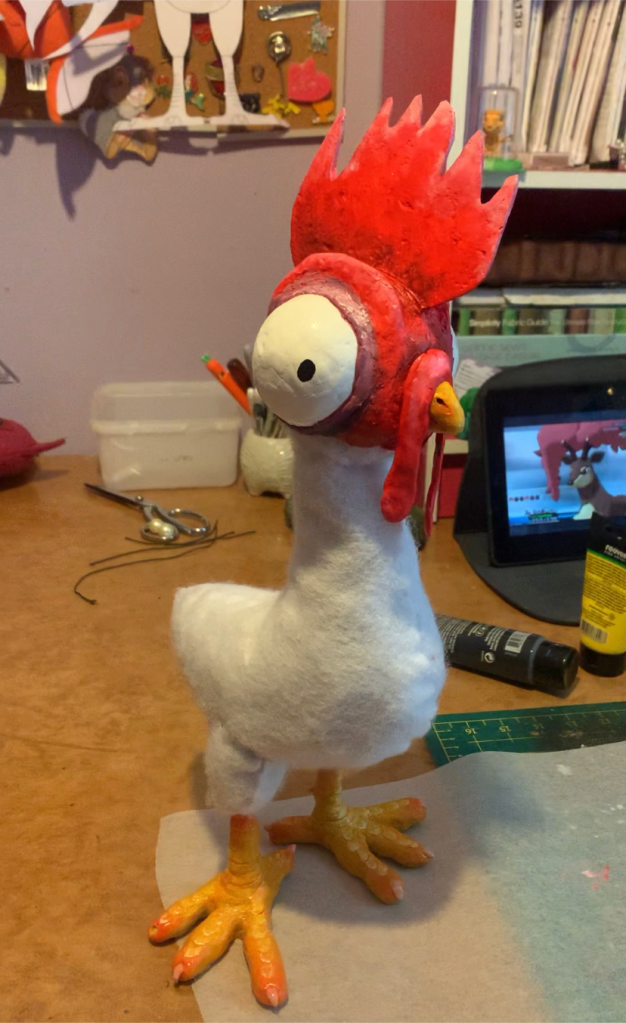
Step eight :
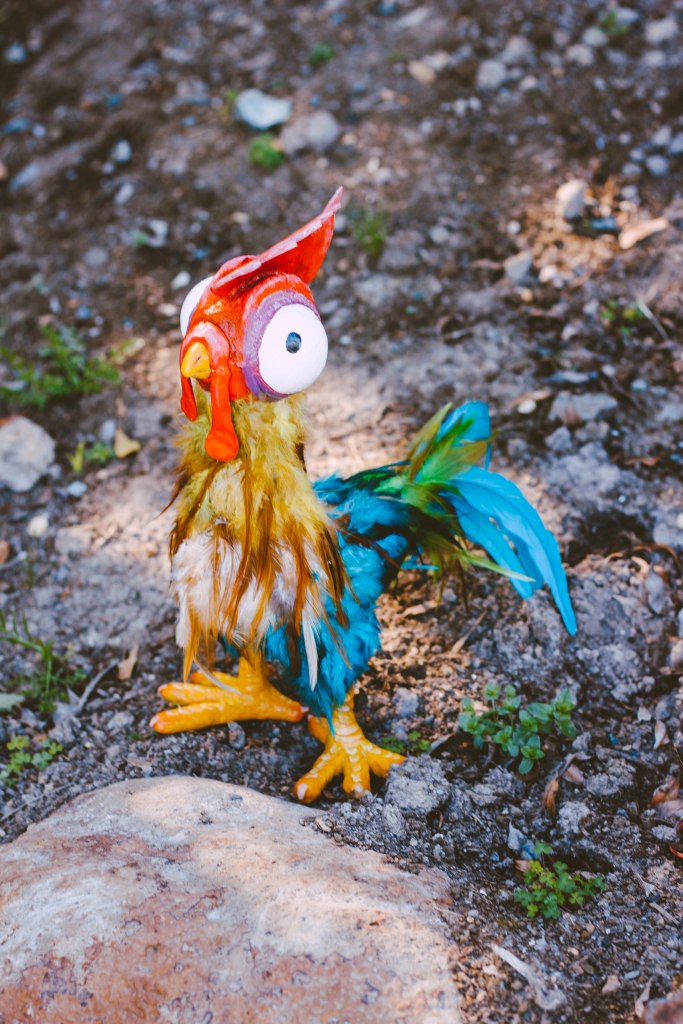
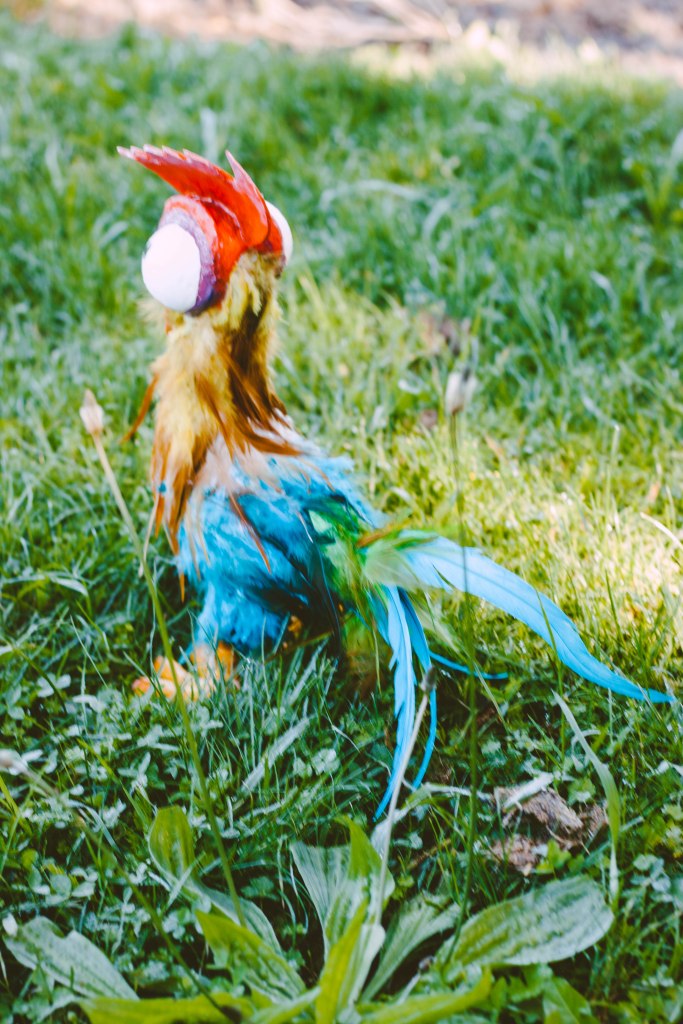
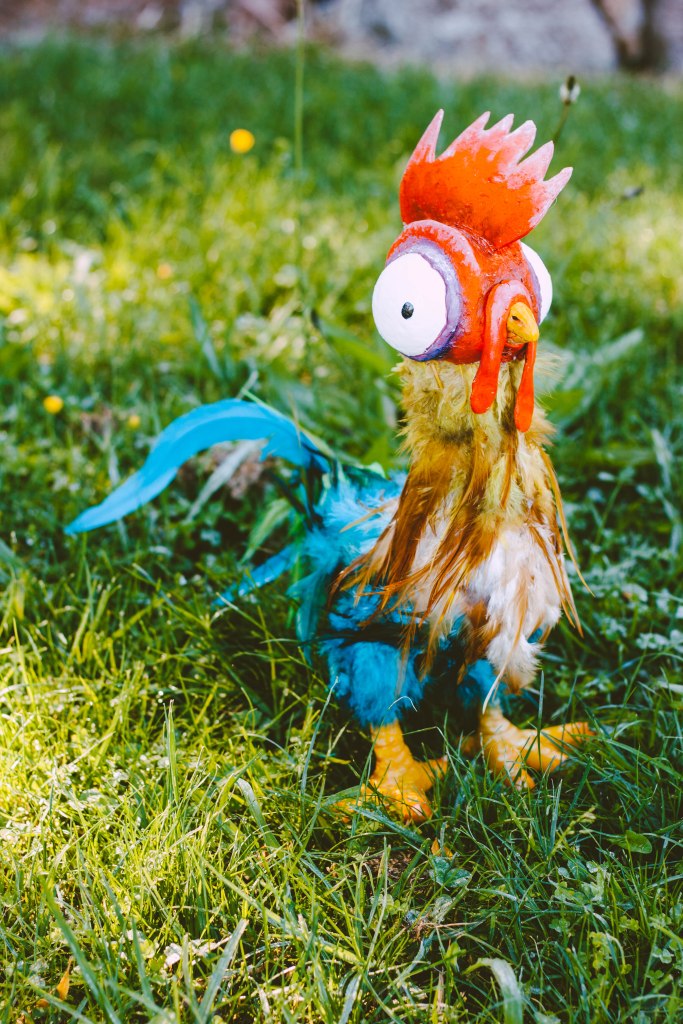
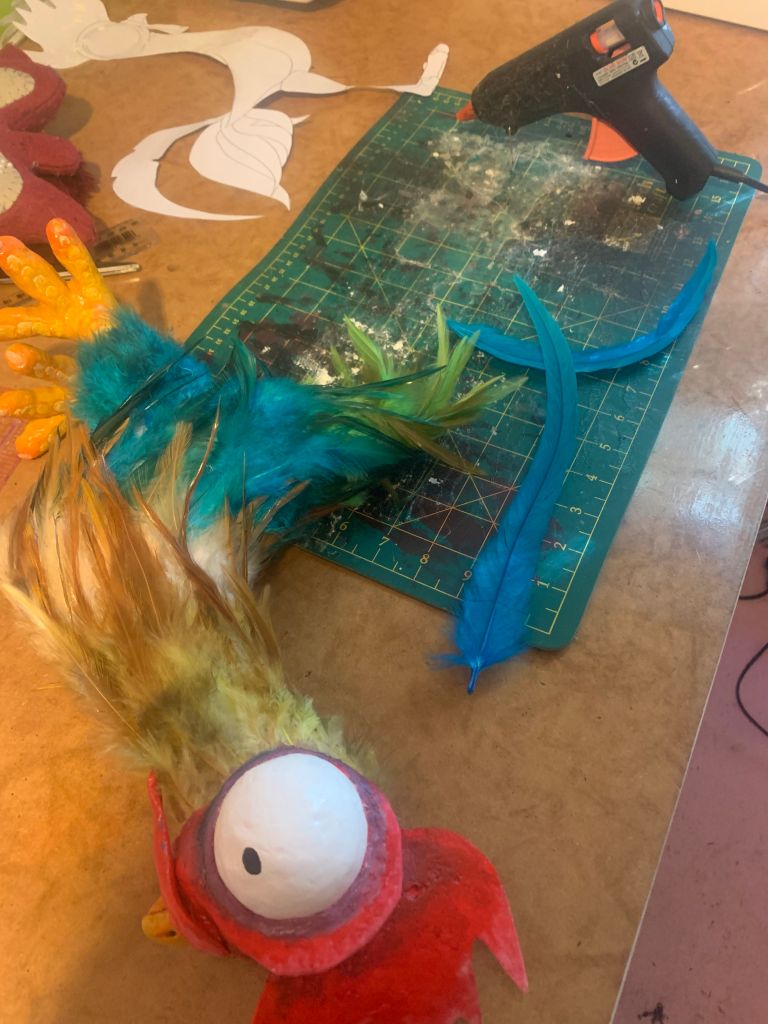
FEATHERS. I brought a bunch of different coloured feathers from Ali Express. They were between 10-15cms in length and there were 50 to a bag. I should have brought two bags of the teal coloured ones because I ran out before I could make them go as high up as I wanted and make wings.
Anyway, using hot glue, begin at the butt and work your way up to the neck one feather at a time. Making sure to overlap them and changing the colour according to your reference as you go.
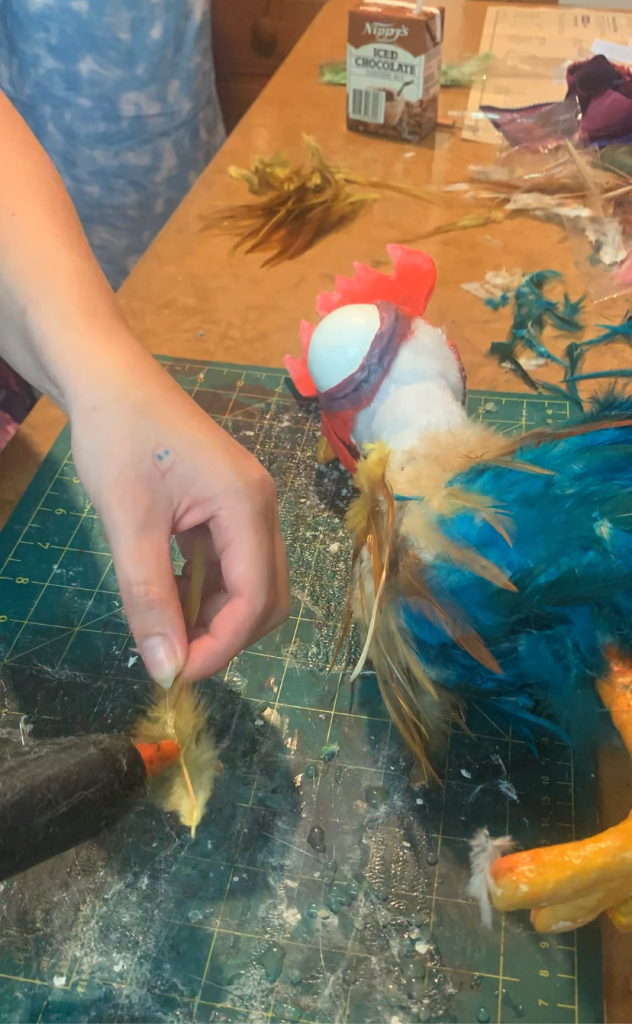
I personally did the tail feathers last because mine got held up in customs for the longest time and I ran out of patience. I wouldn’t recommend this though, It’s much easier to do them first.
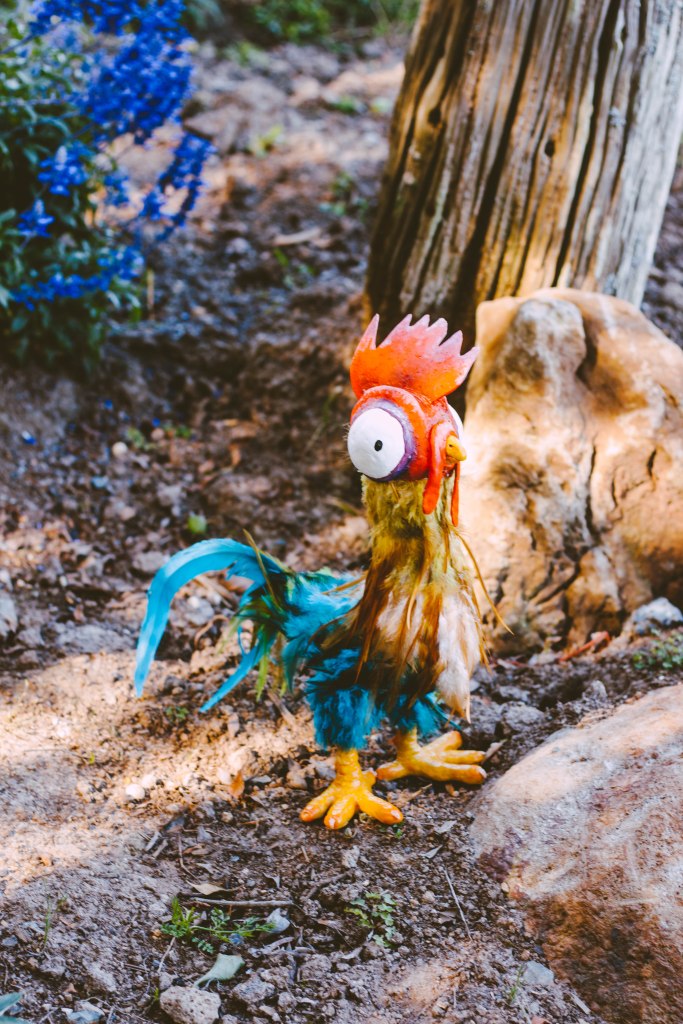
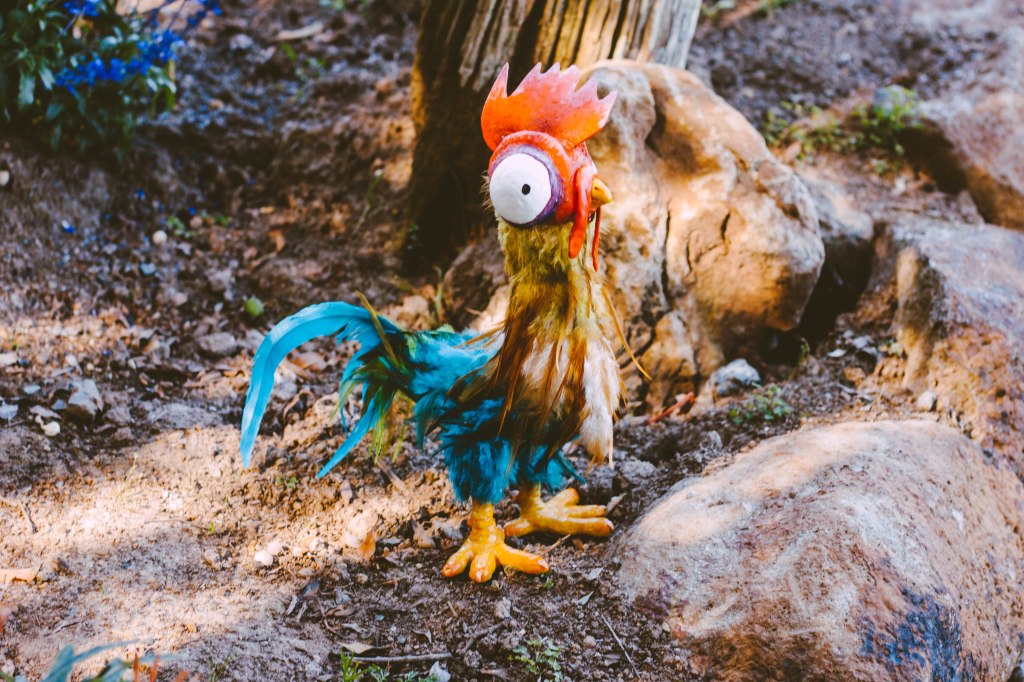
And that’s it! You’re done!
I hope you found this tutorial helpful and if you used it, I’d love for you to share your creations with me on social media. You can tag me on ~
@eveychu : Instagram
Kealy Ann : Facebook
Thanks for reading and happy crafting!

One thought on “Heihei from Moana | DIY”