

Oh, you may not think I’m pretty,
But don’t judge on what you see,
I’ll eat myself if you can find
A smarter hat than me.
You can keep your bowlers black,
Your top hats sleek and tall,
For I’m the Hogwarts Sorting Hat
And I can cap them all.
One of my best friends is getting married in February and I’m her maid of honor. For her Doe (Hen’s) night, she asked if I could organize something similar to my 16th Birthday party, which was Harry Potter themed. Cue a WHOLE bunch of Harry Potter related DIYs leading up to it.

I decided to make the sorting hat as opposed to buying it because
1- I’m super crafty,
2- I thought the store bought ones looked kinda budget and
3- I am much to poor to afford the $80+ price tag on most readily available ones here in New Zealand.
So without further ado ~
What I used –
- 2 meters of a heavy, brown canvas fabric
- 1x sheet of thick card
- 1x sheet of slightly less thick card
- PVA glue
- Paper towels
- Vivid
- Scissors
- Clips
- Cloth tape
- Paintbrush
- Acrylic paints
- Pins
- A cup of water
- Hot glue gun
Step 1
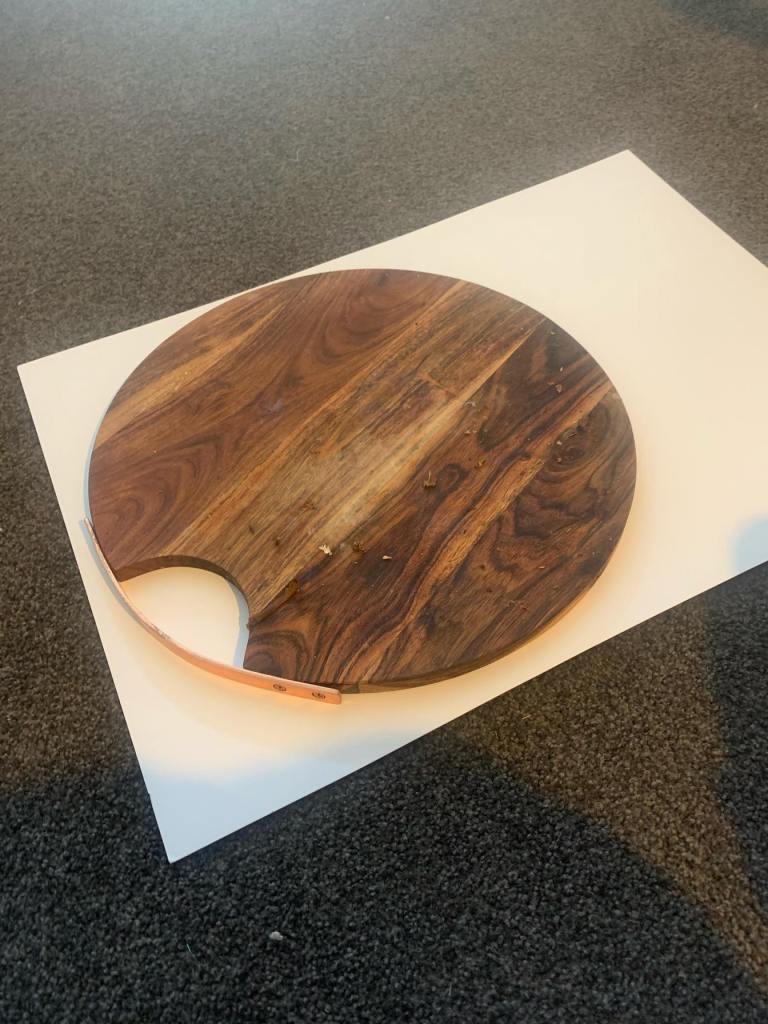
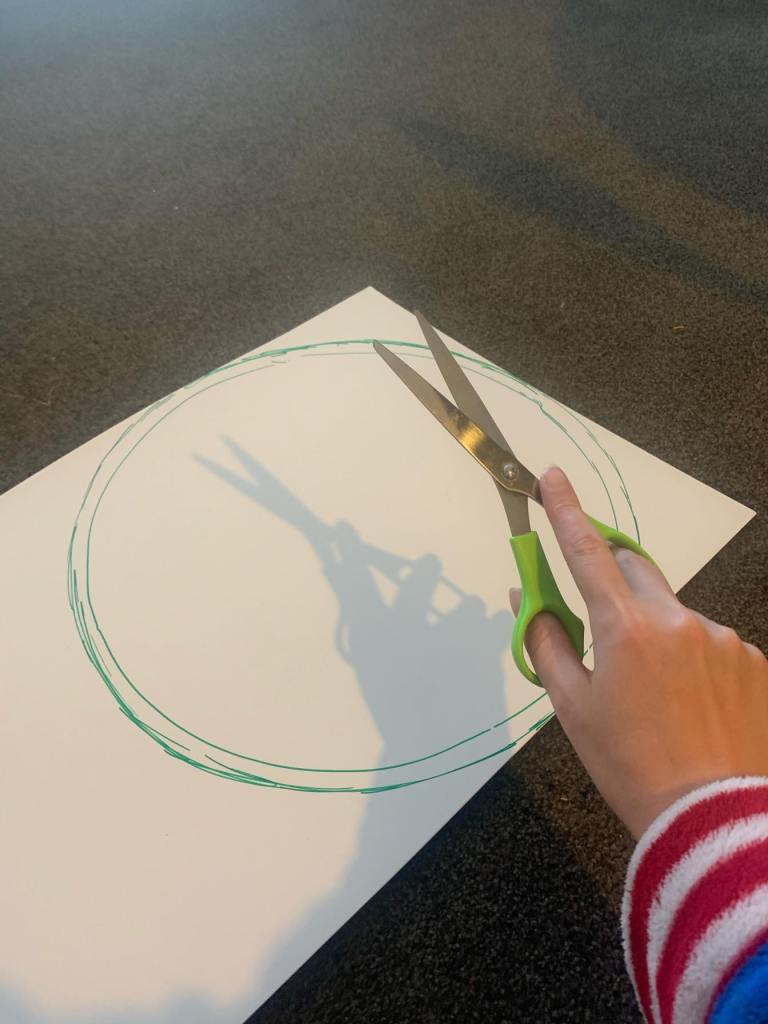
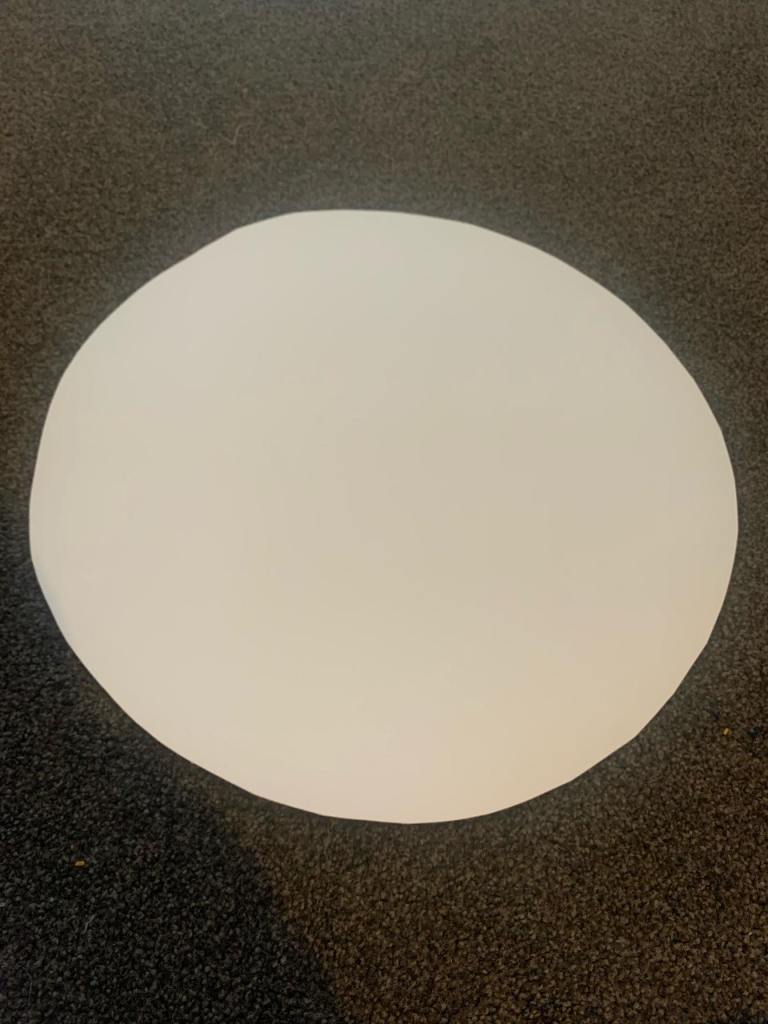
Find something large and circular lying around your home. For me it was a chopping board. Place this on the slightly thicker card and trace around it using the vivid. Cut out traced circle and put your chopping board back in the kitchen.
Step 2
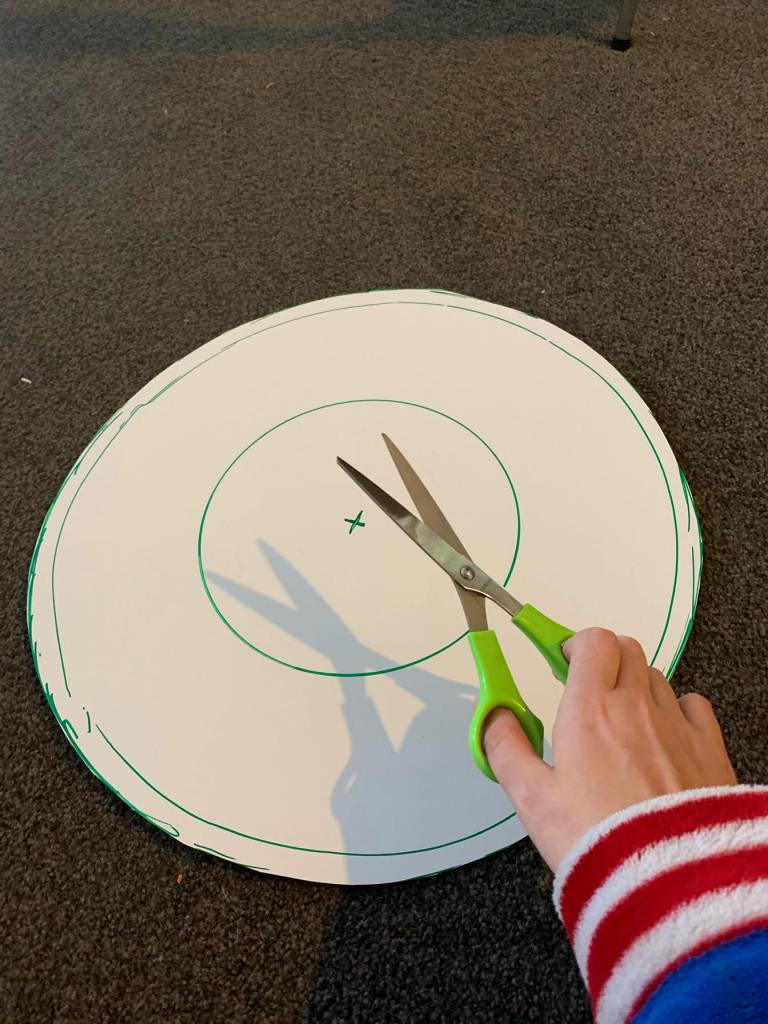
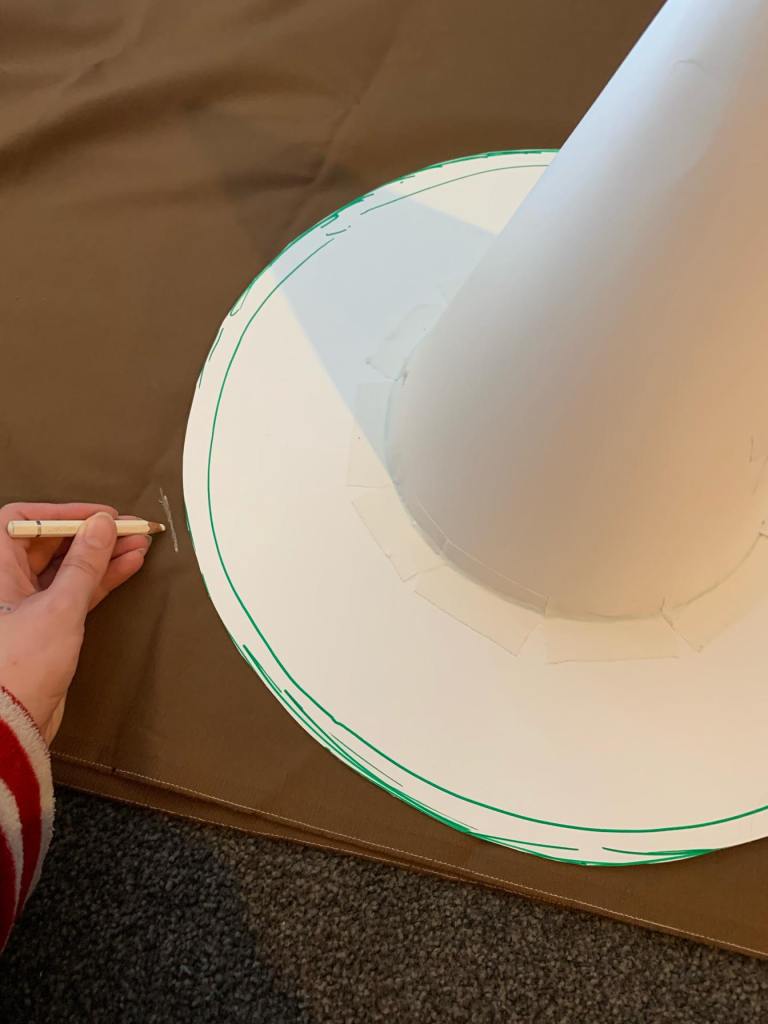
Find another circular thing lying around your home making sure that the circle part is wider than your own head. For me, it was a pot this time.
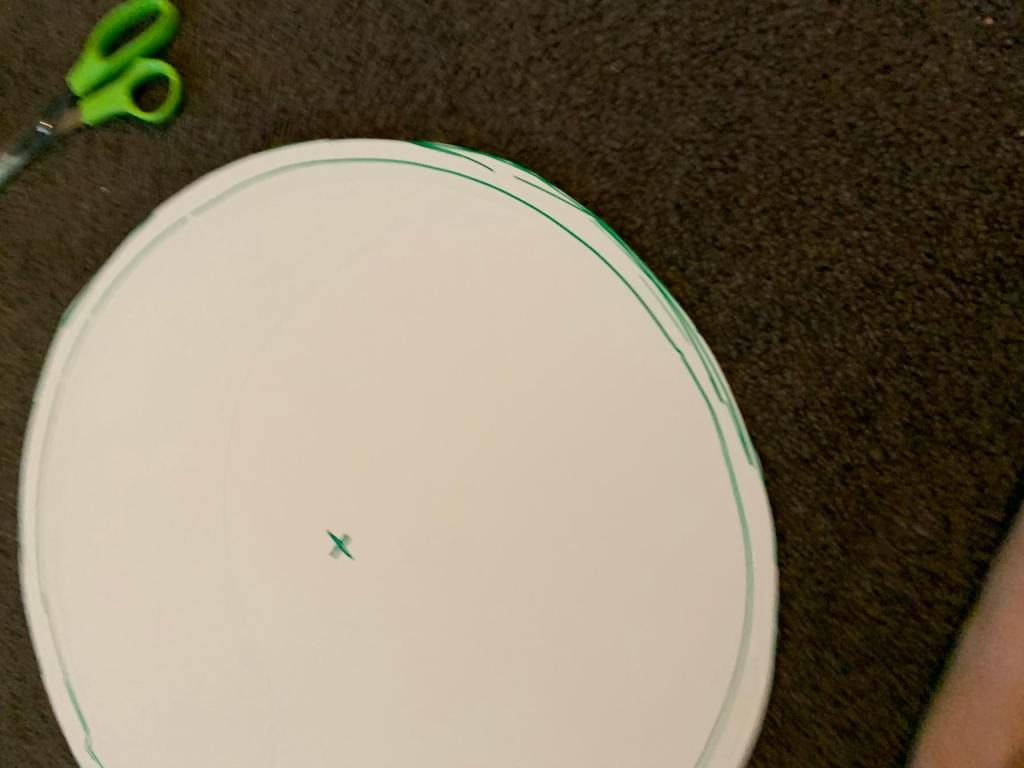
Find the center of the circle that you just cut out and mark it.
My circle was 18 inches across so the center point was at 9 inches.
Place your new circular object in the center of the circle. Measure around the four sides of it to make sure it is completely center.
For mine, the side of the pot sat 4.5 inches in from the edge of the circle.
TRACE and place the pot back in the kitchen.
Cut out the center circle you’ve just drawn in.

Step 3
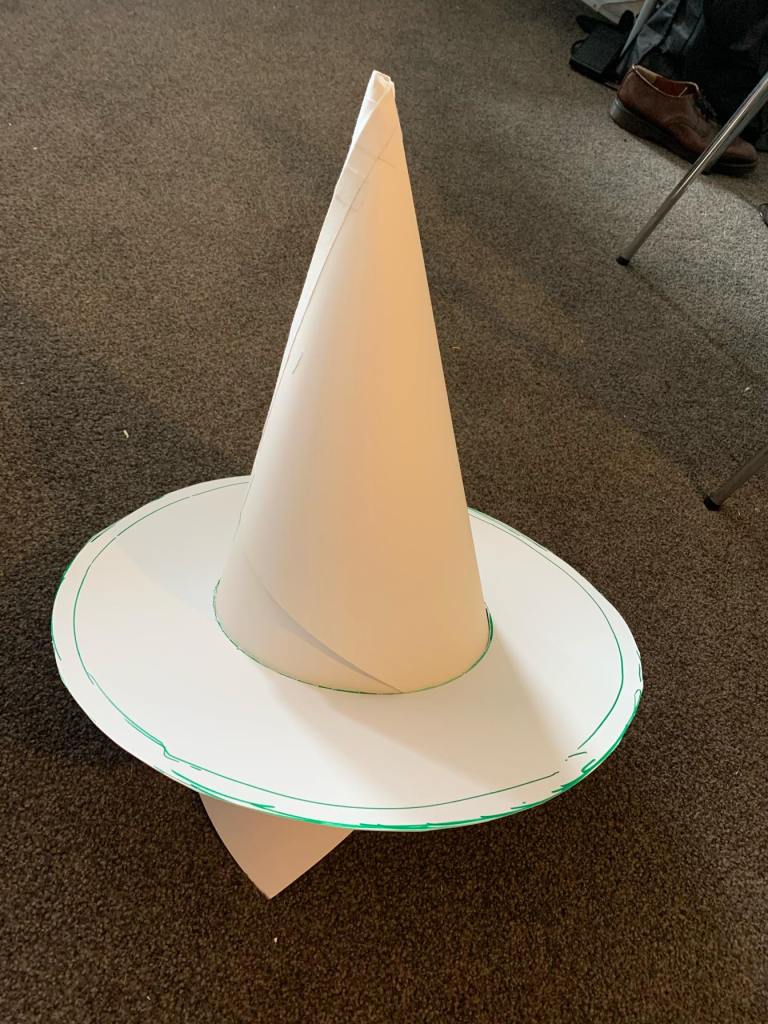
Grab the thinner sheet of card and roll it into a cone.
You then want to place this cone in the center of the circle you’ve made and let it unroll itself a little so that it fits tightly against the circles edge. Tape the cone so that it doesn’t unroll once removed.
Adjust the cone so that it’s in a position you’re happy with. I had mine slightly leaning back.
Draw a line along this edge where the cone and circle meet.
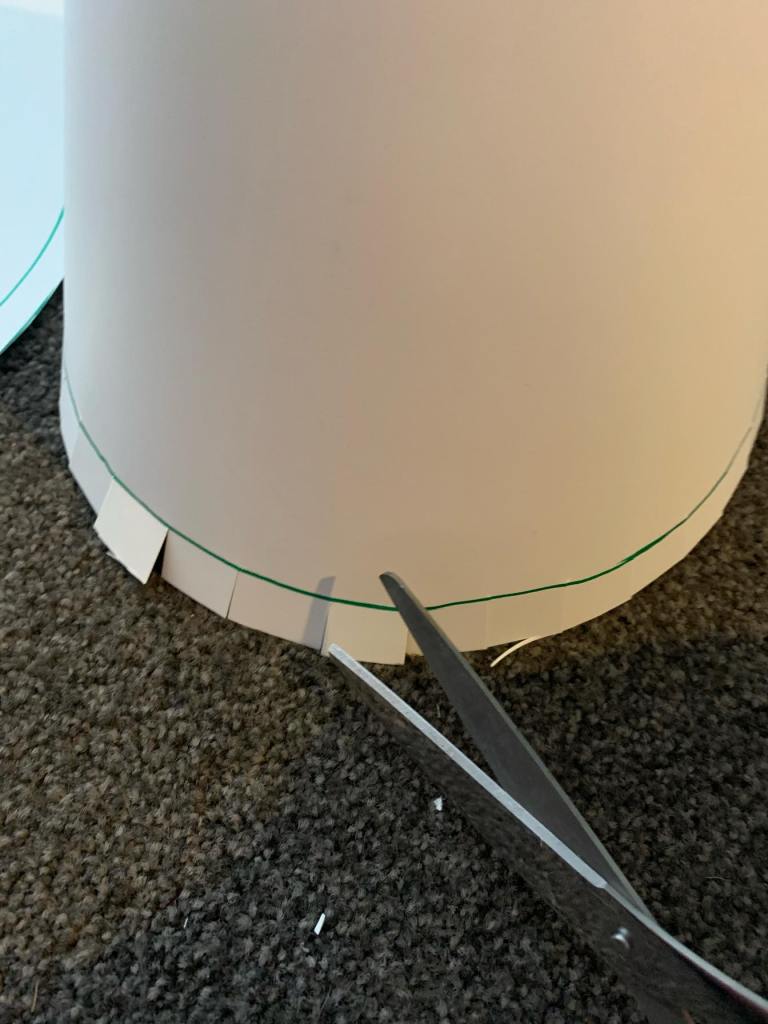
Take the cone out and cut the excess off along the bottom edge about half an inch away from the line you drew.
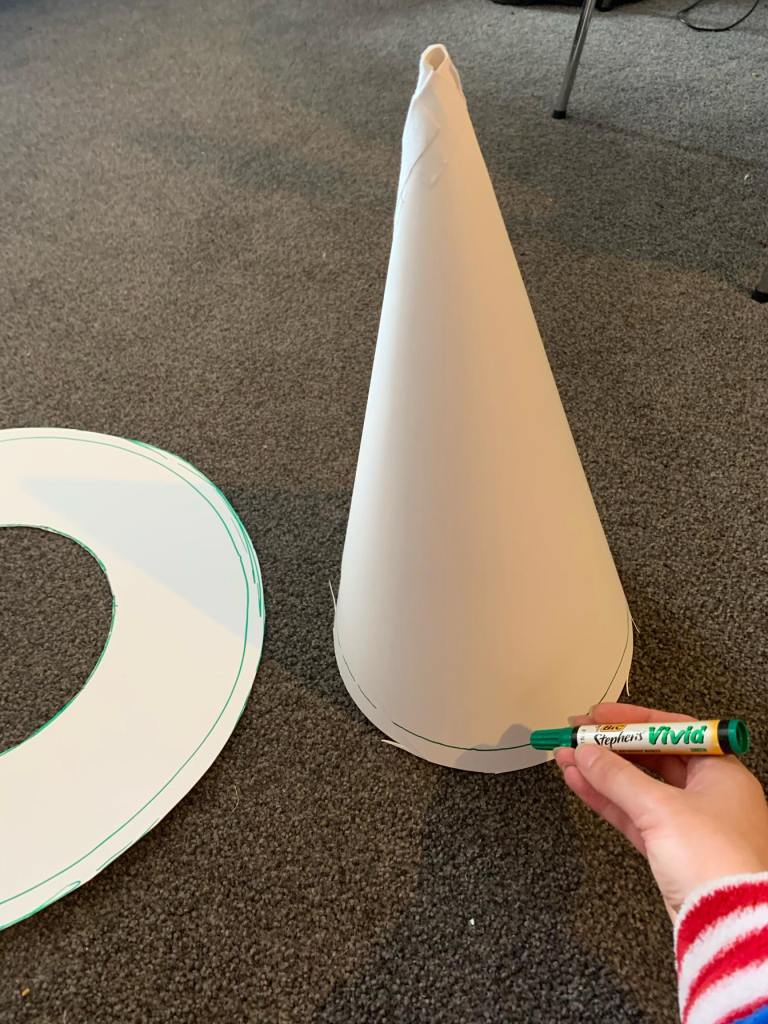
Step 4
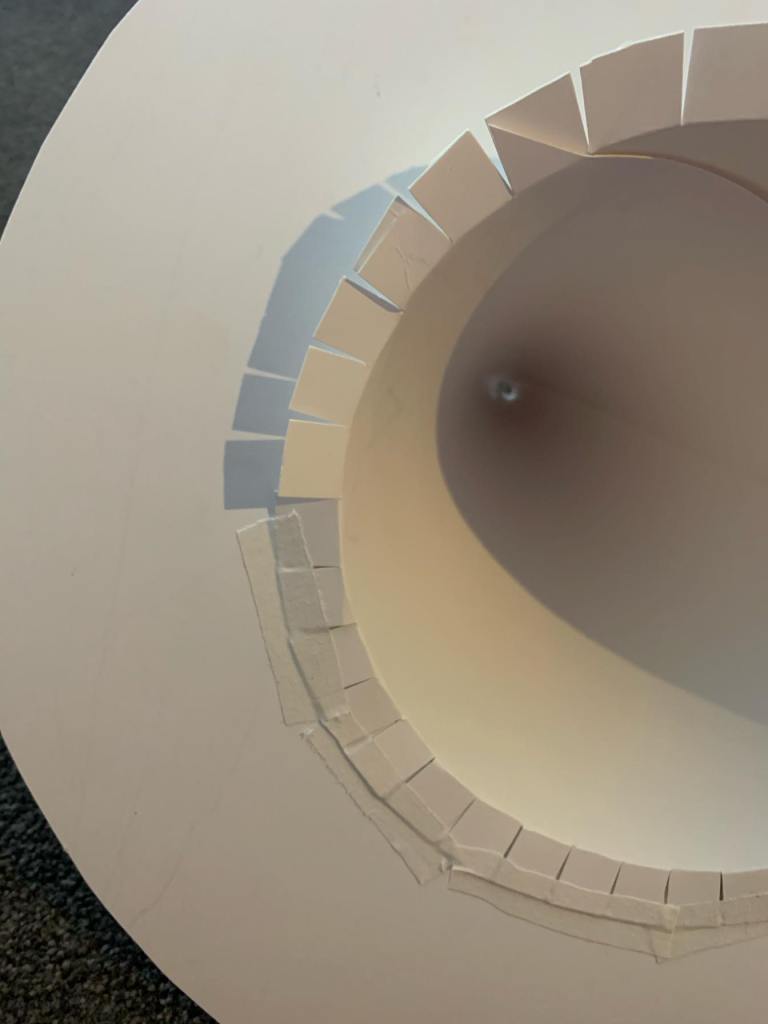
In the half-inch gap that you left from the line, cut little tabs all the way around about 1 inch apart. The width doesn’t have to be precise but don’t cut up through the line.
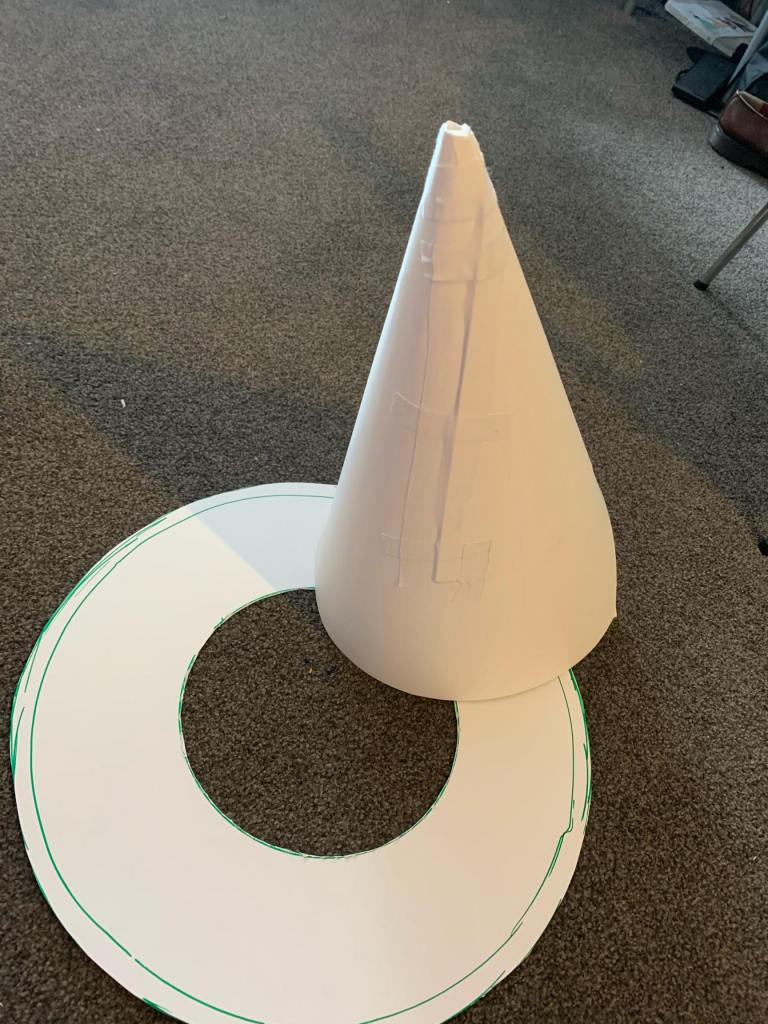
Place the cone back in the circle and fold the tabs over taping them down as you go.
Flip the hat over and tape the other side down too.
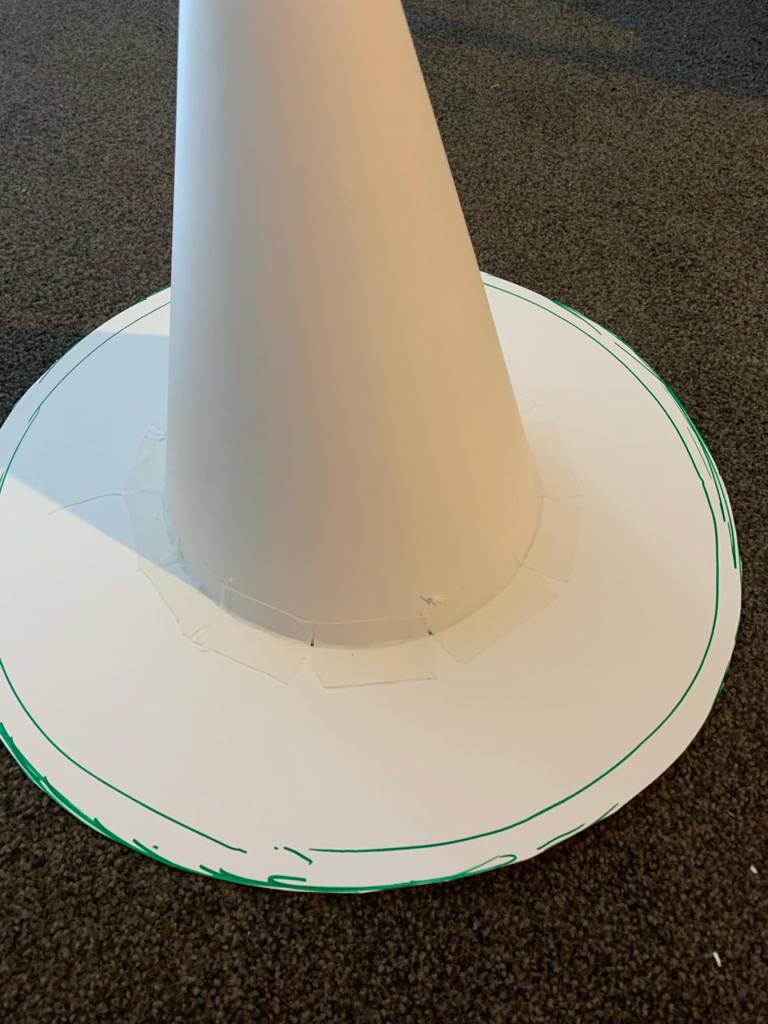
Optional step 4 step ~
See if hat fits in desired way. I want mine slightly too large for my head.
Step 5
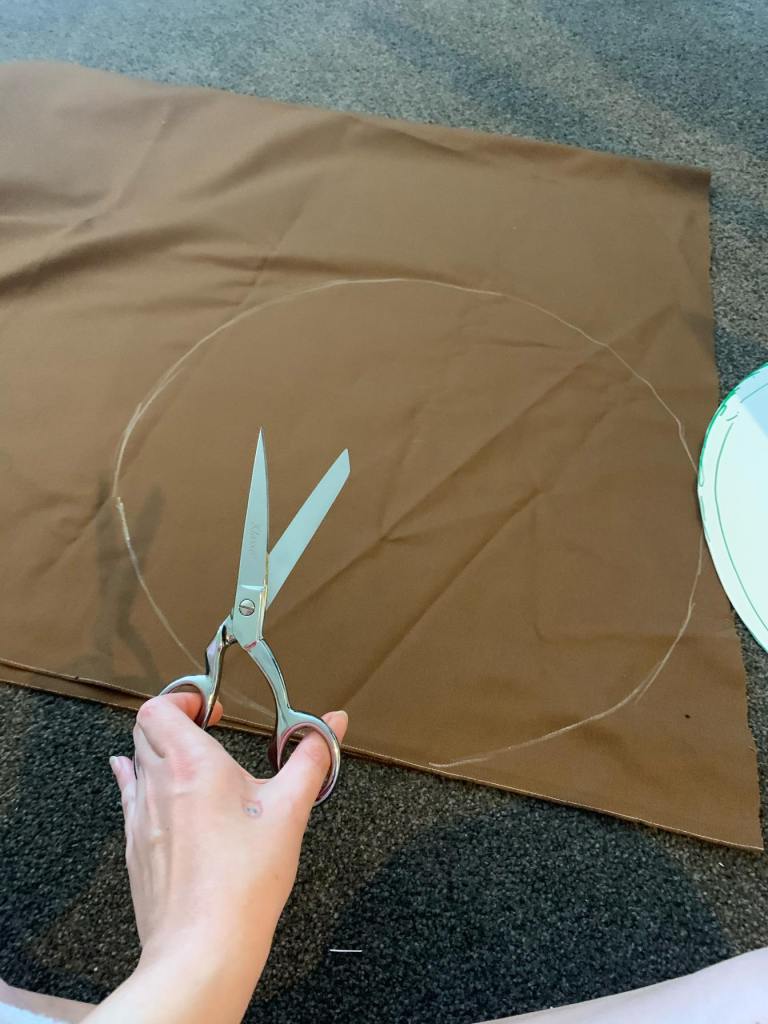
Fold your fabric in half and place your hat on top of it
Trace a circle leaving about a half inch out from the brim edge.
Cut out the circle!
Step 6
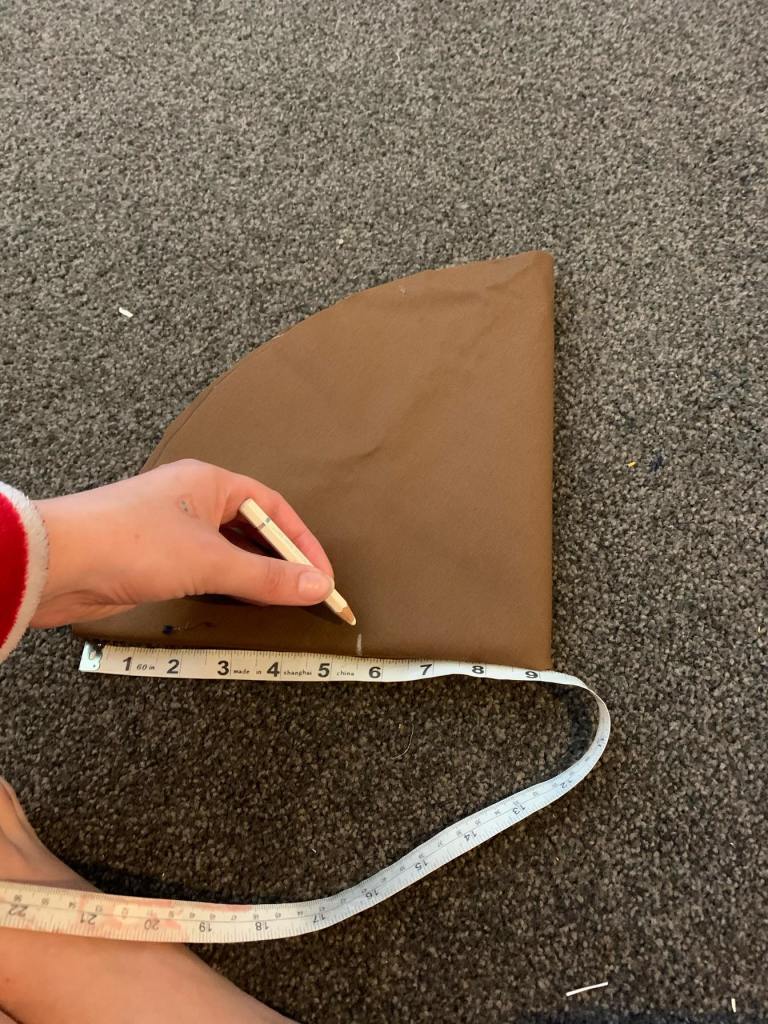
Fold the fabric circle in half and then in half again.
Remember how in step two, we sat a pot directly in the center of the circle card? Remember how my measurement was 4.5 inches in from the edge?
Well, take your measurement from that time and add an inch to it. So mine would be 5.5 inches.
Measure in that amount from the edge of your folded circle going all the way around until you have a dotted line all the way around.
Cut along the dotted line and unfold.

Step 7
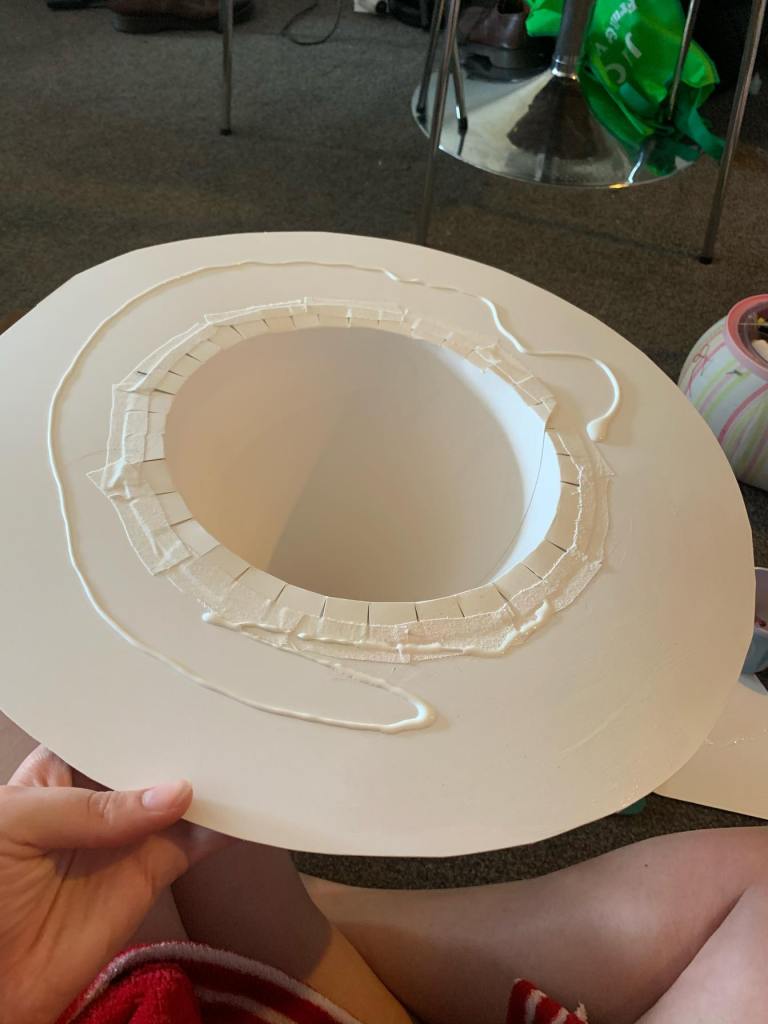
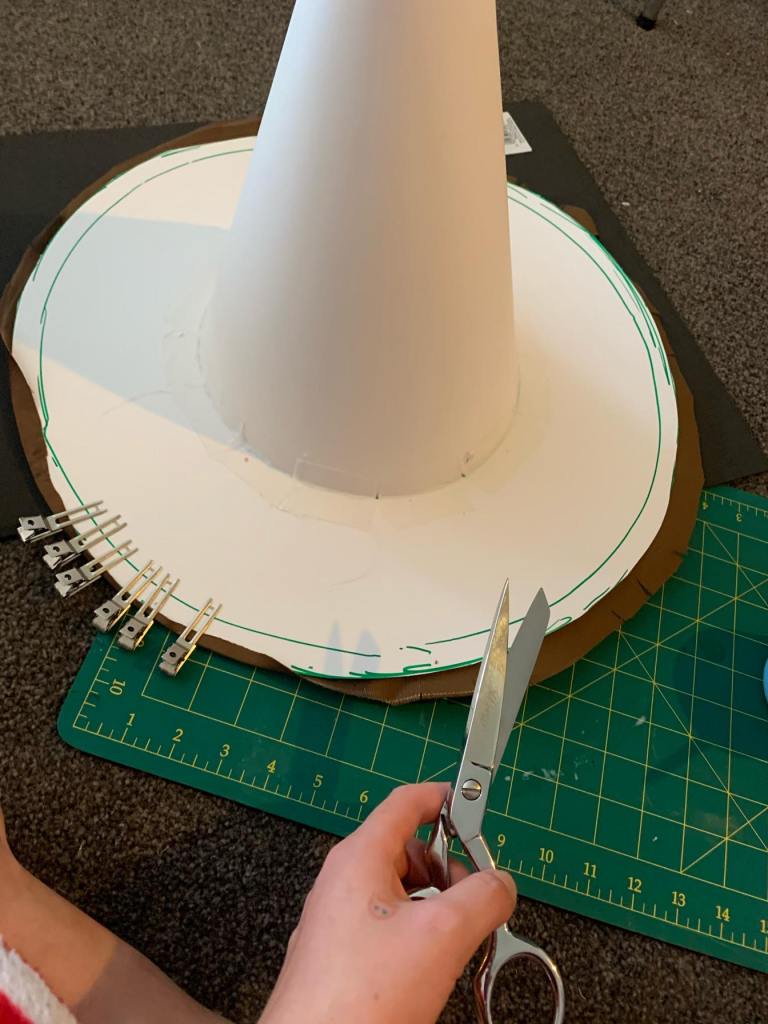
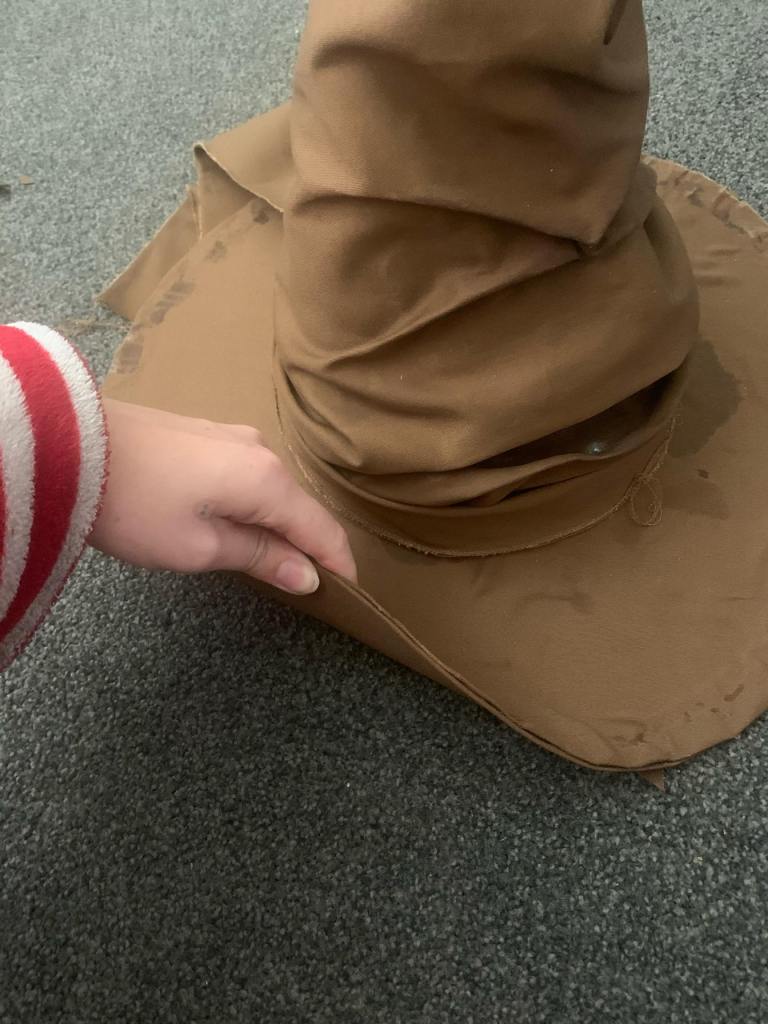
Cover the bottom of the hat brim in glue and place on top of one of the fabric circles. Trying your best to place it in the center which should hopefully give you about a inch fabric allowance around the edge.
Cut little tabs in to this allowance all the way around then glue and fold these tightly around the edge of the brim of the hat.
Use clips to hold the edges in place until they dry if you feel the need to.
Step 8
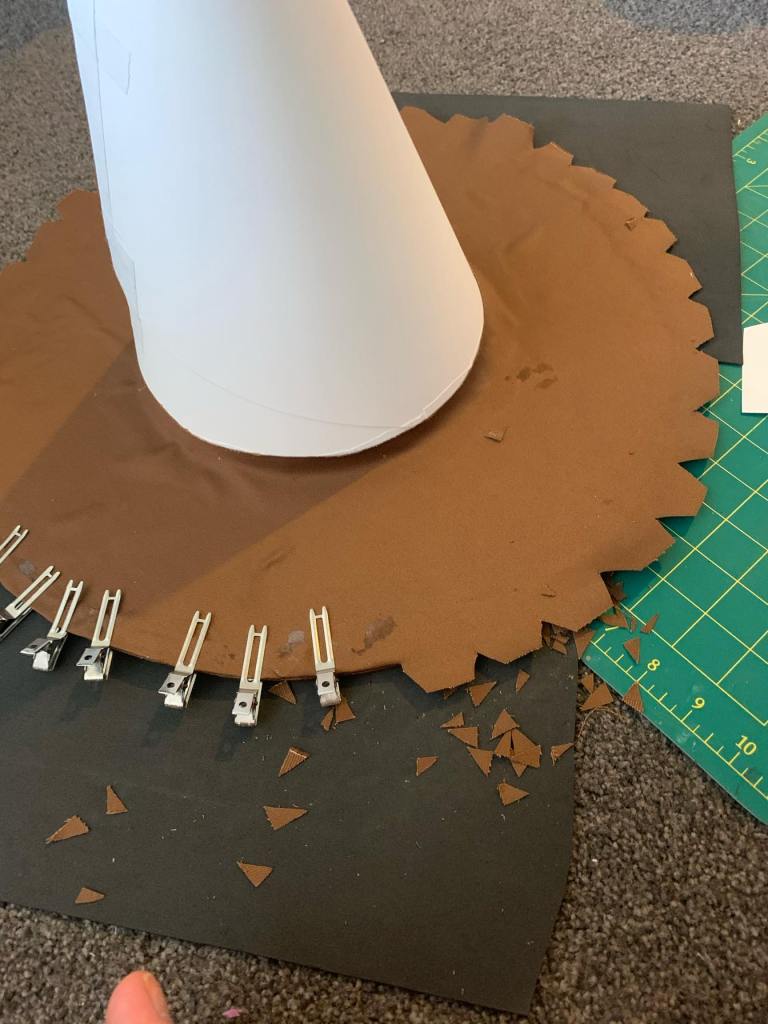
Cover the top part of the brim in glue leaving about a 1.5 inch gap from the brims edge. Place your other fabric circle on top of this.
So this is a tricky part to explain –
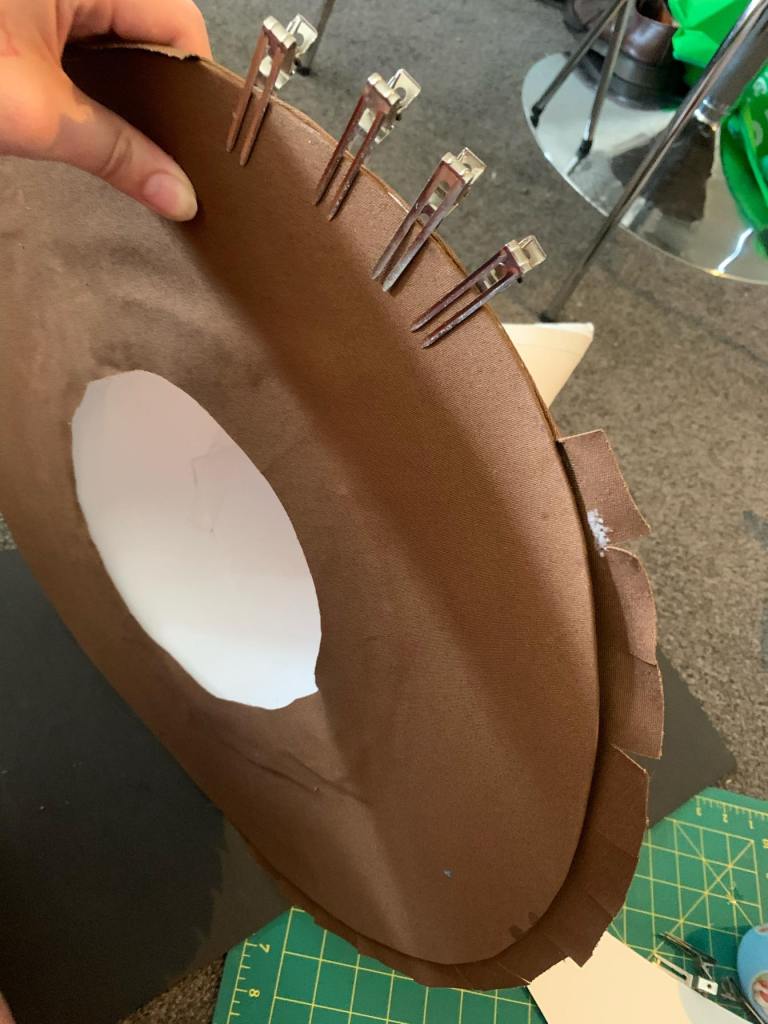
Cut little tabs along the allowance of the fabric again (the bit that’s overhanging the edge). Now on the brim, you want to paint a bit of glue, then lift and fold the tab underneath itself. Place a clip to hold in place if needed.
Do this all the way around until it resembles the third picture somewhat.

Step 9
You should totally wait for your brim to dry before doing this step, but if you’re impatient like I am, continue.
Draw a face on the cone where you want your sorting hats face to go.
Then using a mixture of slightly watered down glue and paper strips, build up how you want that face to look. LET DRY before going on to step 10. I didn’t but it will make your life so much easier. Do as I say, not as I do.


Step 10
This is probably the hardest step for me to describe.
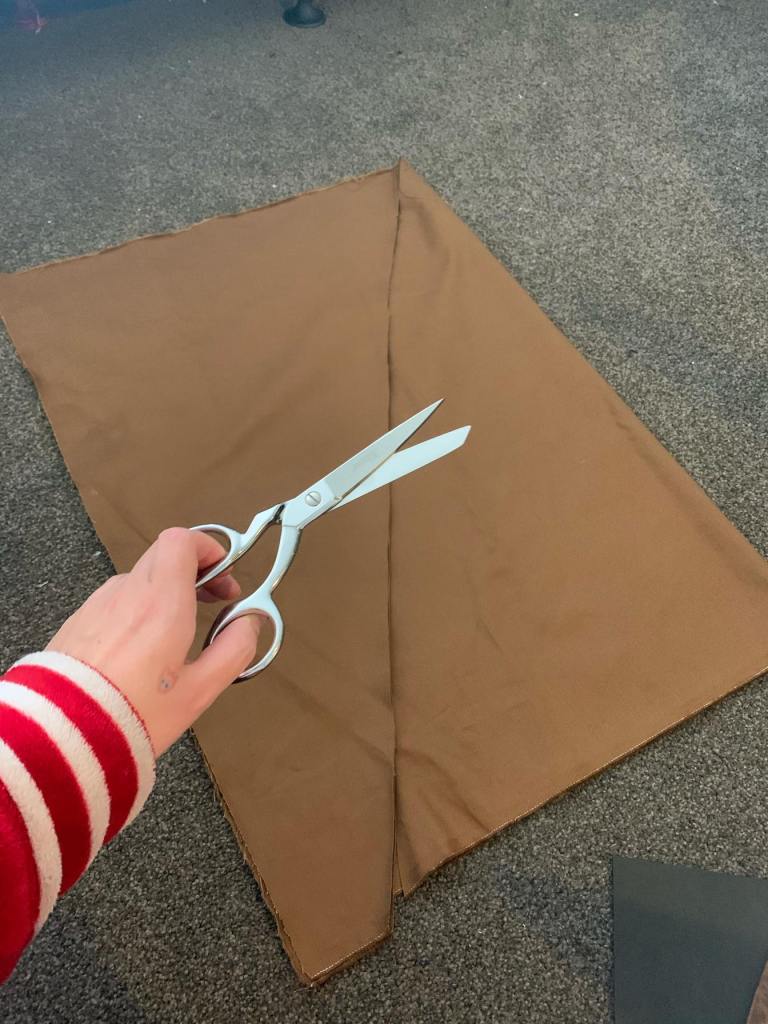
You want to cut a triangle shaped piece of fabric that will cover your hats cone entirely. Leave room at the back to add a seam.
I was also generous with the length I added to the height of the triangle because I wanted plenty extra fabric to work with.
You’re then going to place the center bottom of this triangle up against the front of your hats cone face.
ADD GLUE TO CONE.
And work the fabric in to the face shape creating folds and lines to your taste.
If you find you’ve created a line or fold that you particularly like and want to keep in place, paint some of the watered down glue on to it. You can also use sewing pins to hold parts in place like I did.
You might also find you have to misshape the card cone underneath to get shapes you want. That’s totally fine! Remember, this hat is meant to be hundreds of years old. He’s meant to be a bit battered.
LET DRY
Step 11
The back seam *sigh*
So hopefully if you’ve done it right, you should have some excess fabric around the back. Do your best to turn the edges in on each other and pin in place.
You may find (like mine), that this works fine for the top but as you get closer to the brim, you either have too much fabric in one spot or not quite enough in others. Do your best to trim excess and just make the other edges at least touch each other.
Sew (or glue) the back seam together. Which ever you find easier.
I sewed mine using a whipstitch and then glued the part closer to the brim.
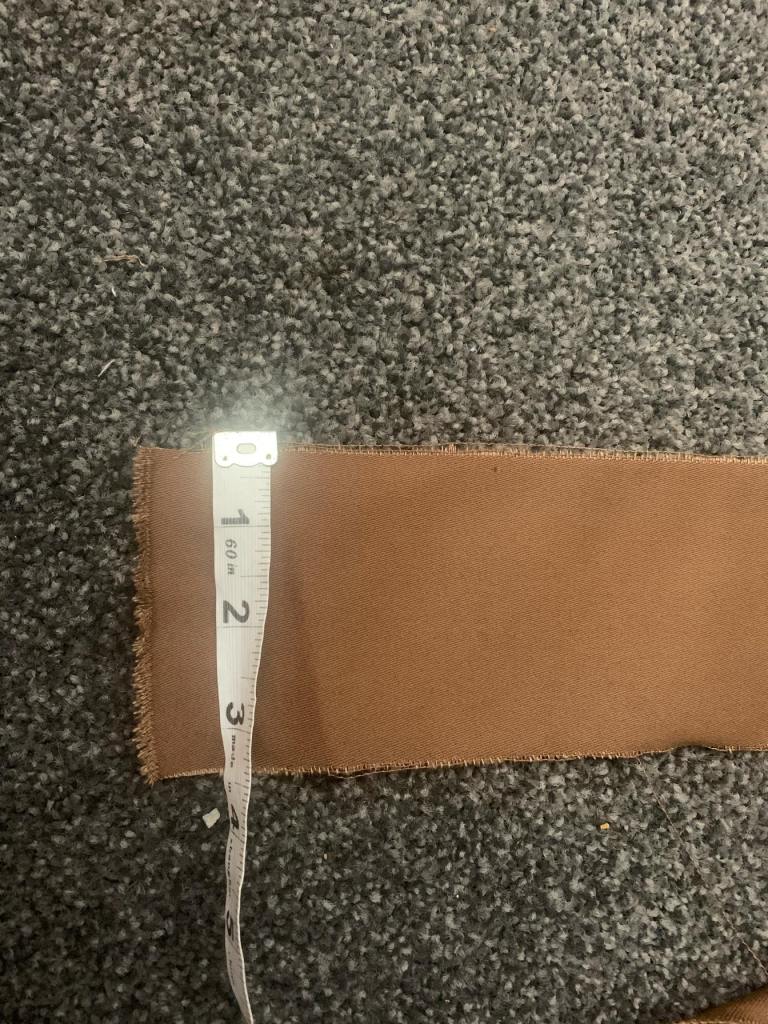


Step 12
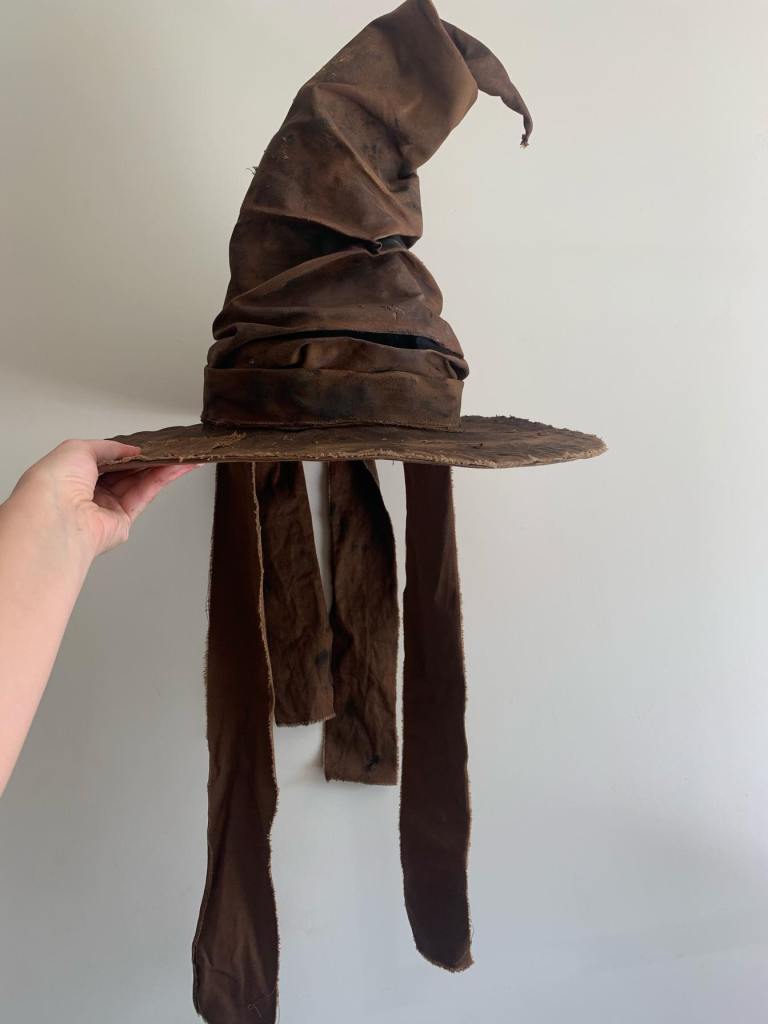
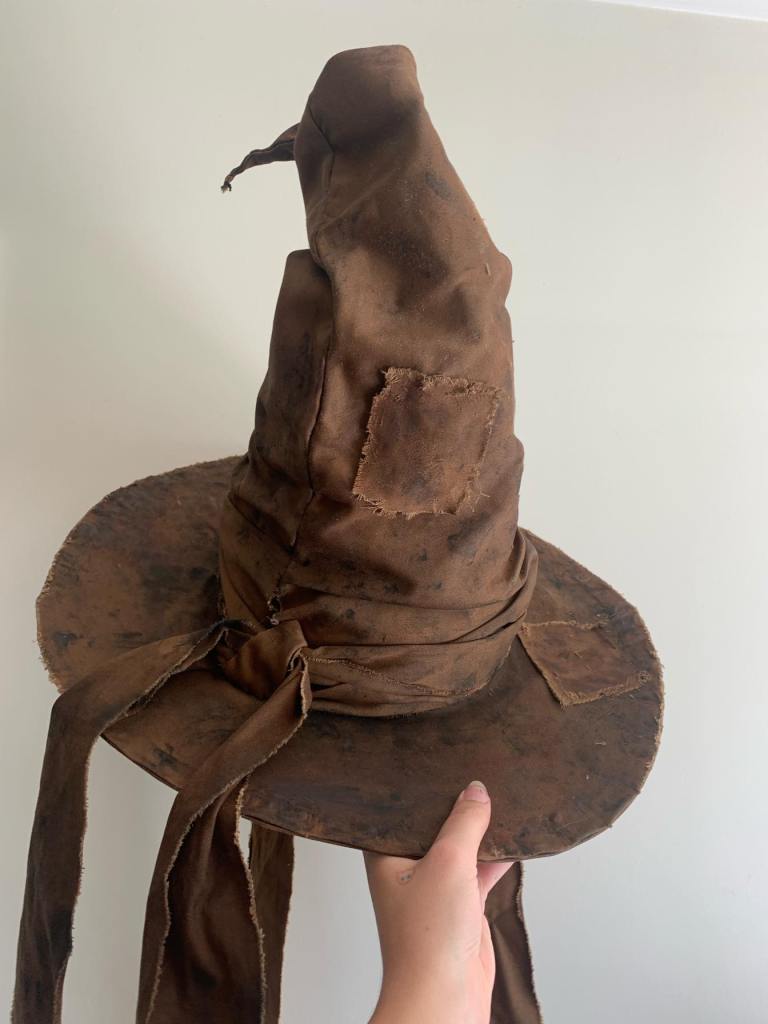
The sorting hat has some random dangly bits. So I cut some 3.5 inch wide strips from my left over fabric.
Ideally you do this bit using one continuous length but I didn’t so I improvised.
If you have one really long piece of fabric, fold it in half and wrap it around the base of the hat tying in a knot at the back and let the two ends dangle.
If you’re like me, using two pieces, take one length, find the centre point, gather it and stitch or glue it in place at the back seam of the hat.
Take your second length, fold it in half wrap it around the base and tie it in a knot at the back.
Then fiddle around with the to lengths until you have one sitting over the other that makes it look like it was one continuous length.
I suggest tying the knot over the bit attached to the back so that one strip is under and one strip is over.

Step 13
The fun bit.
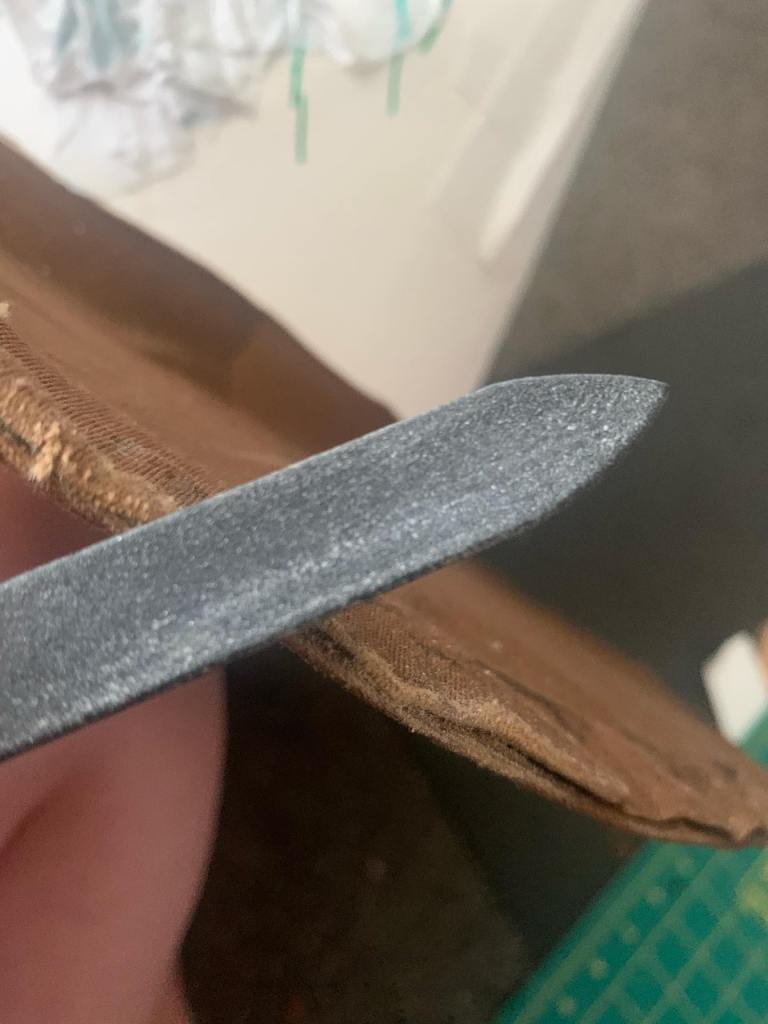
Weathering.
Once your hat is completely dry of ALL wet glue. Start this.
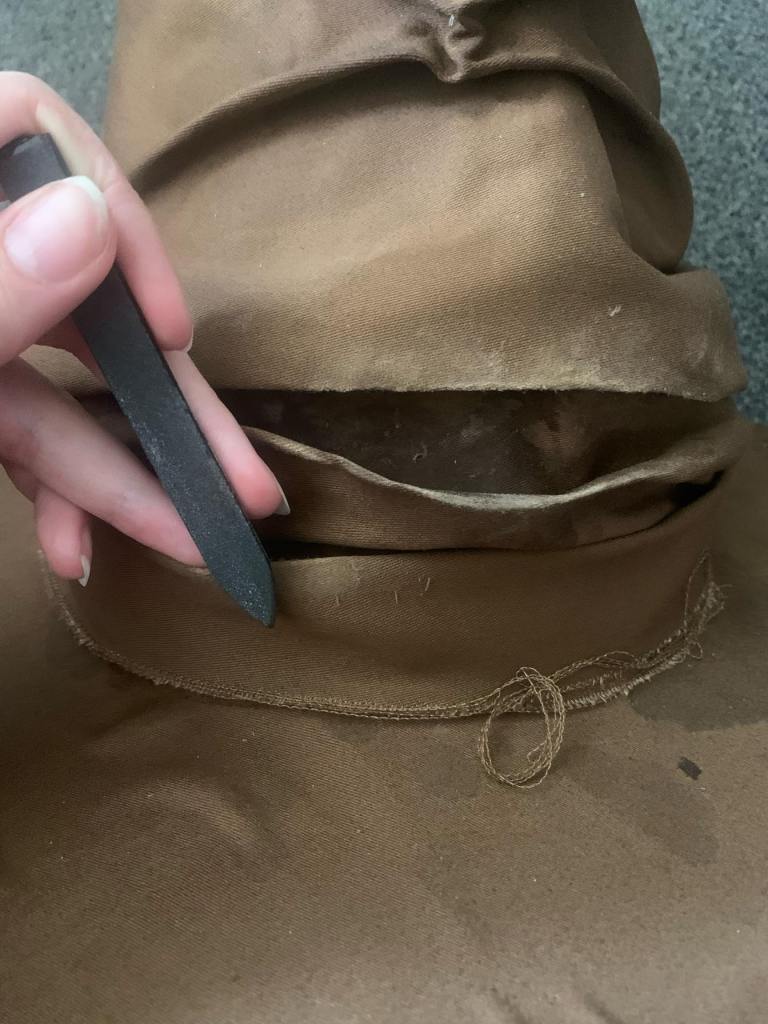
I used a nail file (you can use sand paper) to add weathering along all the edges that I thought called for it. Use your imagination to think of where wear and tear would occur and go to town on it.
I also rolled the edges of the brim to give them some curve.
Step 14
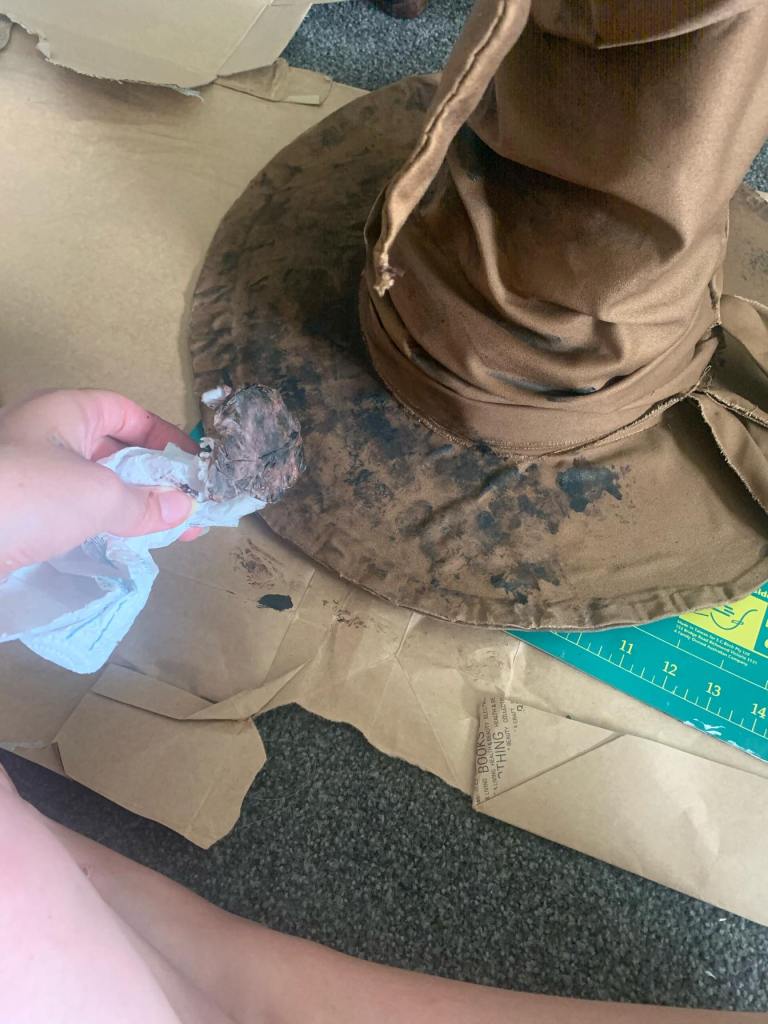
This step sort of goes hand in hand with the last as you’ll find yourself alternating between weathering and painting until you get the desired look you’re after.
I used watered down acrylic paints with a paintbrush and or a damp paper towel to apply paint where I wanted to darken areas, highlight others and make it appear all round dirty and grungy.
Step 15
Cut some strips ( the same width you used for the one around the brim), about 20 inches long. Glue them to the inside of the hat where your ears would be.
I don’t know what purpose these dangley bits serve, but they are there so I made them.
Next paint and weather them as you’ve done the rest of the hat.

Step 16
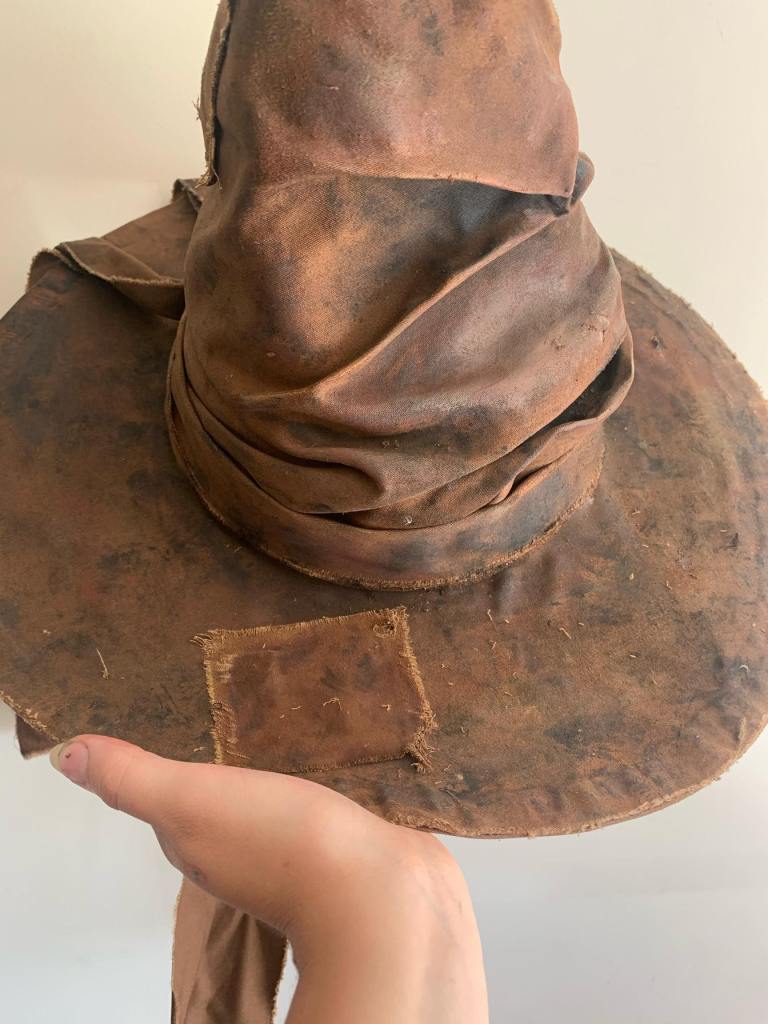
Add some patches. Remember, this is a SUPER old hat.
Be sure to fray the edges and add some paint to dirty them up too. Use glue to attach them to the hat. And if you’re feeling up to it, you could stitch the edges down too.
Step 17
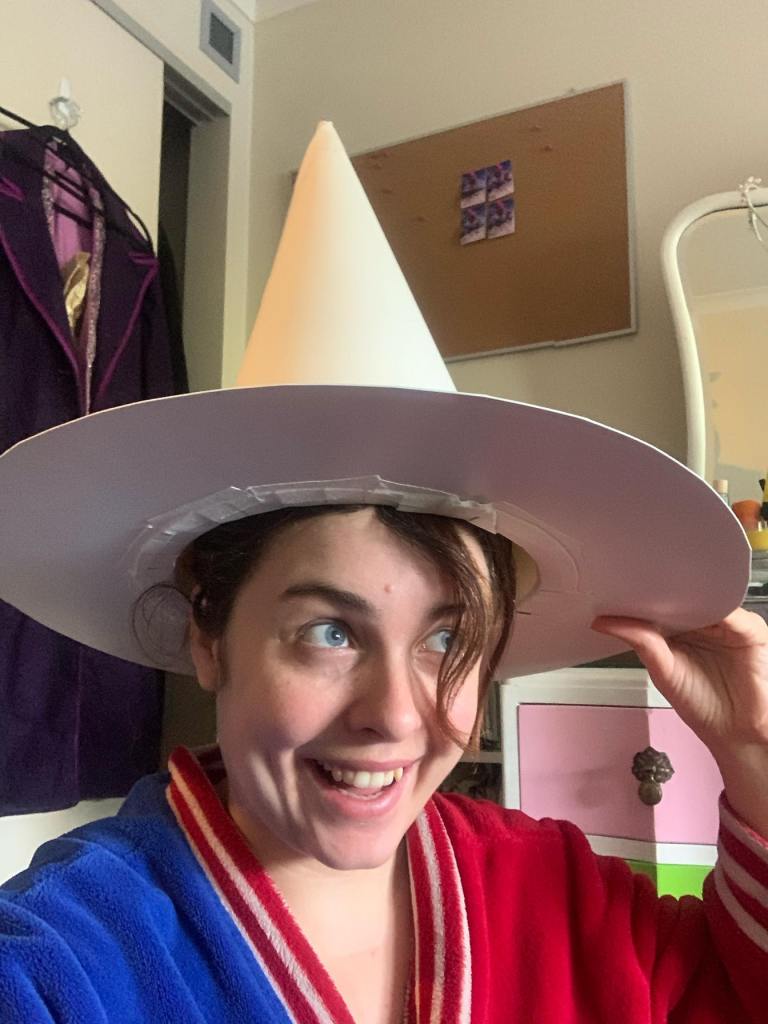
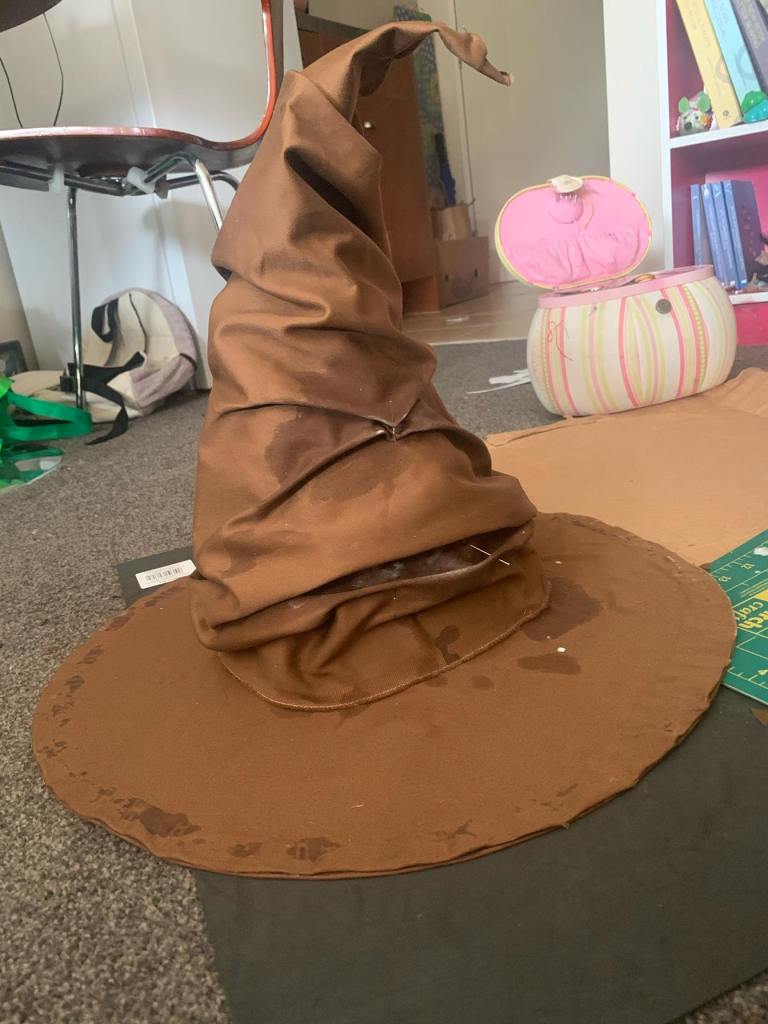
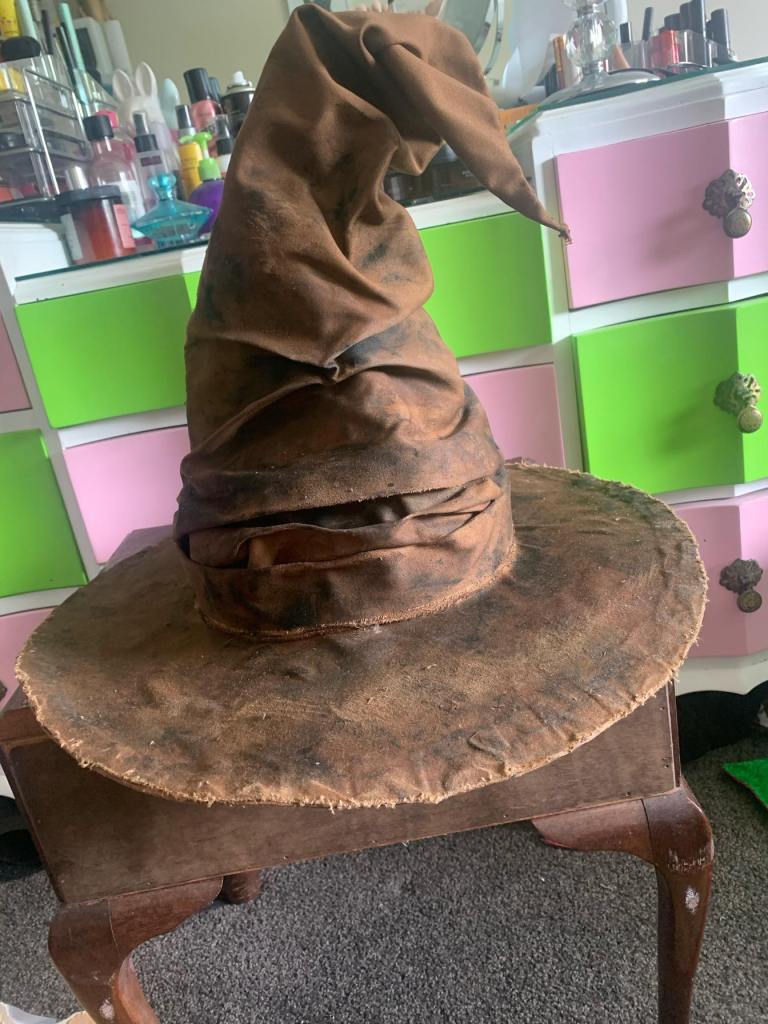
That’s it! You’re done!
Go put it on and take some celebratory photos. That’s what I did.

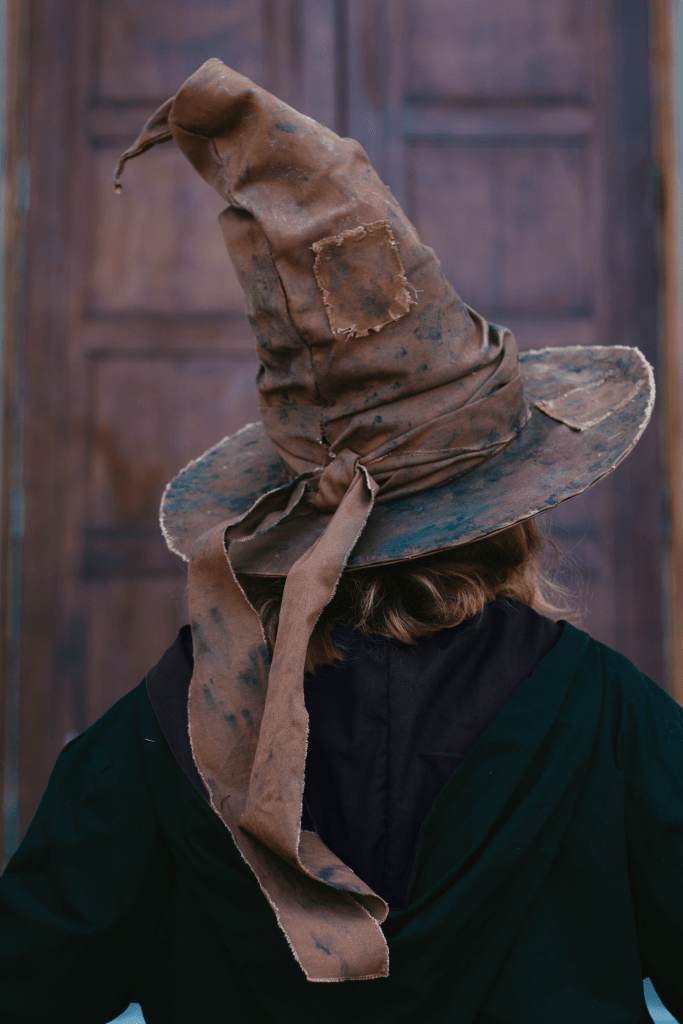
If you follow my tutorial and make one for yourself, I’d love to see the results. Please feel free to tag me in any social media posts.
@kealy.ann : Instagram
Kealy Ann : Facebook
Happy crafting everyone!
Difficulty : **
Time : Worked on and off for about a week
Cost : $ (if you find a cheap fabric like I did)

2 thoughts on “Sorting Hat : DIY”