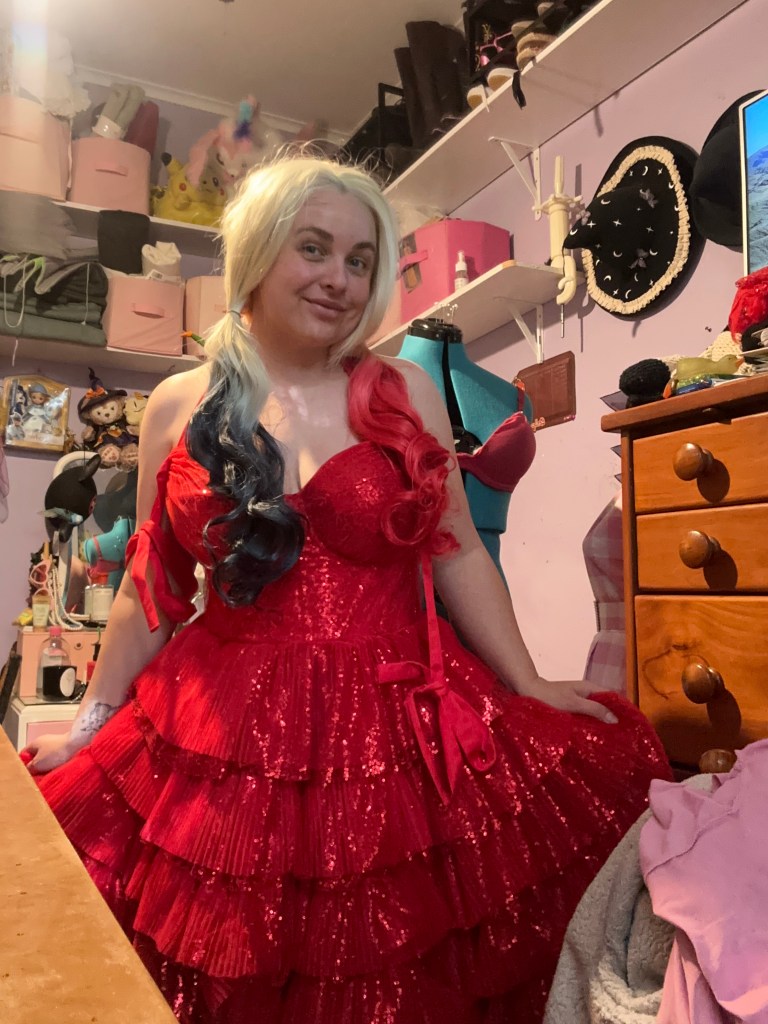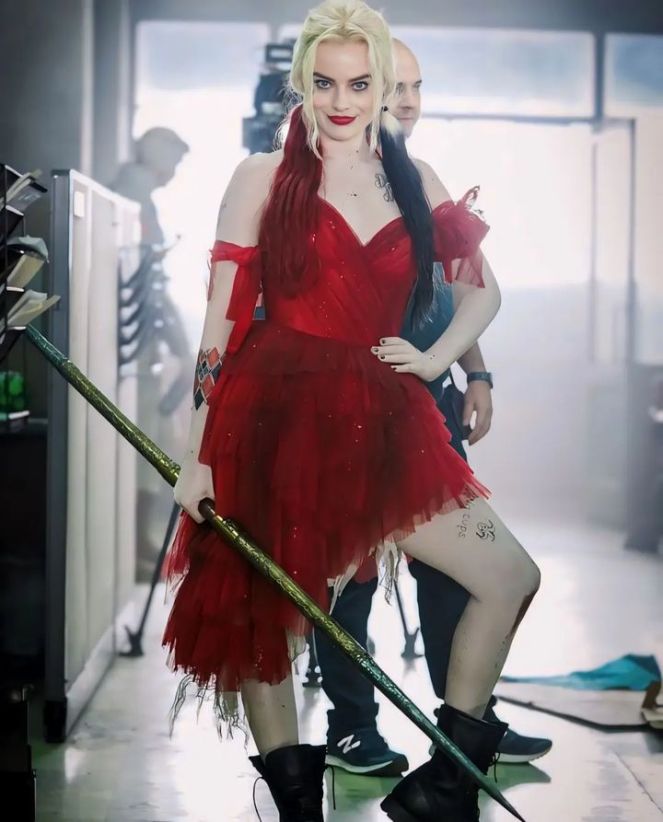
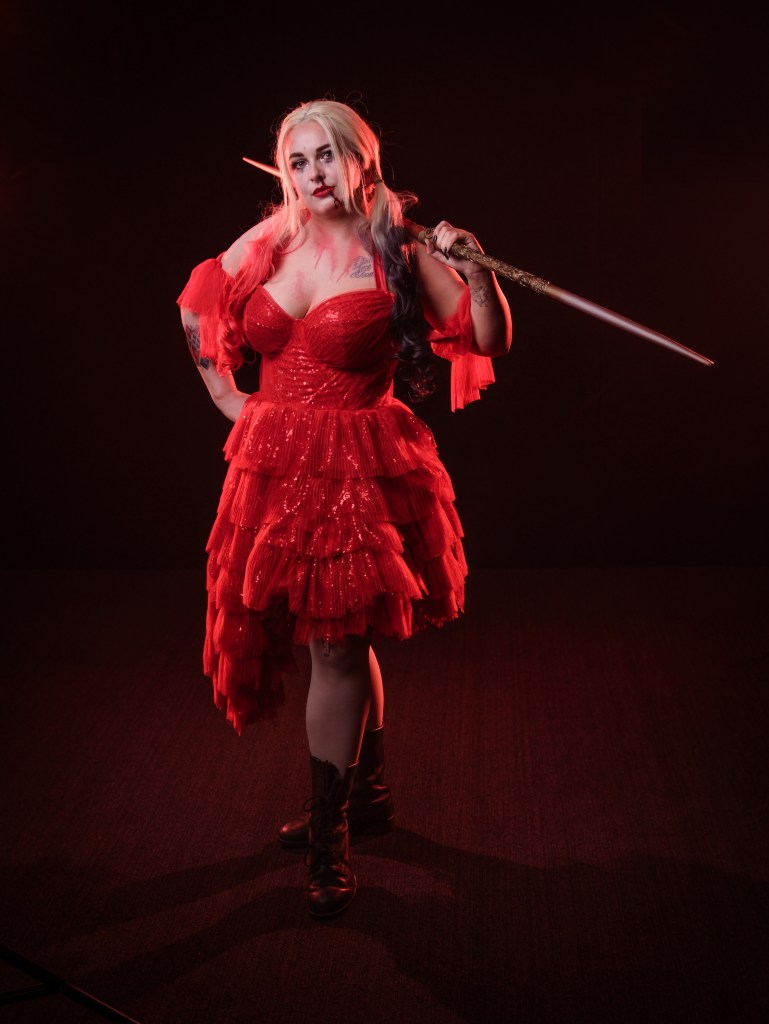
Harley Quinn – The Suicide Squad
Made for : Auckland Armageddon Expo 2025
Background : Although I made this dress shortly after the film had first come out, I was never happy with that version. I didn’t like the sequin or pleated fabric I had chosen, and the fit of the bodice was awful. It was only a matter of time before it would be remade. Fast forward to 2025 and I happened upon the perfect red sequin fabric at the local fabric store and the time to remake it had finally occurred.
gallery
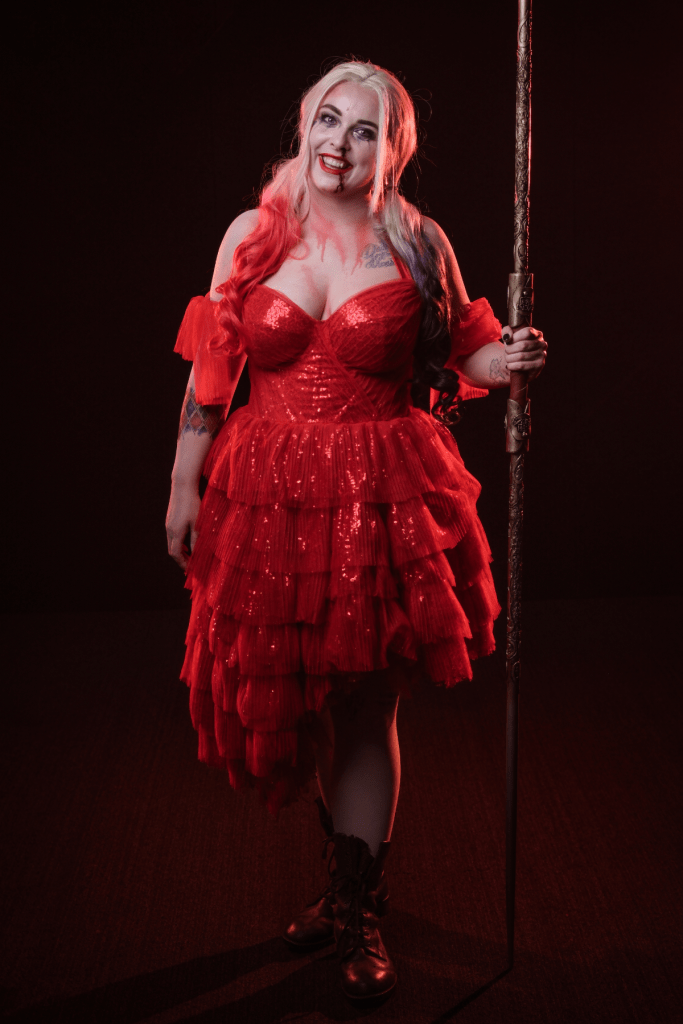
Auckland Armageddon 2025 – Kohika Creative
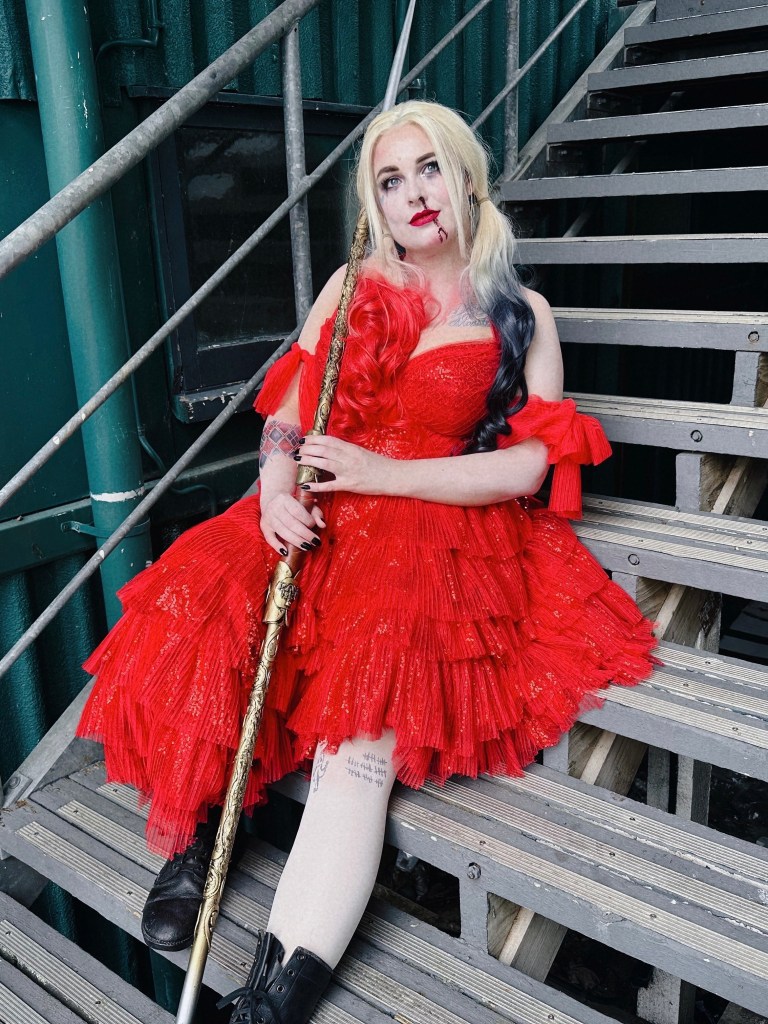
Auckland Armageddon 2025
Things used :
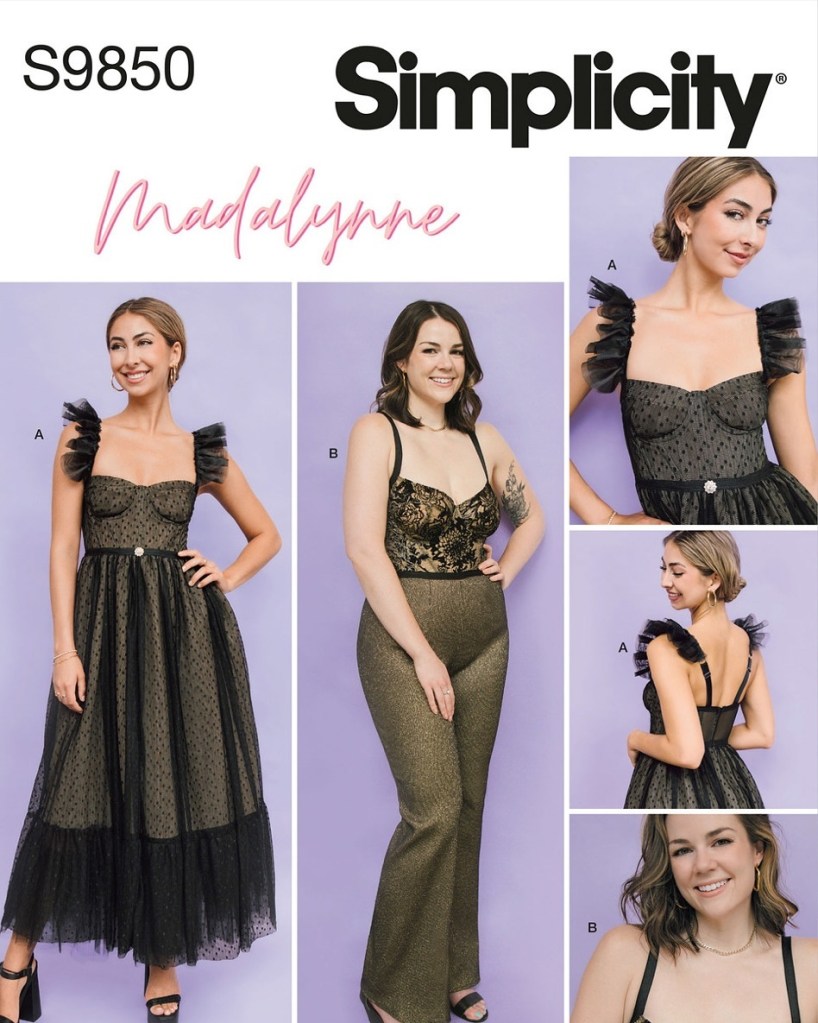
- Simplicity S9850
- 10m red sequined tulle – Spotlight
- 4m red cotton sateen – Spotlight (sold out)
- 10m red pleated tulle – Ali Express
- .5m batman cotton – Spotlight
- red invisible zipper
- red eyelets
- hook and eyes
- elastic
- spiral steel boning
- bra wire casing
- black twill tape
- sewable foam 3mm
construction
Do you know how nice it is, when I get to make a costume that I don’t really have to alter the pattern for it? Well that was mostly the case for this one.
I used the bodice part of Simplicity S9850 as the base for this whole dress. I made a mock up first and decided I needed to add an inch to the bottom edge, making the waist fractionally longer, and 2cms to either side of the back panel so it closed snugly on me.
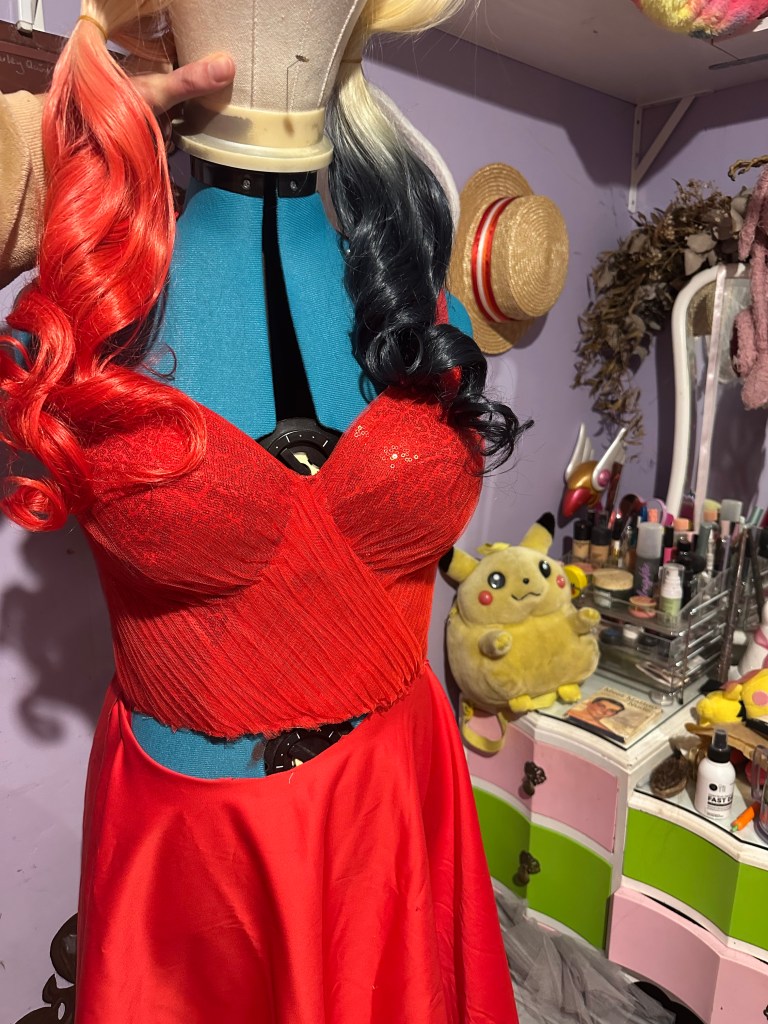
After that was done, I moved on to constructing it from my fabrics. For the outer layers, I used a red sequined tulle overlayed on a red cotton sateen. The one fabric was made from a red drill (for the interlining), and a Batman printed cotton for the lining.
I sewed the bodice according to the pattern instructions, but when it came time to add the cups in, I had to really take care with what I was doing as I’d never sewn cups like this before. First I sewed up the front and back pieces from my fabrics and then I ordered some 3mm sew in foam and underwire. Stuff I had never worked with before.
I trimmed all the seam allowances away from the foam so I could sew it flat, then I sewed it directly to the lining pieces by top stitching it in place.
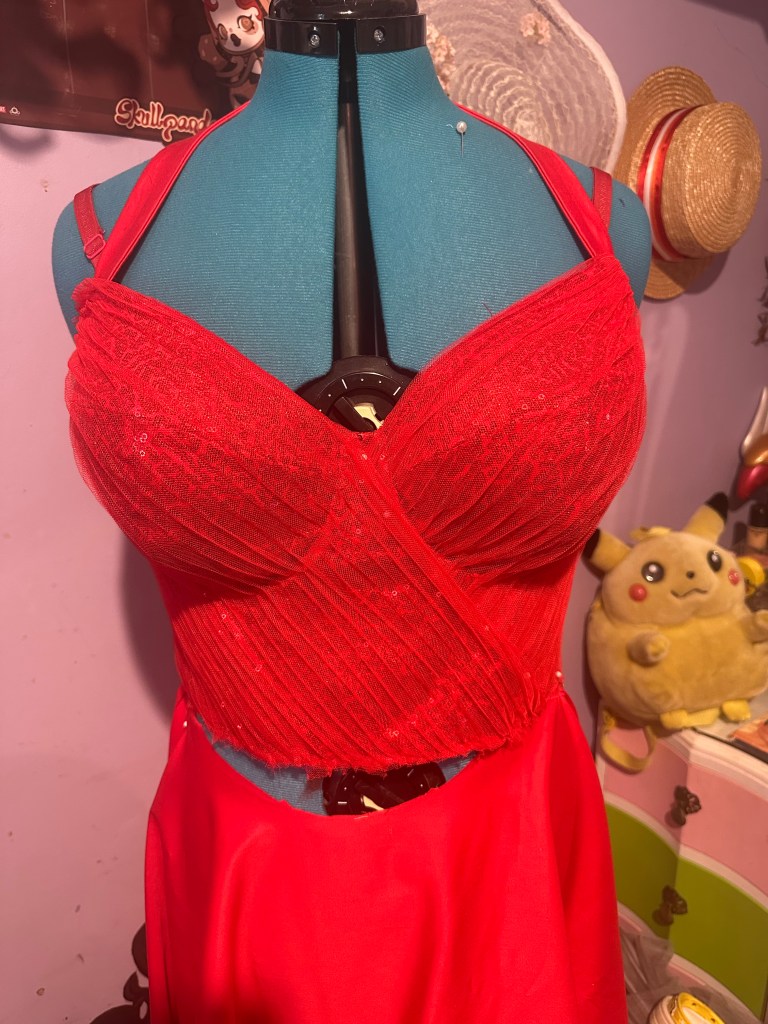
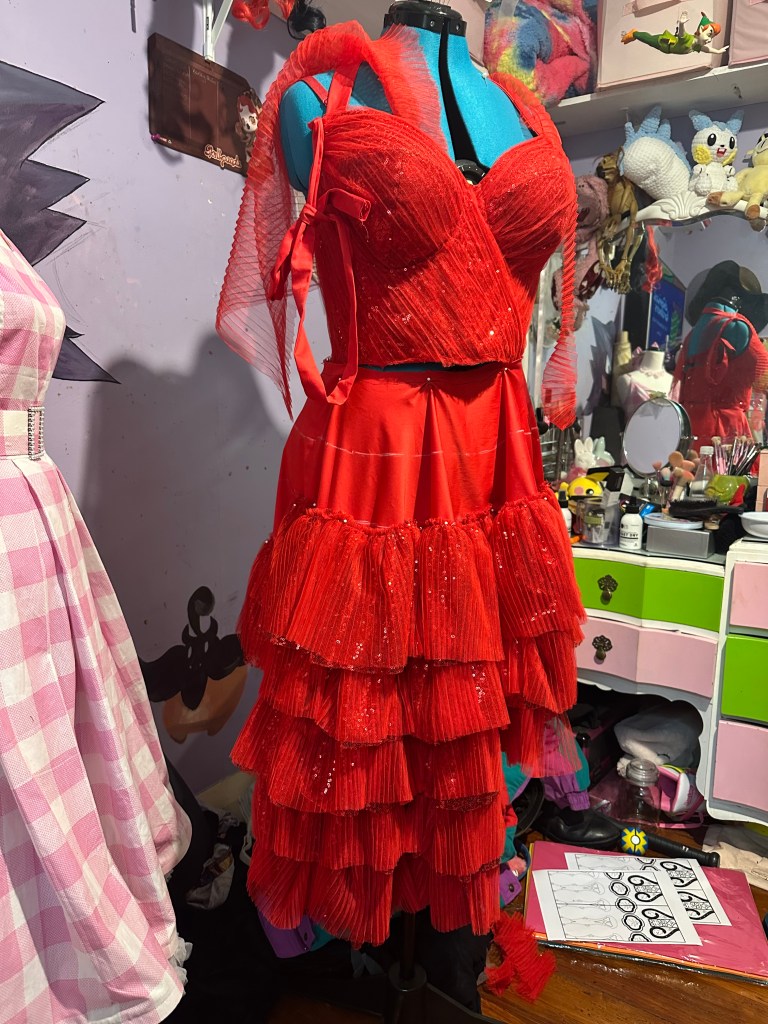
Before sewing the front and back of the cups together, I changed up the straps to be added, I opted instead for a halter neck strap and sewed that to the outer pieces first, then sewed the cups together, understitching the lining layer.
I then sewed all the boning channels to the bodice using a black twill tape. Then I sewed the cups on and covered the seam on the inside with underwire casing. That part was so tricky because the seam had gotten quite thick and I had to sew as close to the edge of the casing as possible. Then I added the underwire, and the bones which where a combination of flat and spiral steel.
Next I draped the pleated tulle on the outside, finished the top raw edge of the bodice with bias tape made from the red cotton sateen and added hook and eyes to the back.
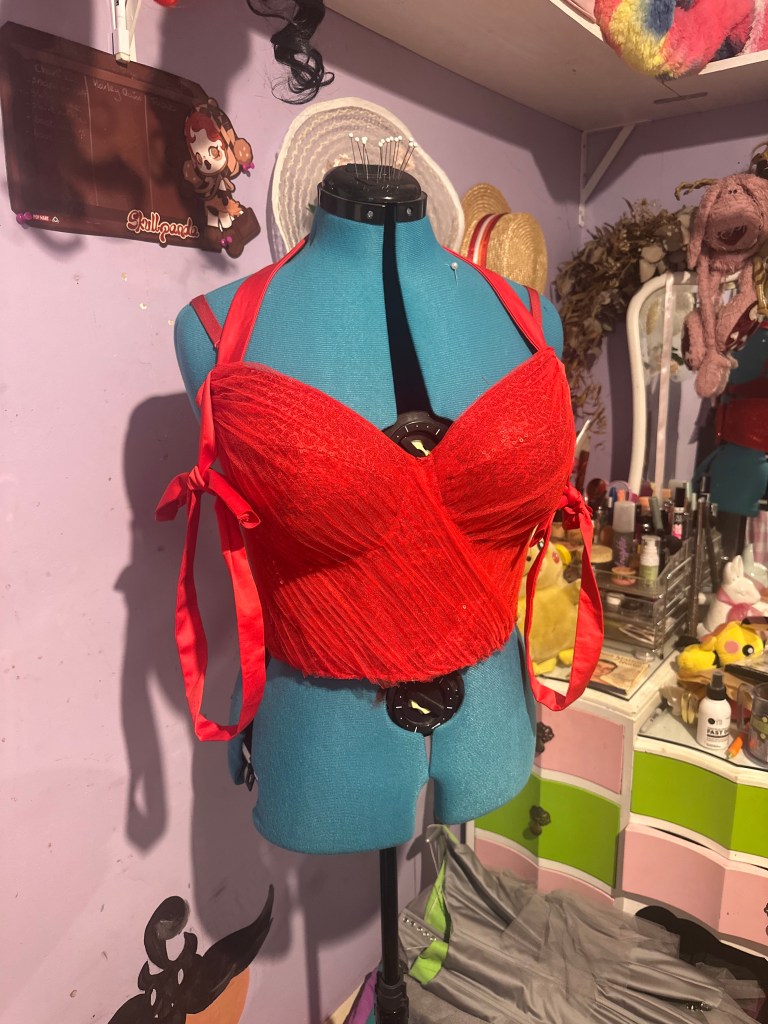
It was at this point, despite having the mockup fit perfectly, that I realized the back wouldn’t close up. To remedy this, I sewed two small lace up, corset style panels in the back so I could get it to close fully without adding strain to the hook and eyes.
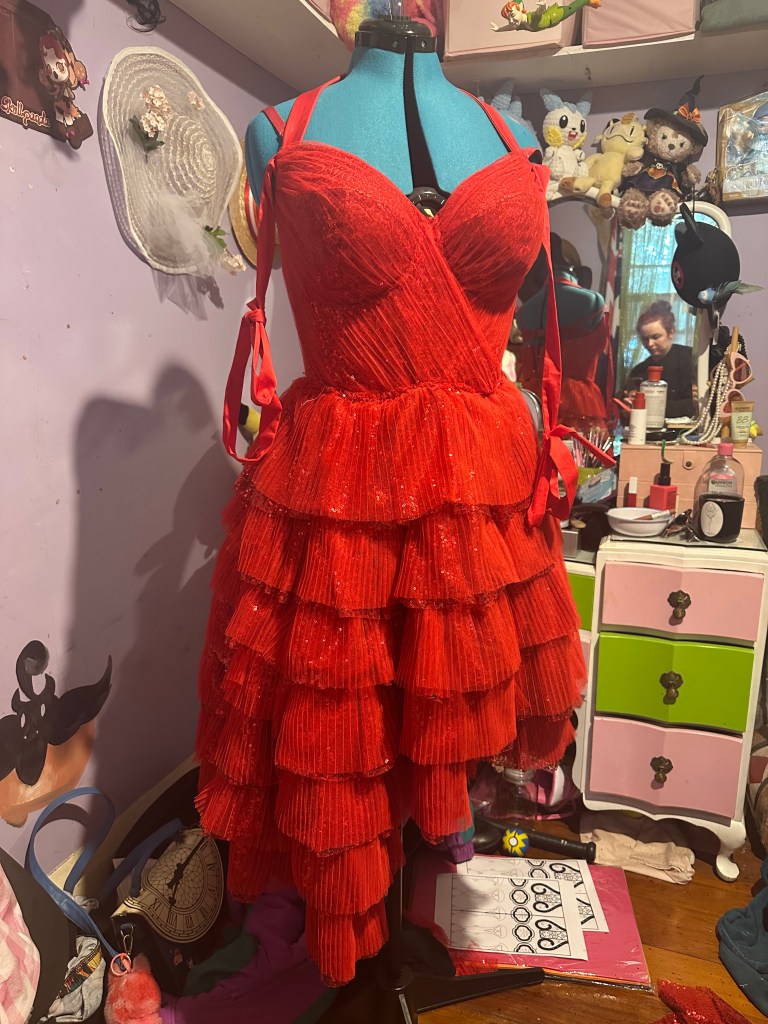
For the skirt, I cut a circle skirt, cut it so it was asymmetrical, sewed it up and put an invisible zipper in the back.
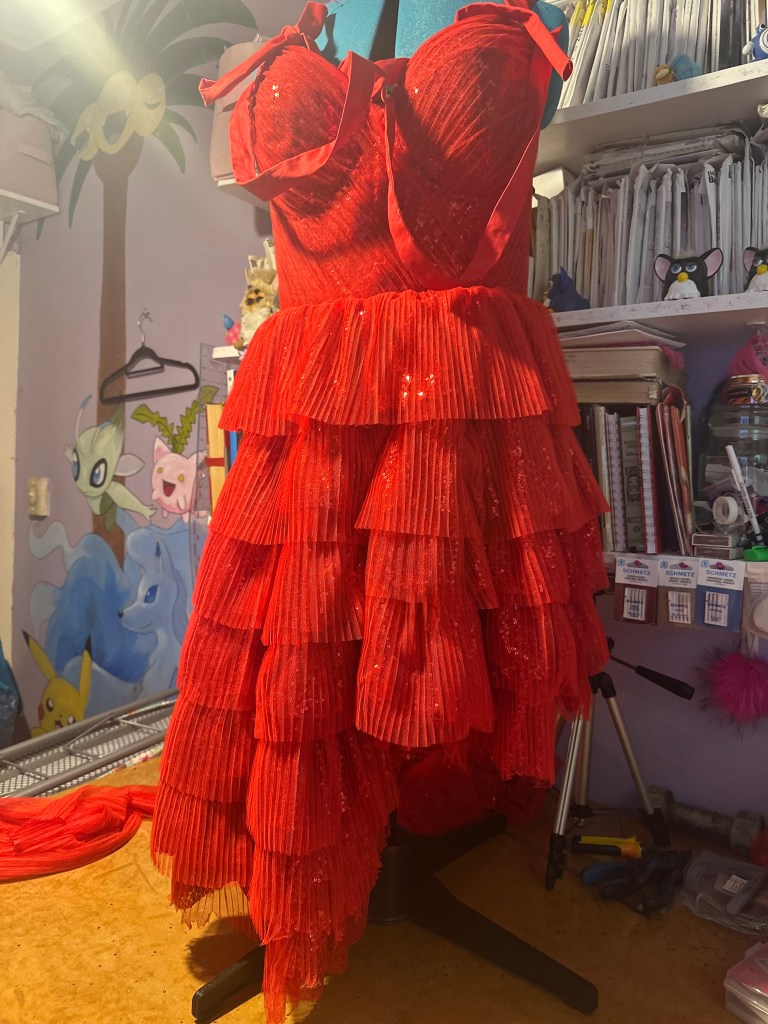
I then marked out where I wanted the tiers to sit and began making those. They consisted of a layer of the sequin fabric and a layer of the pleated tulle. I gathered them together using my ruffle foot attachment on may sewing machine, and then sewed them to the skirt in ascending order.
The skirt then got attached to the bodice and then I distressed the bottom edges by carefully hacking at the fabric with my scissors.
To finish the dress, I made some armbands from the red cotton sateen and pleated tulle. One is elasticated and has a nice bow, the other is just a length of tulle that gets tied to my arm.
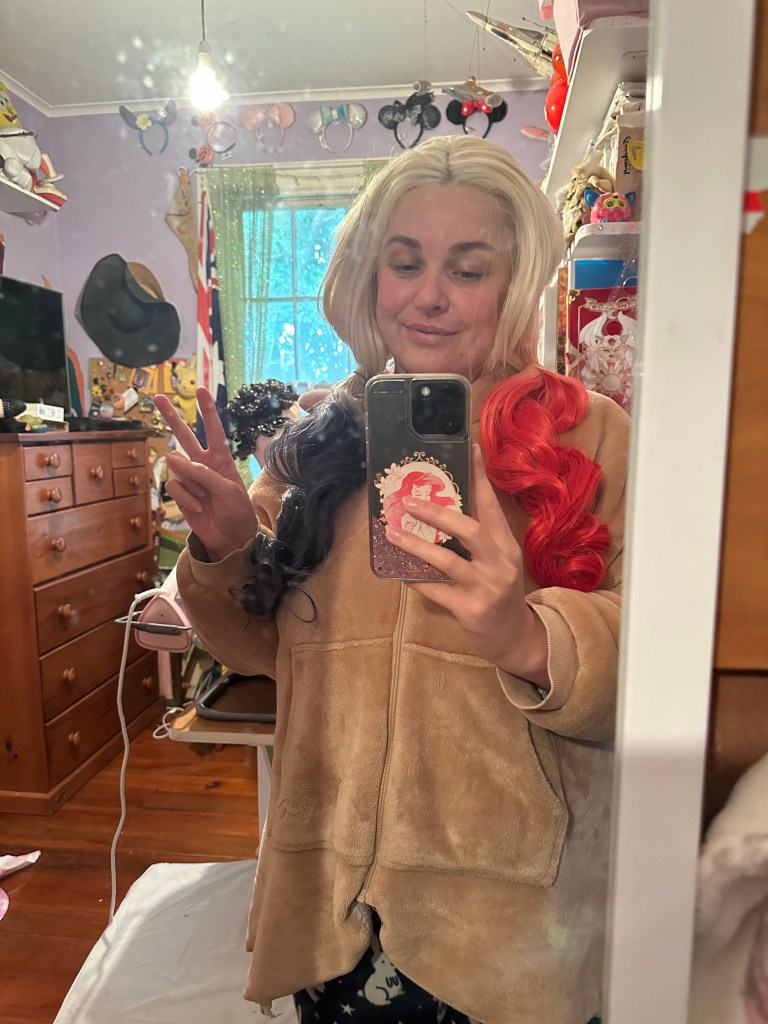
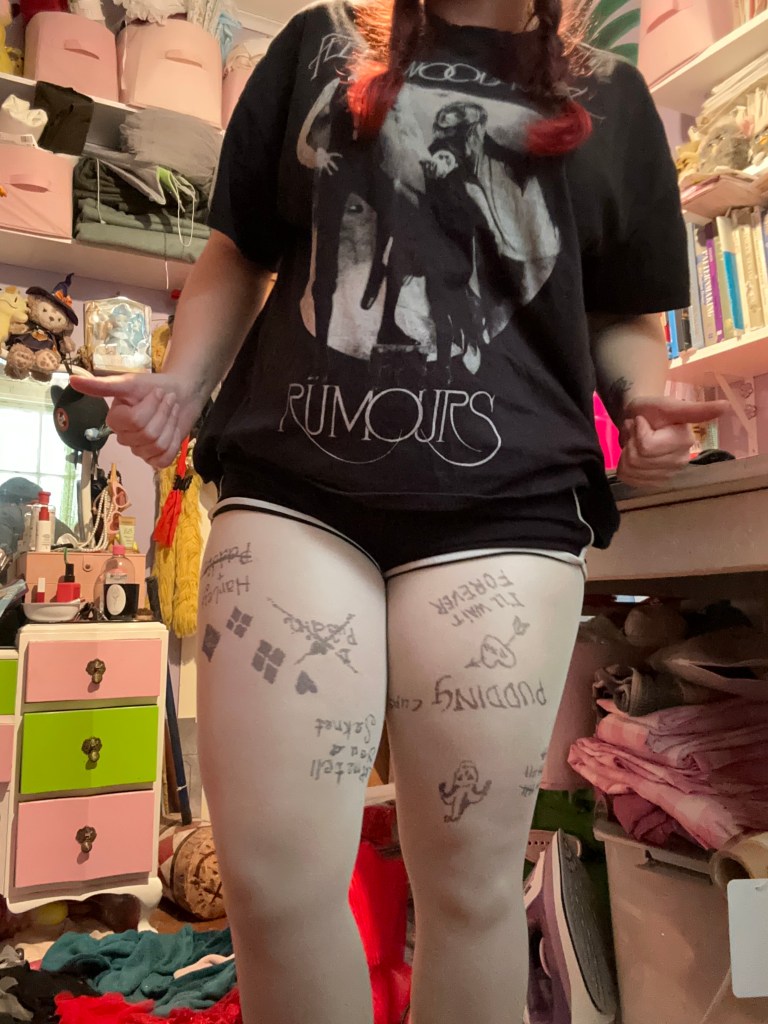
I made the leg tattoos by purchasing a pair of white stockings and drawing the tattoos on with an alcohol marker. I thought I’d done this perfectly by wearing the stockings as I drew them on, but I failed to let the stockings settle in to place by wearing them for a bit first, this meant the tattoos ended up sagging down my legs on the day. I’ll be redoing this in the future because other than that, it worked really well.
I also made the javelin, of which I purchased the templates from Myriad Cosplay and followed her YouTube tutorials.
progress photos