

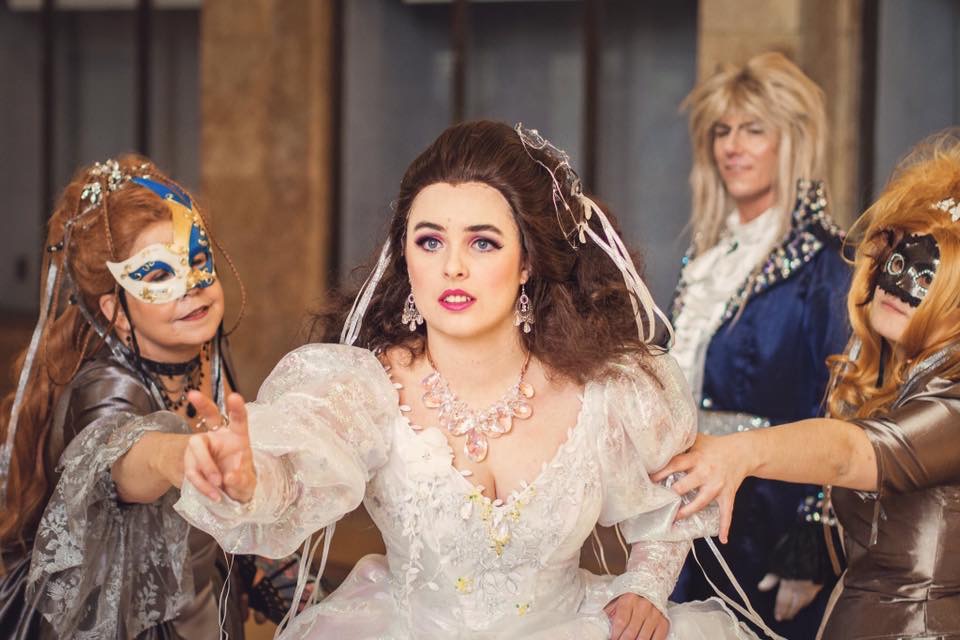
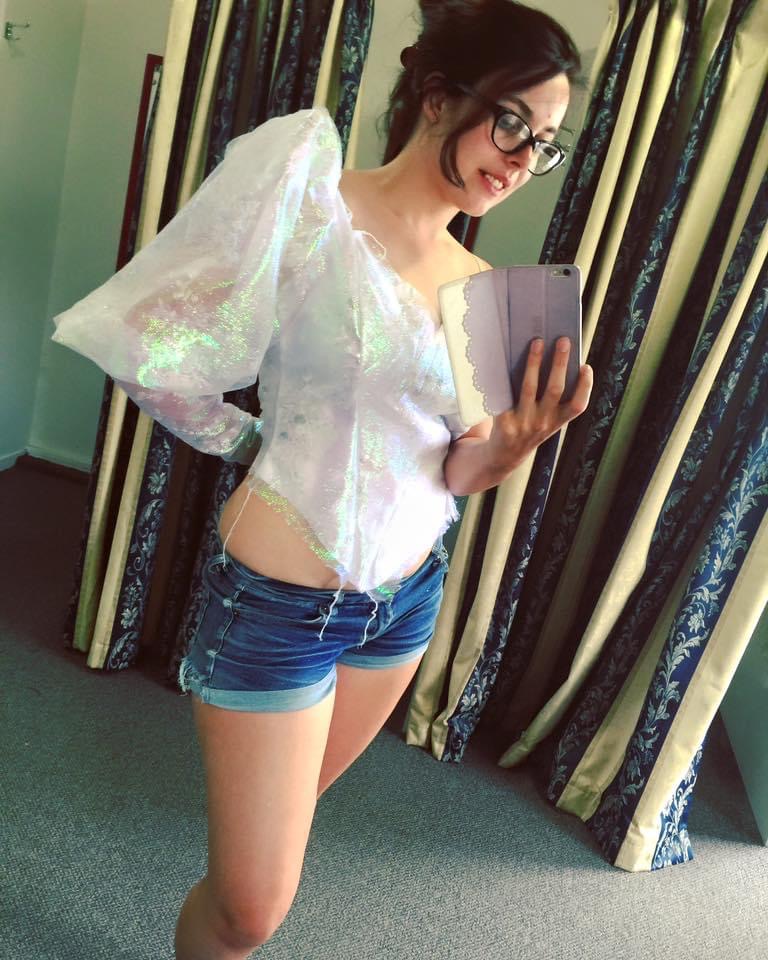
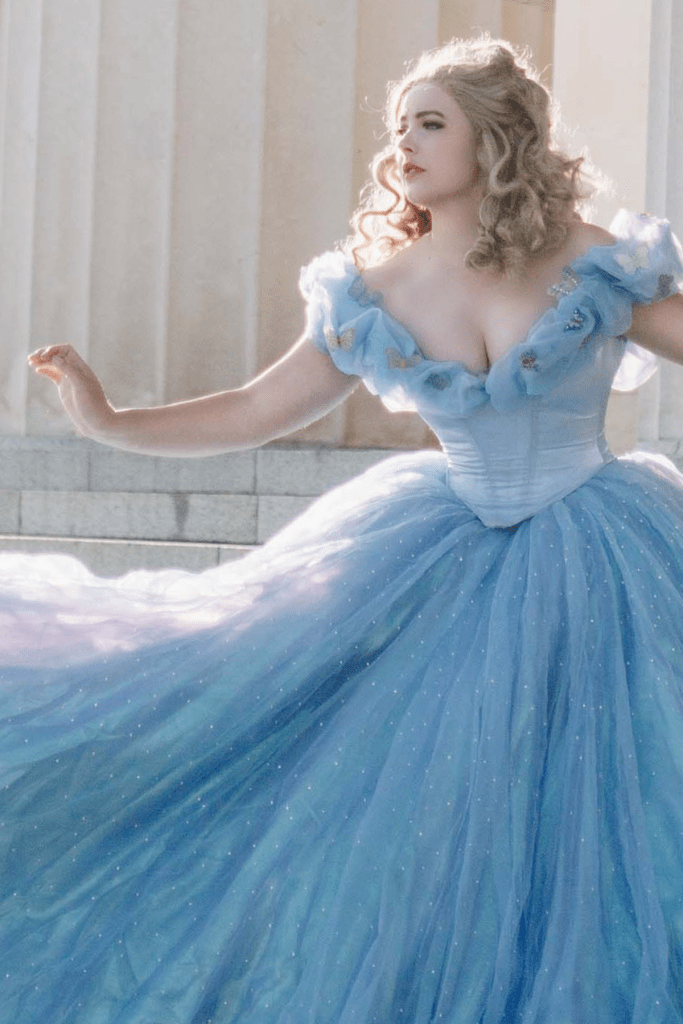
Sarah Williams – Ball Gown | The Labyrinth
Made for : Wellington Armageddon Expo 2016
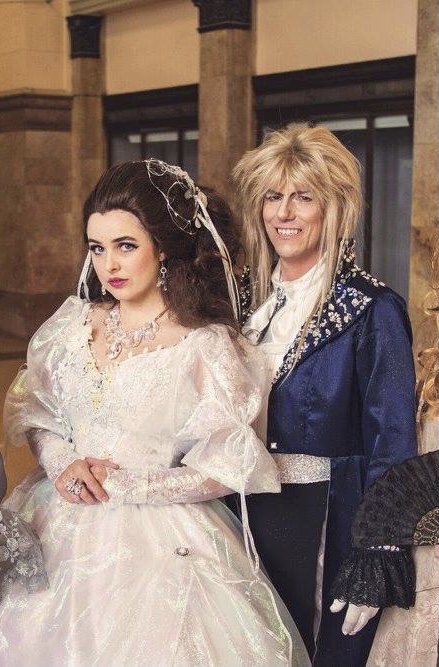
Background : Sarah had always been a dream costume and I had a friend who was keen to put together a Jareth at the time.
gallery


Things used :
- Simplicity 1728
- Bodice
- White Satin : 1.5 meters – Spotlight 7.99 per meter
- Embroidered Tulle : 1.5 meters – Spotlight 21.99 per meter
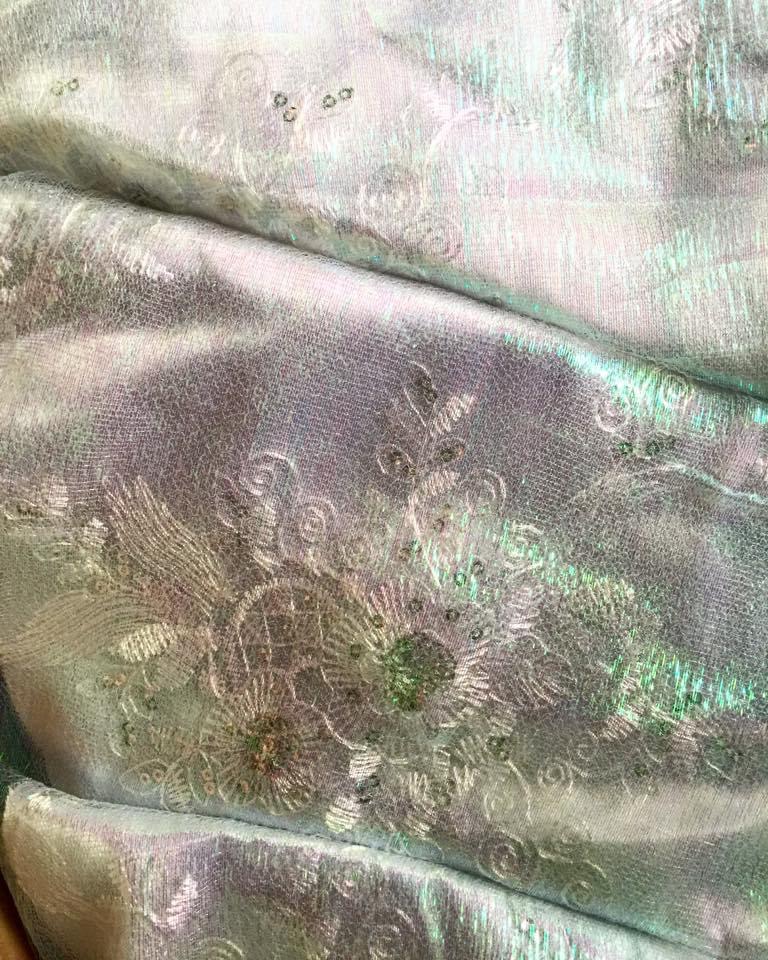
- Crinkle Iridescent Crystal Organza : 1.5 meters – Ebay
- Plain Drill : 1 meter – Spotlight 7.99 per meter
- Boning Channel : 3 meters – Ikes Emporium 20 cents per meter
- Leaf Ribbon : 4 meters – Arthur’s Emporium 1.99 per meter
- White Eyelets : 30 – Spotlight 6.99
- Chiffon Flower – Spotlight
- Assorted beads in green and yellow – Ebay aprox. 1.50 per pack of 50
- Assorted sized pearls – Ebay aprox. 1.50 per pack of 500
- Assorted crystals (shape and size) – Ebay
- Plastic Boning – Own
- Silver Flower Motifs – Own
- Skirt
- White Satin : 10 meters – Spotlight 7.99 per meter
- Crinkle Iridescent Crystal Organza 10 meters – Ebay
- 6 Hoop, Hoop Skirt – Ebay
- Mini-Petticoats : 3 – Own
- Headdress
- Florist Wire : 1 Spool – Arthur’s Emporium 1.00
- Aquarium Plant – Arthur’s Emporium 2.00
- Silver Ribbon – Ebay 1.00
- Silver Spray Paint – Own
- Wig
- 26″ Long Curly Brown Lace Front Synthetic Hair Wig LF081 – Wig is Fashion aprox 100.00 (including shipping)
- Jewellery
- Crystal Necklace – Lovisa 49.95
- Goldfish Ring – Lovisa 6.99
- Earrings – Lovisa 12.99
- Pearl Flower Button – Spotlight 18.99
- Pin Back – Own

construction
Headdress : Making the headdress was a bit of a challenge. I found there weren’t that many clear photos of it to try and work out exactly how it worked.
Things I could work out, was wire, something that looked like cobwebs and leaves.
After styling the wig, I just started curving florist wire around it in a crown type fashion, making sure to mirror it on either side. When I thought I had enough curves, I began using hot glue to join them together. This is when I started adding the ‘cobwebs’ as well.
Instead of trying to clean up the tiny threads of hot glue that would come off the joins, I left them.
Something I didn’t expect to be so difficult to find, were fake leaves. I managed to find an abundance of flowers and petals, but couldn’t for the life of me find leaves. It wasn’t until I went to go find my mum in the animal section of Arthur’s Emporium in Whangarei that I found something that might work. Behind her head was a bunch of fish tank things which included fake seaweed, and one of those was just a bunch of leaves!
So I got home and cut all the leaves from it and glued them to my crown.
I then hung the crown in the garage and spray painted the whole thing silver.
Once it was dry, I looped a couple of long lengths of silver ribbon from it, making sure to mirror it again.
Wig : I chose this wig FOR THE HAIRLINE and length! There was no part down the center, nor a widows peak. However, when it came, it had a surprise widows peak. But that’s not too big of a deal because if I weren’t so incredibly lazy, I could fix it.
Styling wise, my first attempt was me trying to achieve all the volume using backcombing and hairspray, but it soon became apparent that I’d need something else to the volume at the back of the head (cue painstakingly combing out a tonne of backcombing).
After watching this tutorial on YouTube (Click) I made a rat out of an old fishnet stocking and some teddy bear stuffing and secured it to the back of the head using braids and bobby pins (just like in the tutorial). After that, it was much easier just draping and pining sections.
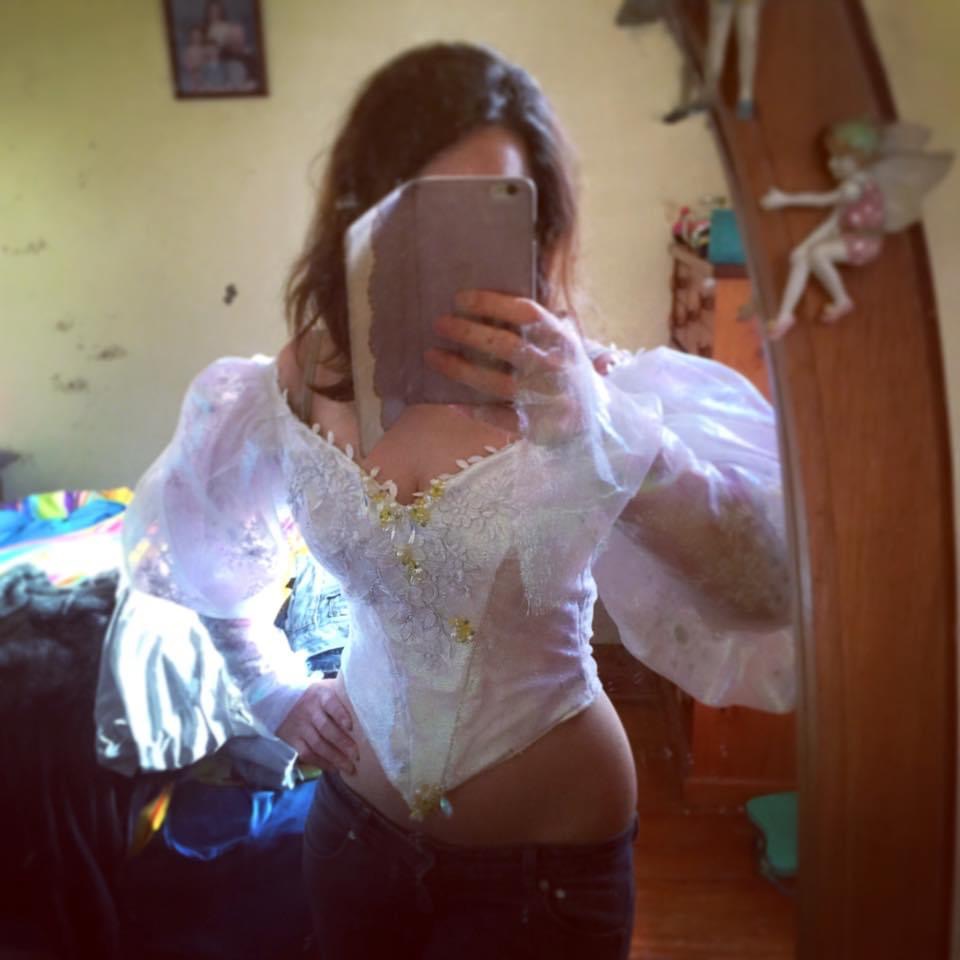
Bodice : Let’s start with a fun fact. Fun Fact : In patterns, I’m a size 8 in my waist and a size 16 at my bust. A few years ago, I was silly and never measured myself before cutting patterns and just assumed my clothing size would also be my pattern size. I was wrong. A few years ago was also when I had purchased this Simplicity pattern, so as a result, this whole pattern had been cut out to a size 8, and seeing as I’m much too much of a cheapskate, I wasn’t about to go out and buy a new one and I was already going to have to alter it regardless.
I used all the size 8 pieces as per usual apart from the center front one which I needed to change the shape of the neckline from bateau to sweetheart. All I did for that was draw a curve from the outside top of the pattern piece to the inside center a few inches down. So when the pattern was cut on the fold, it now had a perfect sweetheart shape.
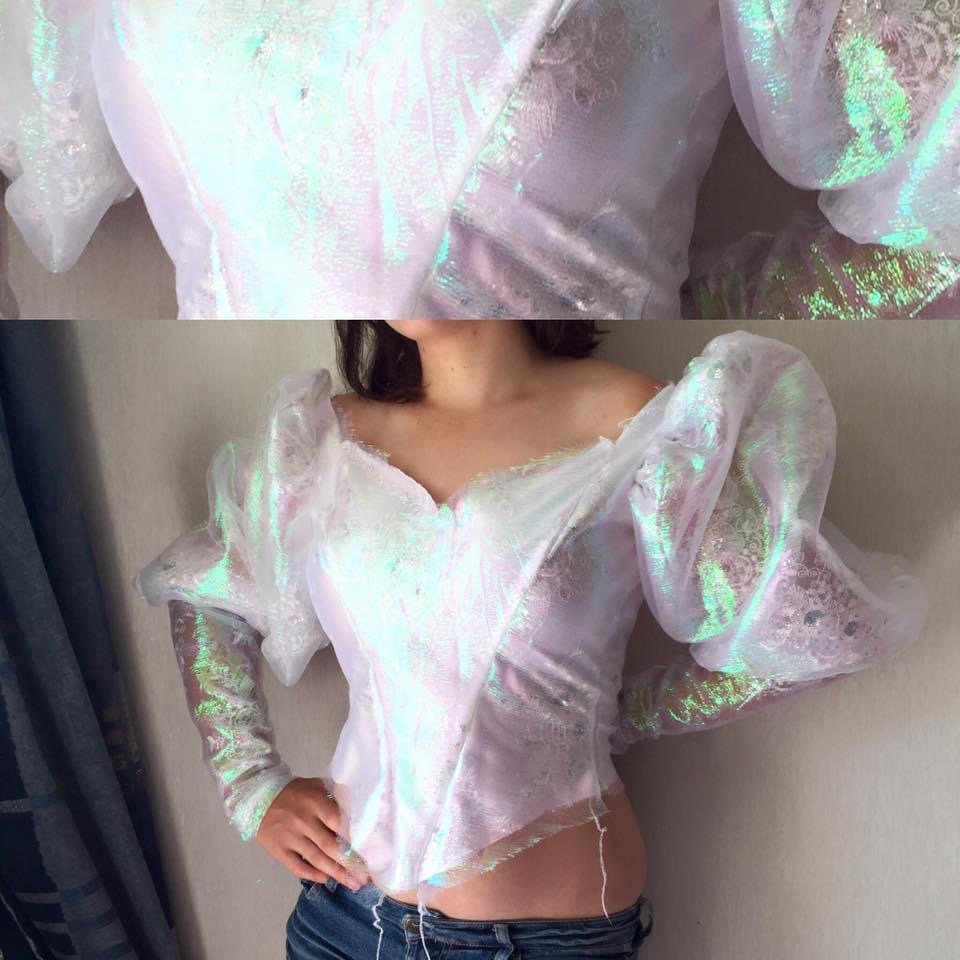
I cut the pattern for the bodice three times out of satin first, then the tulle, and finally, the evil crystal organza. I used to think satin was the absolute worst fabric in the world to work with. I have never been so wrong. It wasn’t until I had layered these three fabrics on top of one another that I soon discovered the true evils of working with organza. Despite my generous seam allowance, and overlocking everything, the organza was literally falling apart at the seams. It got to a point where I swear, all I had to do was look at it and it would start coming apart.
I refused to change it out for something else as it was far too pretty and gave me all the iridescent sparkle I was after so I posted my frustrations about working with said devil fabric to Facebook. That’s where I received a life changing pro tip from Kathy of Cubefrau Cosplay. Fray Check. It’s basically a glue that you put on seams (or fabric in general) and it stops the edges from fraying. I ran it down all my seams in the bodice, however, the ones in the back were beyond saving so I removed the organza layer entirely. This meant I had to cut out two new panels entirely, so I did and overlocked them first then applied fray check to the edges. Once it had dried, I appliquéd the new panels over the top of the tulle and satin ones on the back and fray checked again. (And if I were to remake this costume again, that’s how I would attach the organza everywhere as after wearing it for two days, this was the area that held up the best with the least amount of fraying.)
Next step were the sleeves. These were made using just the tulle and organza. For the most part I followed the pattern for their construction exactly. Apart from at the wrists. As previously mentioned, my pattern was all cut to a size 8, so when I first made them, I couldn’t get my hands through the wrist hole. Well, I could, but I had to try really hard. In the process, I ripped all the organza out of the seams. So I knew I’d be making them again, the forearm piece at least.
So when remaking them I decided to leave six inches open at the wrist and to add three pearl buttons so they could be opened and closed. I also decided to use the scalloped edge of the tulle this time. Originally, I was going to add motifs to the cuff to match the ones on the breast, but it just looked bulky and out of place, so using the scalloped edge of the tulle, gave it a beautiful but delicate edge to the cuffs. Also during the second remake, I used the fray check at every possible moment again. Fist when overlocking the organza, then when attaching it to the tulle. And once again, it stopped the fraying for the most part.
After reattaching the forearms to the giant shoulder puff, I took a guesstimate as to where the pleats should sit. I did a quick three pleat pin tuck on either sleeve and finished them off with a silver ribbon bow, which I curled on the tips.
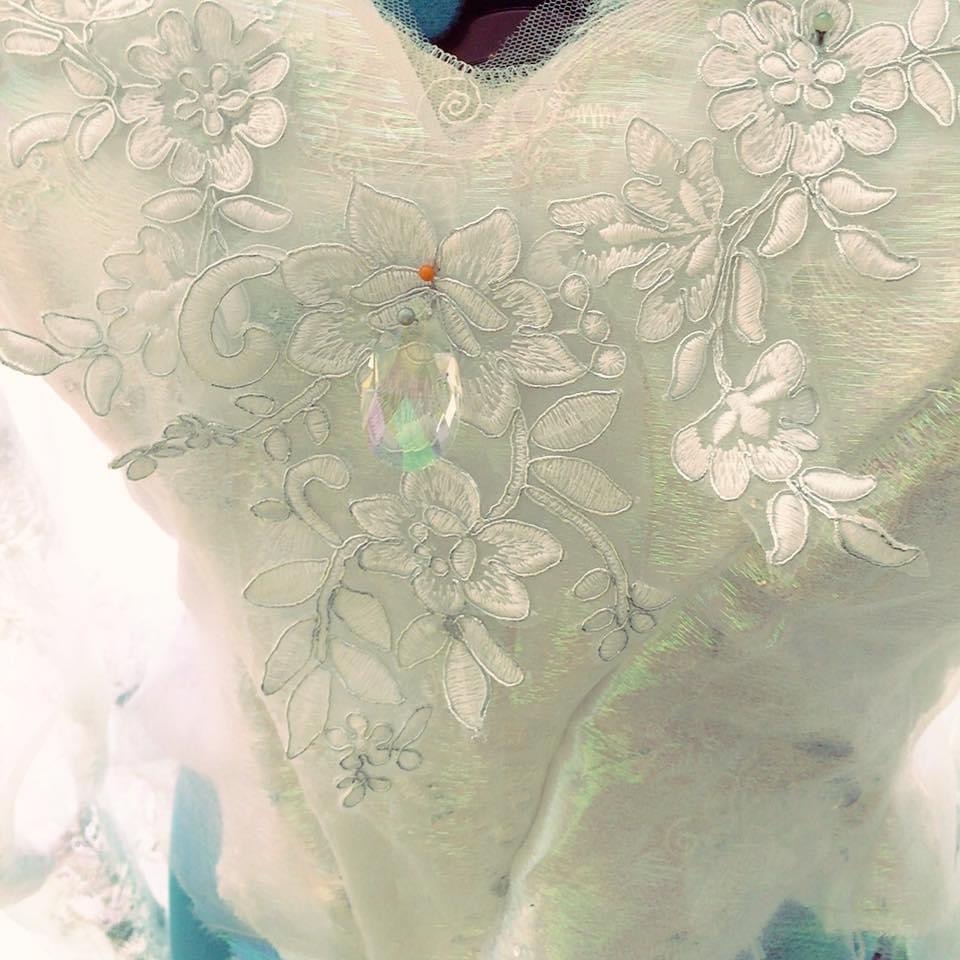
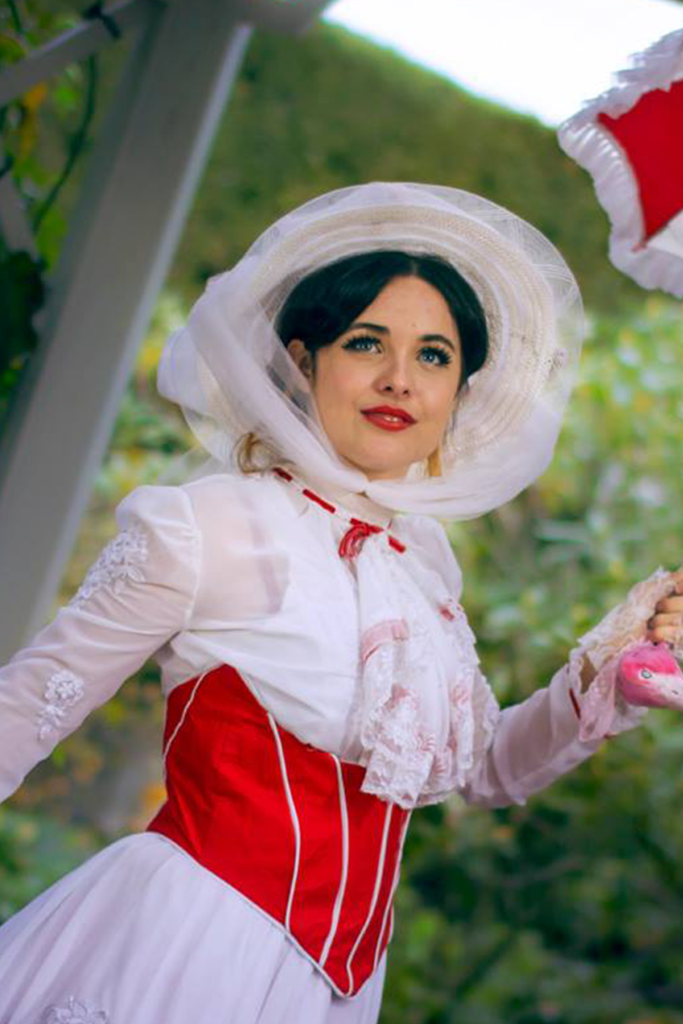
After attaching the sleeves to the bodice, I felt like it needed some more pizzazz before adding the beads. Luckily I had a couple of appliqués left over from my Mary Poppins costume. After appliquéing those to the breast, it was time to add the lining to the bodice.
I used a duck cotton and just used the pattern pieces for the bodice (-sleeves). The pattern also had placement lines for the banning channels so I used those as well. I used a heavy cotton tape/ribbon? sewed it done the channel guides on either side and along the bottom. Then I cut lengths of plastic boning to match and melted the ends of each with a lighter to stop the individual plastic strips popping out.
Once the bones were inserted, I flipped the lining inside out (so the right side would sit against my skin) and attached it to the sparkly bodice.
Next up, was the beading. Studying the actual photos, it seams as though the placement was completely random. Just a concentration up around the bust and at the point on the bottom. So I had my bags open and just kept pulling them out and sewing them on at random, so they would look nice.
Around the neckline, I hand-stitched on a leaf ribbon right the way around. On the right shoulder, I added a few leftover lengths of the leaf ribbon and the chiffon flower I had brought from Spotlight.
As I had made this to a size 8, I had issues with closing up the back. It would close around my waist, but had a good few inches between my shoulder blades where I couldn’t get it to close no matter how hard I tried. This is when I made the decision to make it a lace up back.
I drafted a modesty panel by putting the bodice on my dress form and drawing a rectangle where there was a gap in the back. Using that rectangle, I made a panel of satin, tulle and organza and sewed it into the back.
On either side of the original back pieces I put 15 eyelets down either side. The whole thing laces up with a white satin ribbon. I also like the final fit of a lace up anyway, as it really hugs to your body shape and has an overall slimming effect.
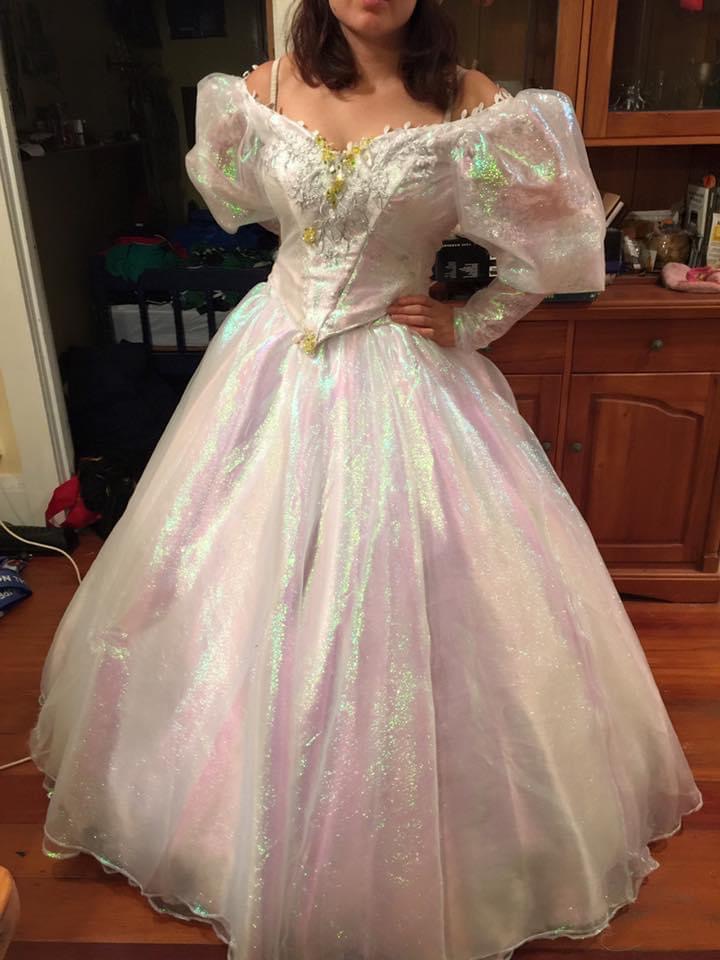
Skirt : Using the Simplicity pattern as a base, I cut out the four panels it said would be required for the skirt, however, I cut them a good six inches shorter at the waist, because I learnt from my Margaery Tyrell gown, that having a train or anything that drags on the ground, will cause everyone to step on it, and my fabric was much too delicate for that.
As it turns out, four panels was not enough to cover the entire hoop, so I added a fifth.
I sewed both two skirts from the satin for the underskirt and two from the organza for the over skirt. All these layers were joined together in one waistband. The waistband does up with buttons in the back as I couldn’t see the organza layer working with the organza very well. The very top organza layer pins up right side using a brooch that I made (see jewellery)
To get a decent amount of floof under the skirts I had my hoop skirt, but I felt as though I was missing floof at the hips. I thought to myself, why no wear every half size petticoat I own over the hoop skirt and see how that turns out. Turns out, that’s a very decent way to get hip floof.
When making the waistband, I had to attach all for layers of the skirt together before it could actually fit into a waistband. At first, I tried to hand gather all four layers at once. It didn’t work. The organza decided it would be really fun to tangle the thread I was using and kept tying it in knots. So then I found some thin elastic. I wrapped it around my waist and cut it to length. I then stretched it out to the length of the underskirts and sewed it together. Once it was done, the elastic would spring to my waist size, thus making it so much easier to fit into a waistband.
I used the waistband pattern from Simplicity’s 5006 pattern. Although, I didn’t realize that two of the front panels were meant to be cut from a 4-way stretch fabric. This wouldn’t work for my dress as none of the fabrics had and stretch. I almost went out and brought a white spandex/lycra until I saw the price tag and I just could justify spending that much on something that I’d be using such a tiny amount of.
So instead, I got the problem pattern pieces and added two inches to either side and cut my non-stretch fabric. And what a fluke! It actually worked. Adding the extra length made it fit my waist perfectly without having to worry about the stretch.
Then I tucked up all the skirts in the waistband and sewed them in. I left the back open, overlocked it, folded the seams over and turned it into a button up back.
Jewelry : I did start off with the intention of making my own necklace and earrings for Sarah. I’d even brought all the components to do so. But one day on my quest for a ring, I walked into a jewellery store and came across the most perfect necklace that I just couldn’t resist. It matched the crystals I had already used in my dress perfectly and I wasn’t happy with my home made one at all. So I splurged a little bit and treated myself to it.
Why a goldfish ring? In photos, all I could tell is that Sarah wore a big sparkly ring, so I went out looking for a big, sparkly ring. That’s when I came across this guy at Lovisa. He was perfect! I thought a goldfish would be a lovely touch considering the dance sequence is meant to take place inside a bubble.
Once again, like the necklace, I had intended to make the earrings even going so far as to buy all the components. Then that trip to Lovisa happened and I found these ones. They were missing the crystal drops though, but I was able to add those myself using three left over crystals from the bodice ones.
The brooch for the skirt was a button I found at Spotlight. I thought it would work perfectly as it had heaps of sparkly crystals and a large pearl center that would match the pearls used in the bodice.
To turn it into a brooch, all I had to do was glue a pin back onto the back using hot glue.
progress photos


4 thoughts on “Sarah Williams | 2016”