
Durmstrang Dress Robes | Harry Potter and the Goblet of Fire
Made for : Wizarding World of Harry Potter trip 2023
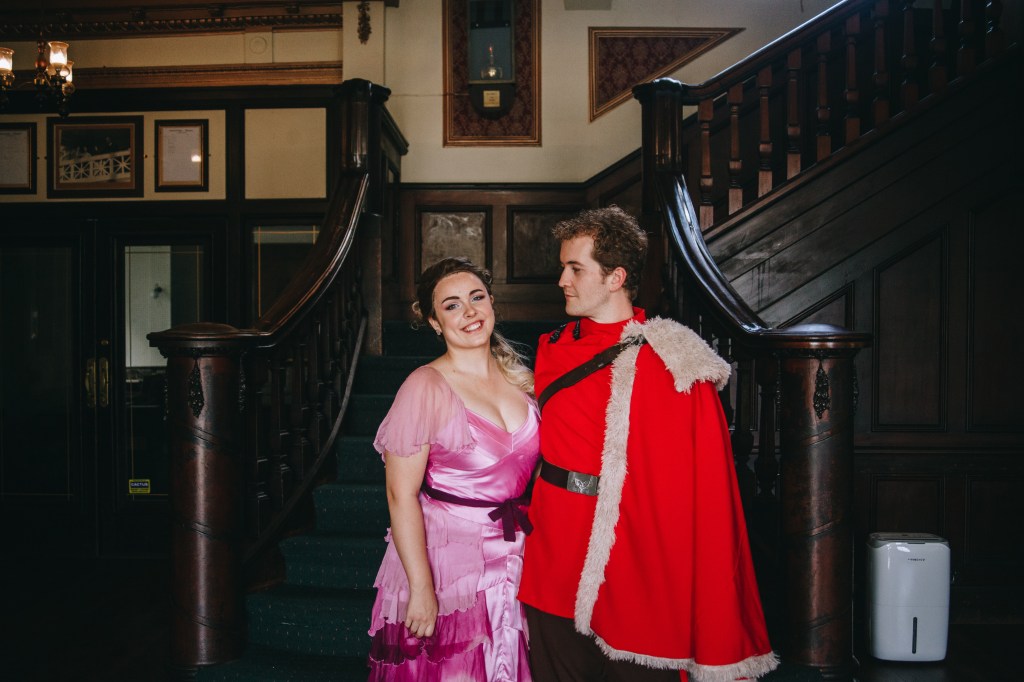
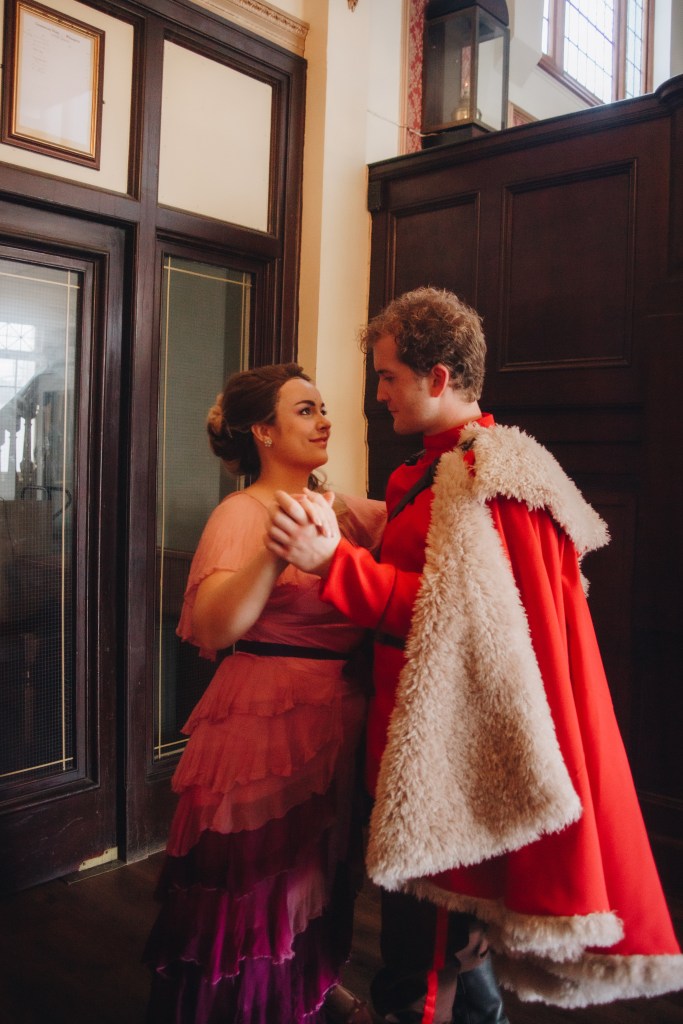
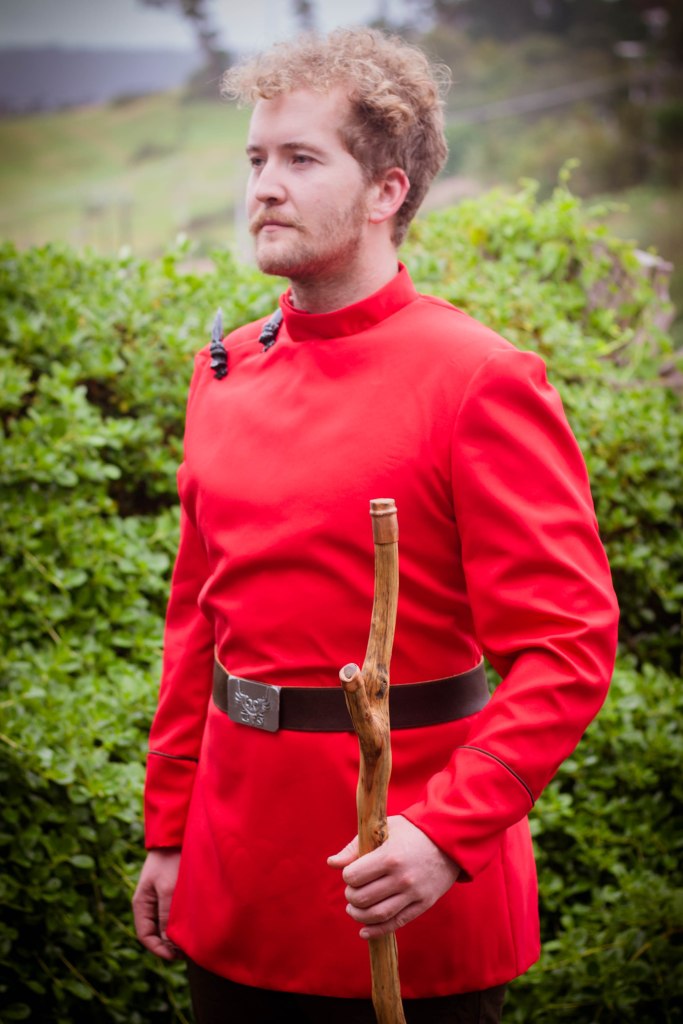
Background : This a costume that has been on my to-do list for years! Ever since I got my Yule Ball Hermione gown back in 2013. With mine and my husbands upcoming Honeymoon to the Wizarding World, I thought it would be super cute to take some Yule Ball couples photos in front of Hogwarts together.
gallery


Things used :
- McCall’s M4745
- 5m panama suiting fabric in red – Spotlight
- 2.5m panama suiting fabric in bean – Spotlight
- 2m pongee polyester lining fabric in red – Spotlight
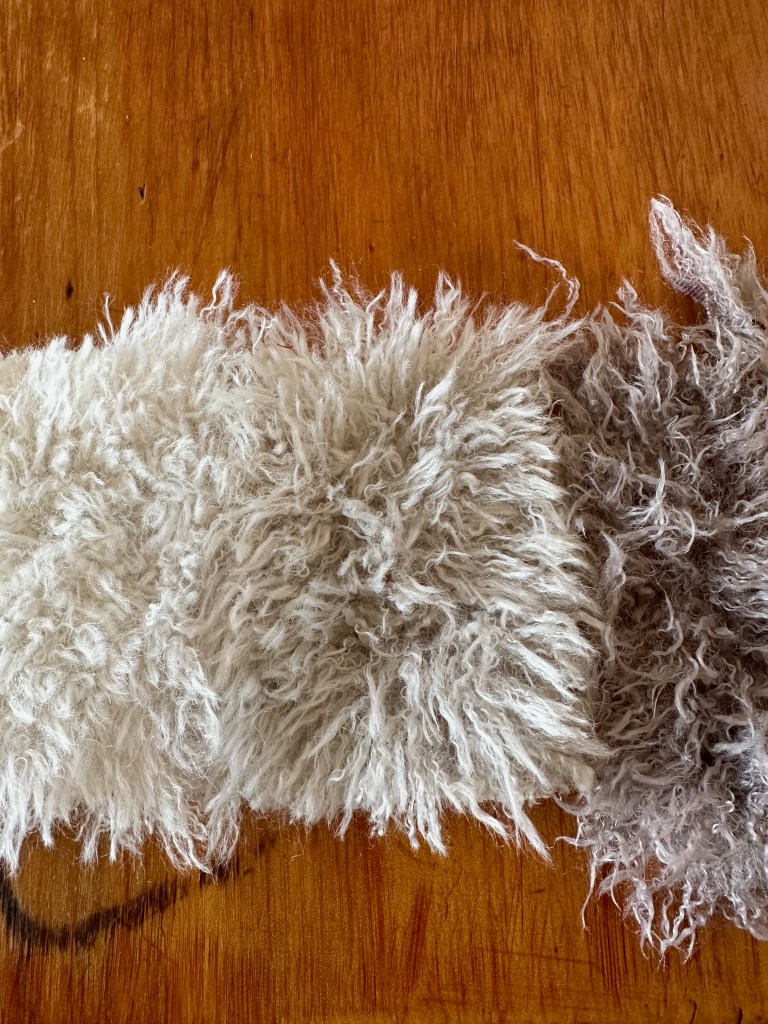
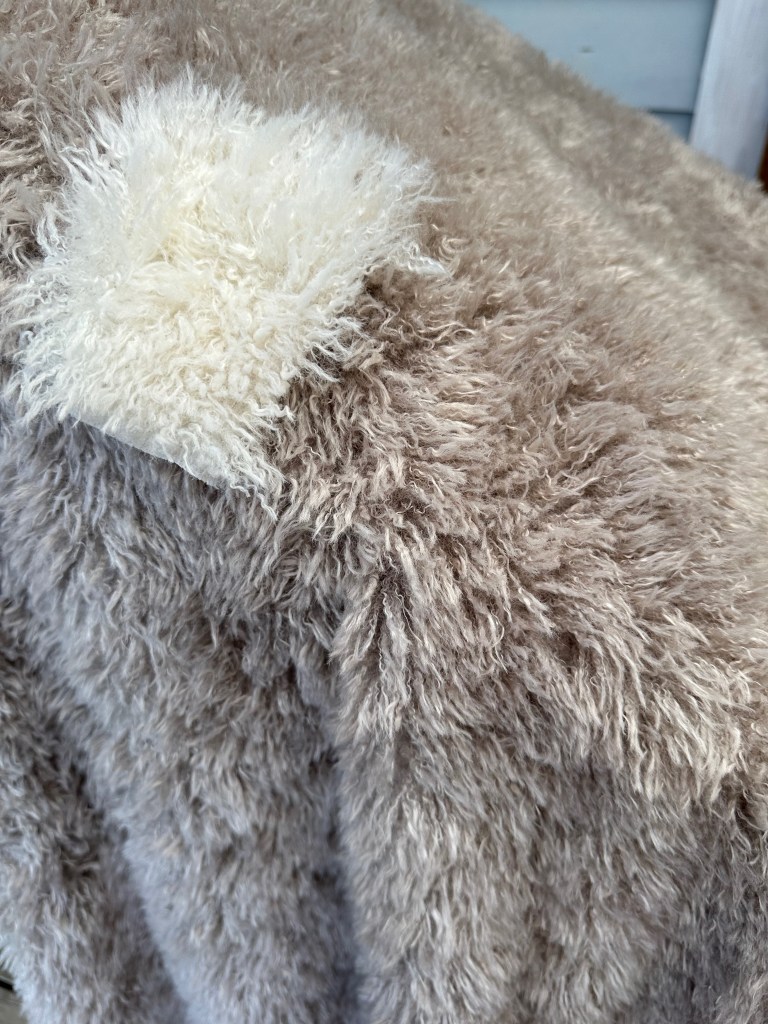
- 2m long haired llama faux fur fabric in cream – Spotlight
- Sculpey clay in silver – Spotlight
- Sculpey clay in black – Spotlight
- 2x Rit dyemore synthetic dye in chocolate – Ribbon Rose
- Rit dyemore synthetic dye in black – Ribbon Rose
- 3m of grosgrain ribbon in red – Arthur’s Emporium
- 6x buttons in brown – Arthur’s Emporium
- 6x snaps in brass – Arthur’s Emporium
- a buckle – Arthur’s Emporium
- interfacing
- shoulder pads
- pipping cord
- 2x brown leather belts – Secondhand
- a Durmstrang crest magnet – Secondhand

construction
This post is a WORK IN PROGRESS. It will continue to be updated as all the costume pieces are completed. Please make sure to check back on it.
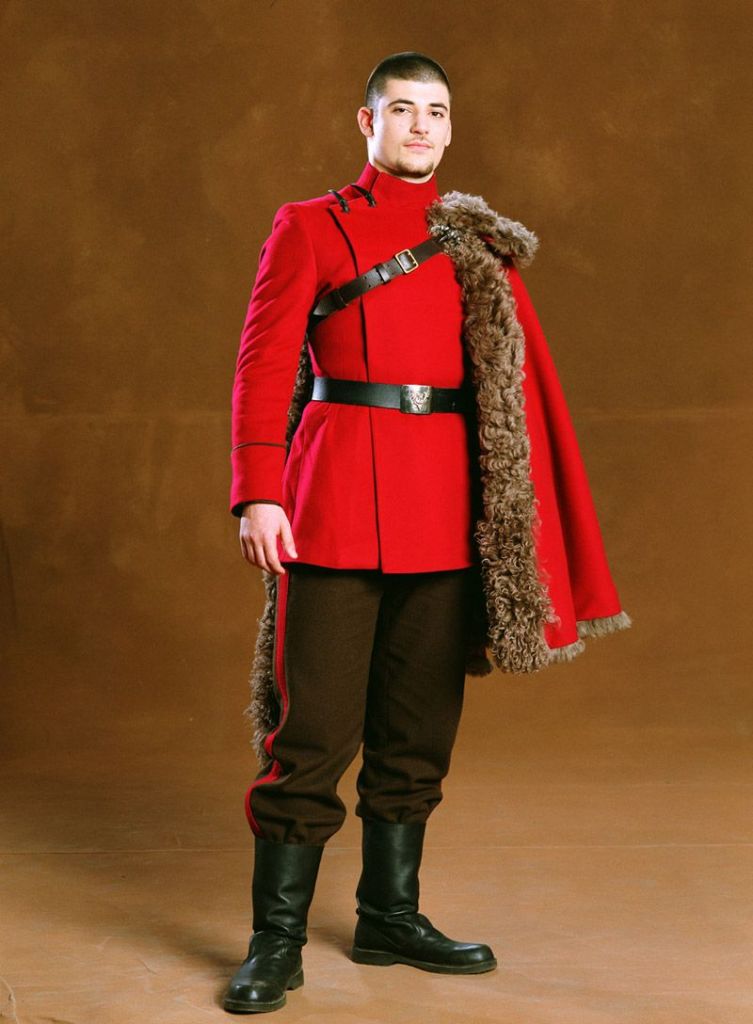
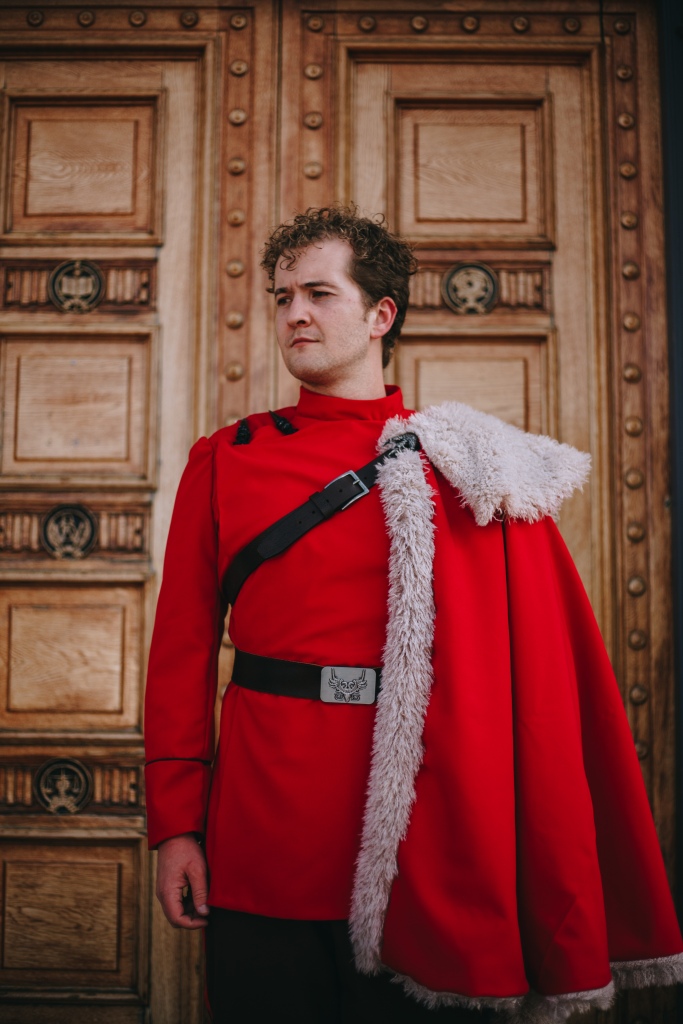
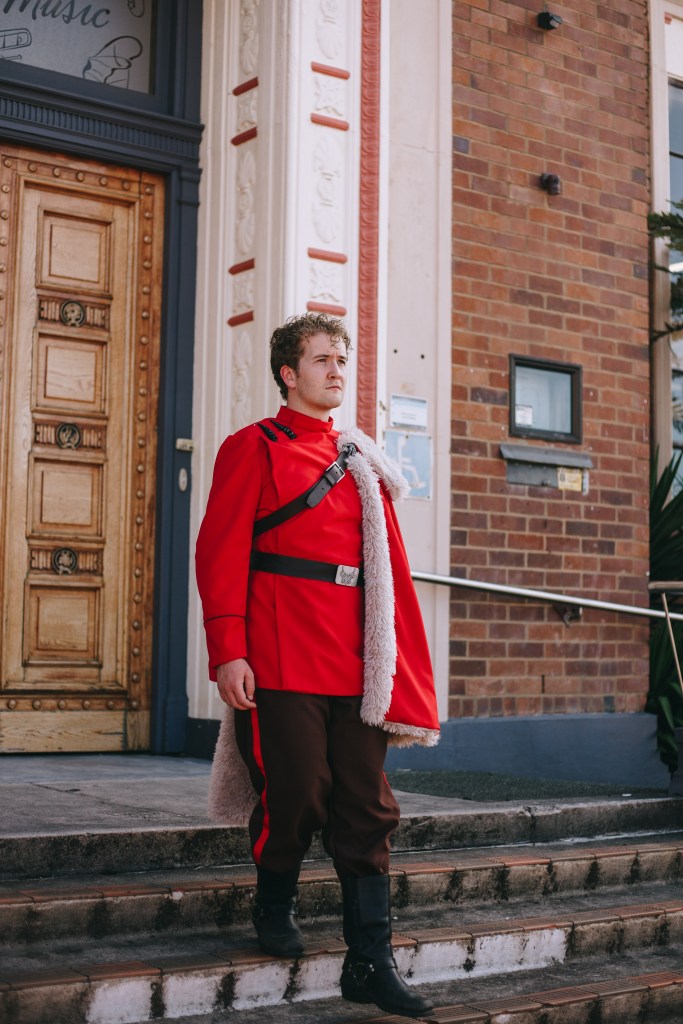
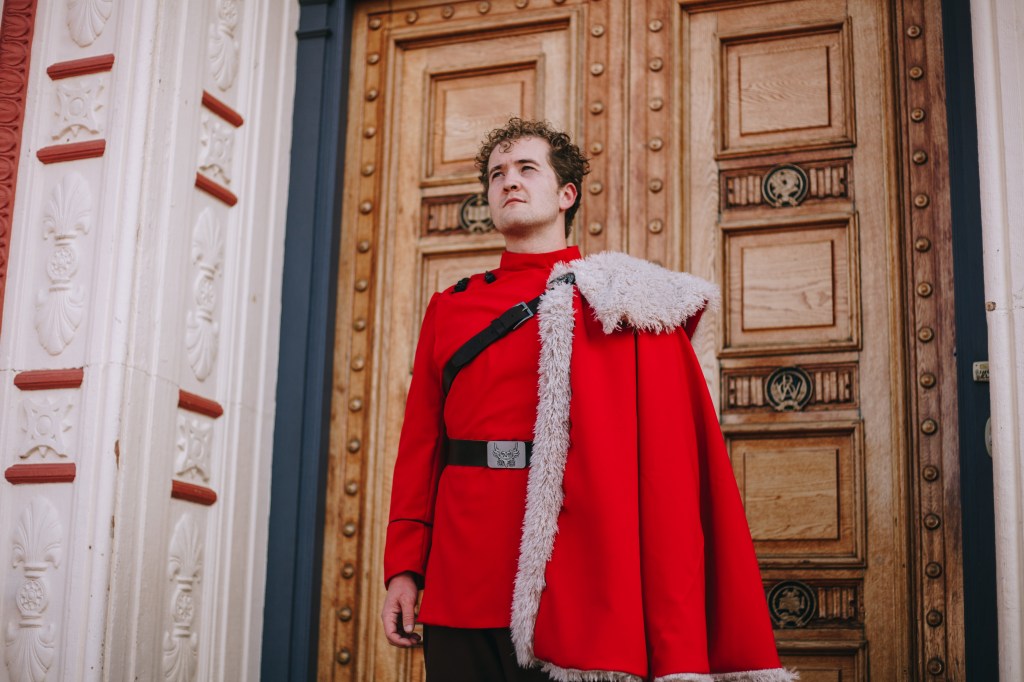
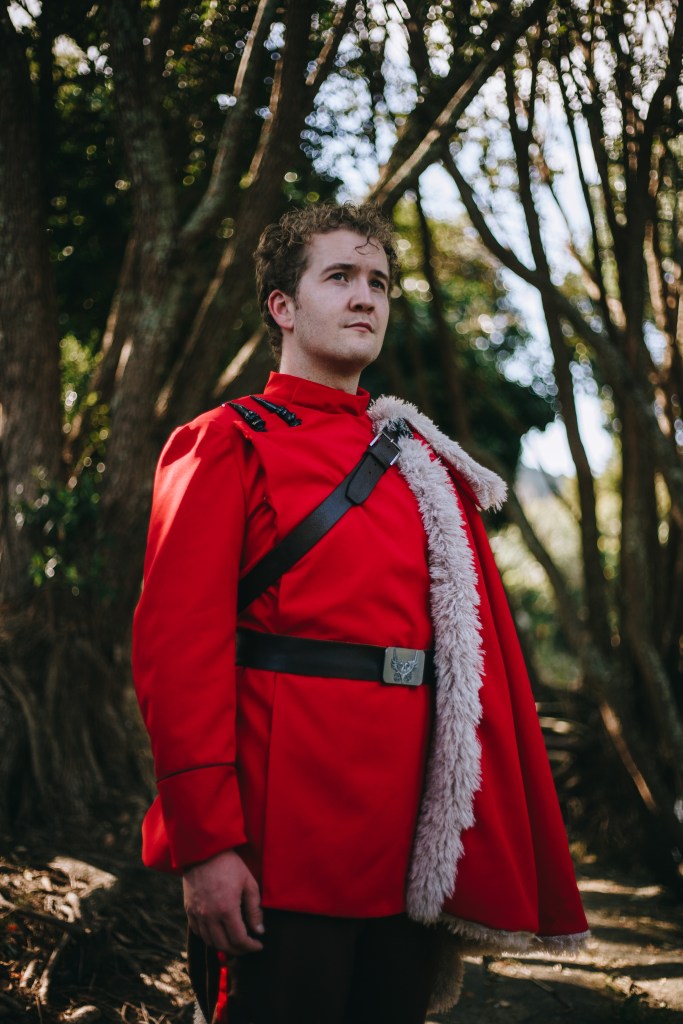
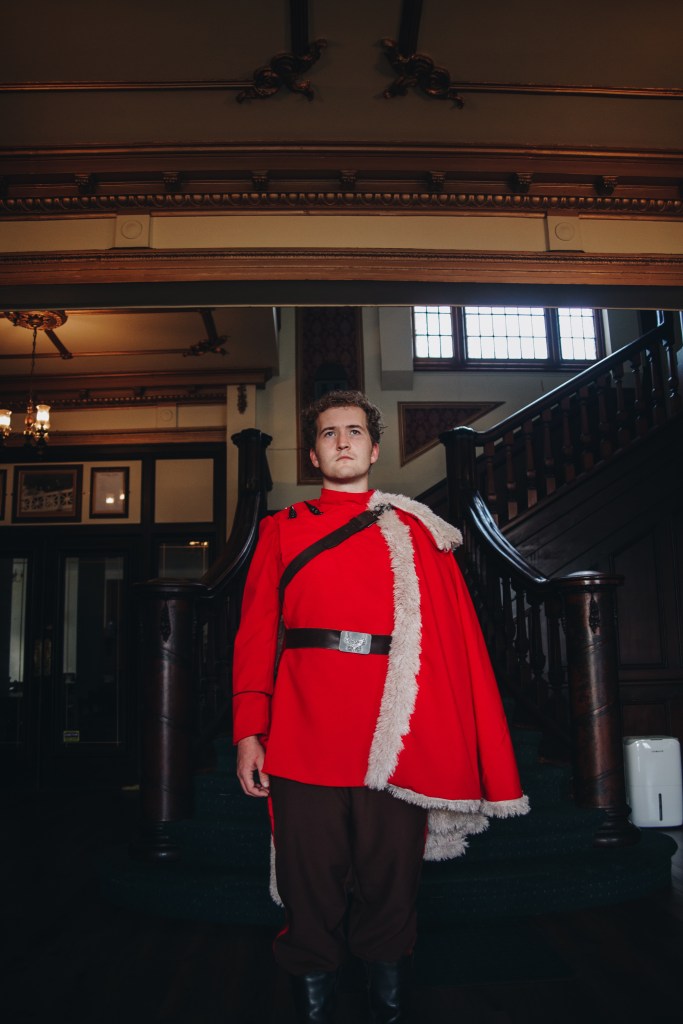
First of all, I wanted to start by saying I deliberately chose not to make the costume from screen accurate fabric i.e felted wool, because of where my husband would be wearing it – Florida, where it’s like 30 degrees everyday. I didn’t want him getting heat stroke so that’s why I went with a much lighter suiting fabric.
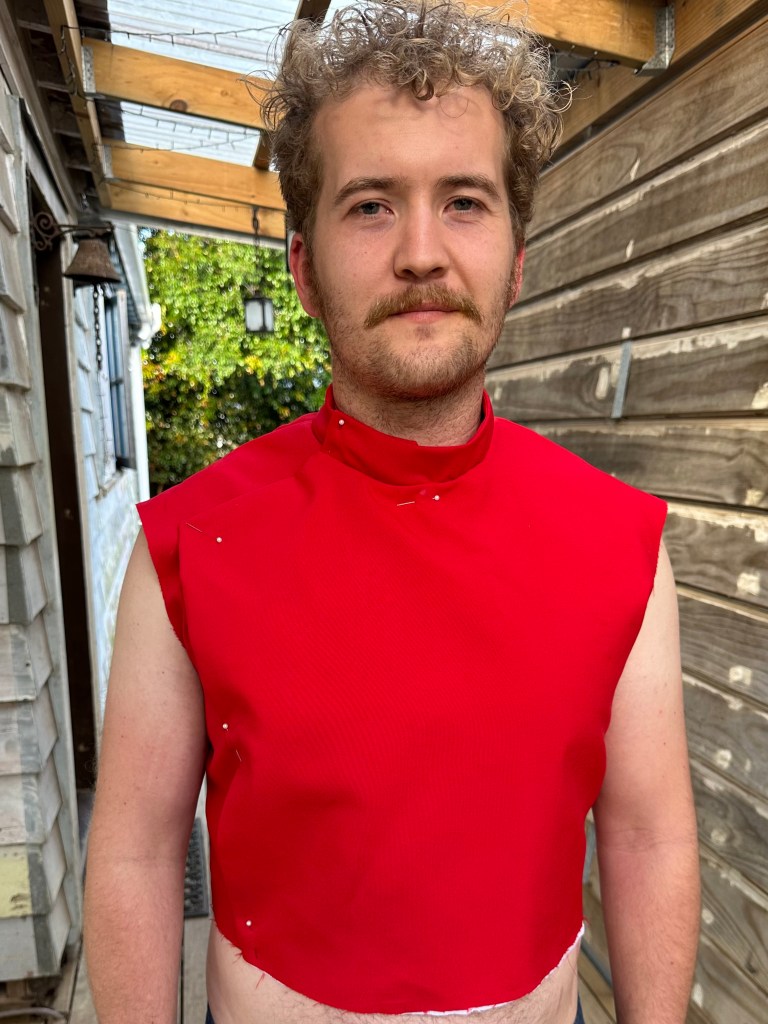
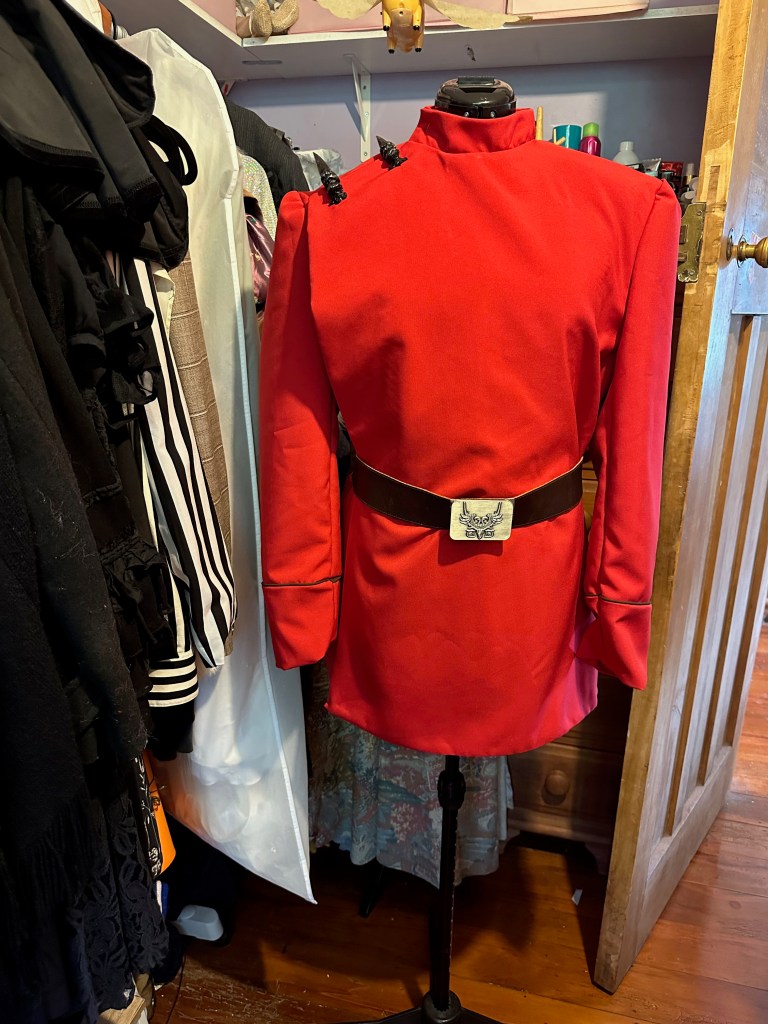
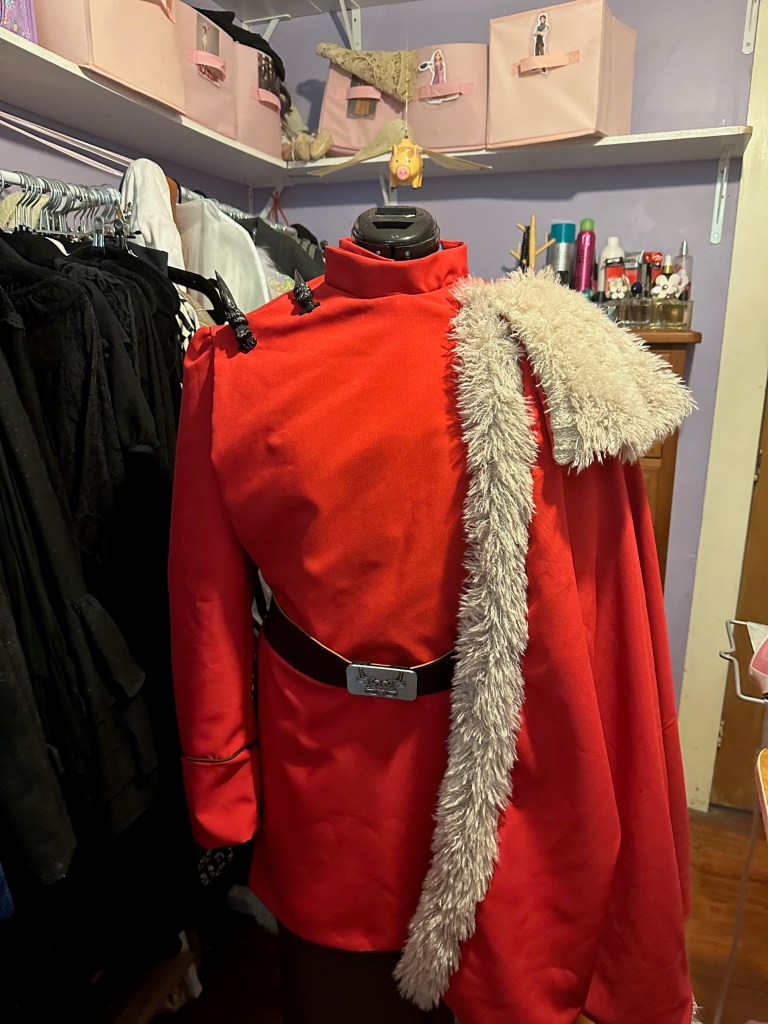
Jacket : I used McCall’s M4745 as the base. I started by altering the front closure and adding more to the right hand side collar, front flap and skirt piece to better resemble the Durmstrang robes. I made the jacket from red suiting fabric. The front panels and collar had woven interfacing applied to them so they would hold their shape better. The whole jacket was lined using pongee lining in a red that matched the outer fabric. It closes using hidden snaps.
The next part of the jacket I altered were the sleeves. I began by making them straight out of the packet. I cut the bottom edge of the sleeve off 5 inches up and used this to make a faux cuff pattern piece, eliminating one of the seams in the process. I then made some brown pipping and applied it at the end of the sleeve and start of the new cuff. Before attaching the sleeves to the jacket, I put in some shoulder pads to help smooth out the shoulders.
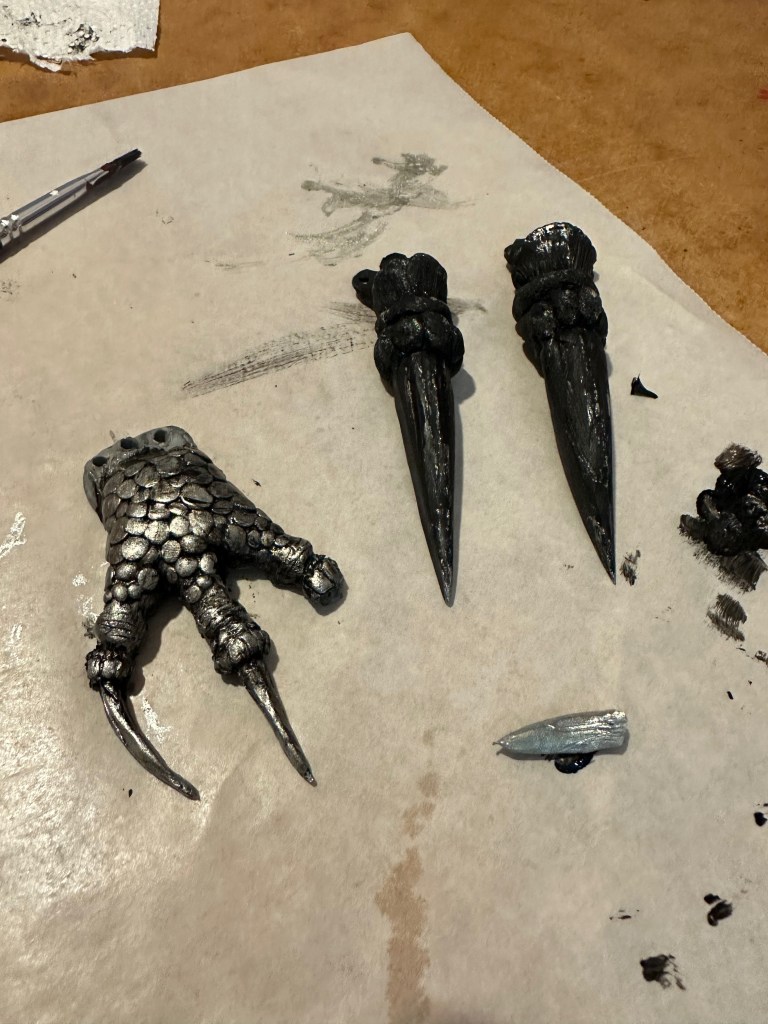
For the talons that sit on the shoulder, originally I wanted to 3d print them but my computer was too old to run any 3d modelling program so I had to resort to old-school methods of hand sculpting. For this I used some Sculpey clay in black. I started with a core of tinfoil and added thin layers of clay which I shaped in to claws with a variety of sculpting tools. After they were baked, I gave them a light sand and painted them with black acrylic paint, dry brushed them with a silver and sealed them with a gloss varnish. I then sewed them in place to the jacket.
progress photos


related costumes


One thought on “Durmstrang | 2023”